Advertisement
Quick Links
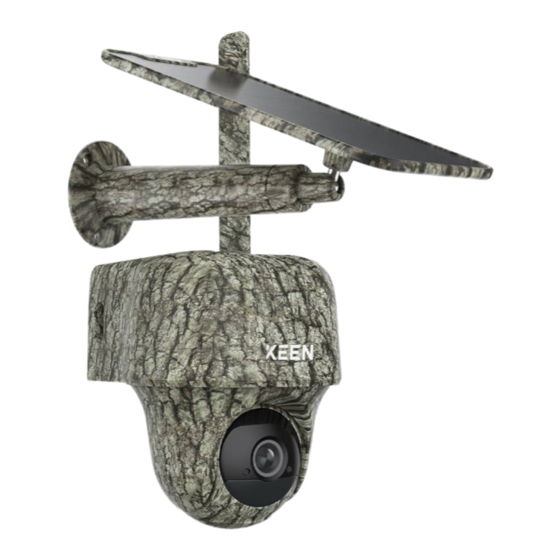
Keen Ranger PT
KEEN Ranger PT is a great trail camera that packs a heck of fantastic features and
can be afforded by everyone. It's proved to be an ideal choice for hunters and
wildlife observers with high performance!
This pan-tilt trail camera can offer a 360° view and cover more areas than ever.
With a few clicks on the App, you can manually adjust its angle and then see what
ever you want.
1. Specs
1
Speaker
2
940nm IR LEDs
3
Status LED
4
Built-in PIR Sensor
5
Built-in Mic
6
Lens
7
Daylight Sensor
Advertisement

Related Manuals for KEEN Ranger PT

Summary of Contents for KEEN Ranger PT
- Page 1 Keen Ranger PT KEEN Ranger PT is a great trail camera that packs a heck of fantastic features and can be afforded by everyone. It’s proved to be an ideal choice for hunters and wildlife observers with high performance! This pan-tilt trail camera can offer a 360° view and cover more areas than ever.
-
Page 2: Status Light
Antenna Micro USB Port Power Switch Reset Hole Nano SIM Card Slot Micro SD Card Slot Status Light Note: If the camera connects the network successfully, there will be no status LED light up during idle mode. Status Light Camera Status Camera cannot recognize the SIM Red LED solid light up then starts to card or there is PIN code of the SIM... -
Page 3: Setup And Install
Note: The package content may vary and update with different version and platforms, please take the below information only for a reference. And the actual package content are subject to the latest information on the product selling page. Keen Ranger PT Keen Ranger PT*1 USB Cable*1... - Page 4 Install the SIM Card 1. Rotate the camera lens, and remove the rubber cover. 2. Insert the SIM card.
- Page 5 3. With these done, press the rubber cover firmly for better waterproof performance. Notes: • The SIM card slot is above the SD card slot. When inserting the SIM card in, remember that the gold contacts shall face down and you need to push the trimmed corner inside the camera.
- Page 6 3. A blue LED will flash for a few seconds and then go solid before going out. You will hear a voice prompt "Network connection succeeded”, which means the camera has been successfully connected to the network. Note: You may also run into the following situations: Voice Prompts Camera Status Solutions...
- Page 7 1. Check whether your card is activated or not. If not, please call your operator to activate the SIM card. “Not registered on Camera fails to 2. The signal is weak at network. Please activate register to the the current position. your SIM card and check operator network.
- Page 8 Step 2. Scan the QR code on the back of the camera. If the phone doesn't respond, please tap Input UID/IP below the scan window, and then enter the 16-digit UID number under the QR code of the camera. Step 3. Create the login password and name your camera. Then tap Next.
- Page 9 Step 4. Select a scene according to the place where your camera will be installed. Then tap Next. Step 5. Read the note and then tap Finish to complete the initialization of your camera.
-
Page 10: Install The Camera
Now the initialization is finished and you can move it to the position you want. Here is an article to choose a good position for the camera. Install the Camera We offer you guides on three different scenes in which the camera could be installed. - Page 11 Step 2. Open the top of the cover and secure the camera with the hexagonal screw. Step 3. Install the antenna to the camera. Mount the Camera to the Wall Drill holes in accordance with the mounting hole template and screw the security mount to the wall.
- Page 12 Install the Camera with Loop Strap Thread the provided strap through the bracket and fasten it to a tree.
Need help?
Do you have a question about the Ranger PT and is the answer not in the manual?
Questions and answers