Advertisement
Table of Contents
Contents
Camlink CL-FS50 - Film Scanner Manual
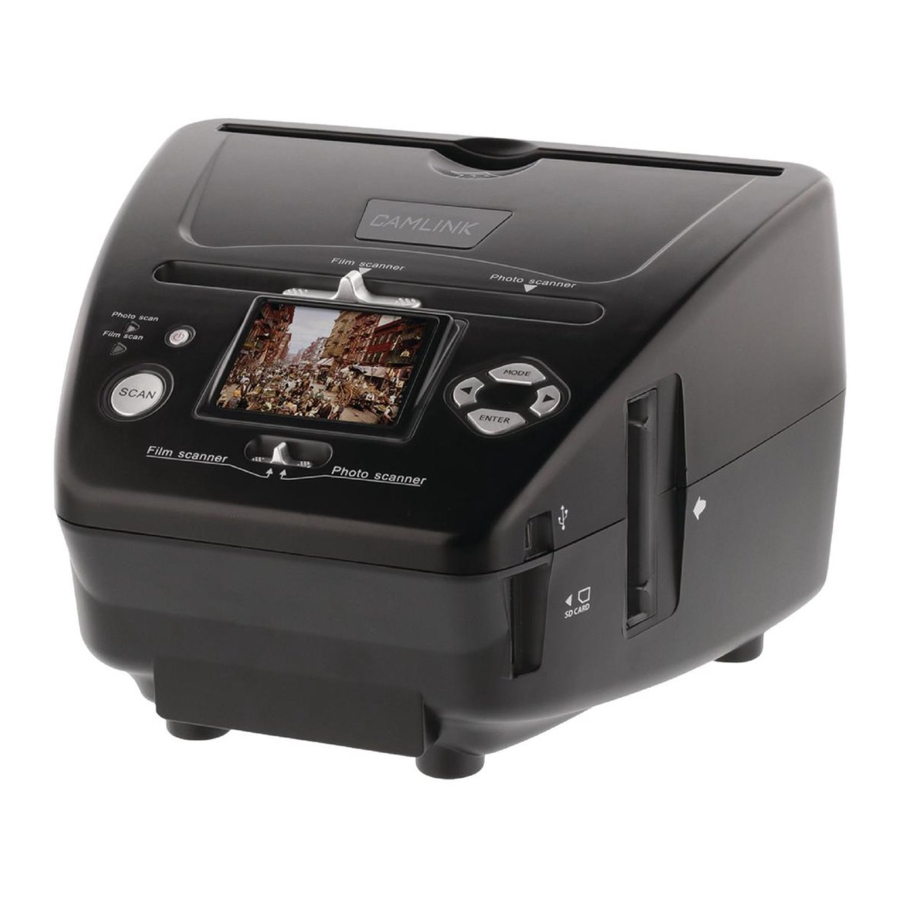
Description
The film scanner is a device to scan negative film or positive film into a digital format. The photo scanner is a device to scan photos or name cards into a digital format.
Device
(fig. A)

| |
|
|
|
|
| |
|
|
|
|
|
|
|
|
|
|
|
|
|
|
|
|
|
|
|
|
|
|
|
|
|
|
|
|
|
|
Display
(fig. B)

|
|
|
|
|
|
|
|
|
|
|
|
|
|
|
|
|
|
|
|
|
|
Use
- Place the device on a stable and flat surface.
- To scan negative film or positive film:
- Open the required accessory. Put the negative film or the positive film into the accessory. Make sure that the marking "THIS SIDE UP" on the accessory is facing up. Make sure that the arrow on the accessory is facing left. Close the accessory.
- Insert the accessory into the applicable accessory slot from the right side of the device until you hear a click.
Note: Do not insert the accessory into the accessory slot from the left side of the device.
- To scan photos or name cards:
- Position the brackets according to the marked dimensions into the slots of the photo holder. Secure the brackets by sliding them down. Insert the photo or the name card into the photo holder.
Note: It is not necessary to position the brackets for 5"x7" (5R) photos. - Insert the accessory into the applicable accessory slot until you hear a click.
- Position the brackets according to the marked dimensions into the slots of the photo holder. Secure the brackets by sliding them down. Insert the photo or the name card into the photo holder.
- Insert a memory card into the memory card slot.
- If required, connect the USB cable to the scanner and the PC.
- Press the on/off button to switch on the device.
- Press the scan button to start scanning.
- Remove the memory card from the memory card slot.
- If required, disconnect the USB cable from the scanner and the PC.
- Press the on/off button to switch off the device.
- Remove the accessory from the accessory slot.
- Take one of the following actions:
- Open the required accessory. Remove the negative film or the positive film from the accessory. Close the accessory.
- Remove the film insert from the accessory. Remove the negative film or the positive film from the film insert.
Technical data
| Power input | 5 V DC |
| Lens | Photo: F = 3.93 mm Film: F = 4.04 mm |
| Focus range | Fixed focus |
| Sensor | CMOS |
| Image resolution | 5 MP / 10 MP |
| Film sensitivity | Automatic |
| White balance | Automatic |
| Exposure compensation | Automatic |
| USB version | USB 2.0 |
| Memory card | SD / MMC |
| File format | JPEG |
| Supported film formats | 135 film (36x24 mm) |
| Supported photo formats | 5"x7" / 4"x6" / 3½"x5" |
| TV output format | NTSC/PAL |
| Dimensions (LxWxH) | 220 x 208 x 147 mm |
| Weight | 890 g |
Safety

- To reduce risk of electric shock, this product should only be opened by an authorized technician when service is required.
- Disconnect the product from the mains and other equipment if a problem should occur.
- Read the manual carefully before use. Keep the manual for future reference.
- Only use the device for its intended purposes. Do not use the device for other purposes than described in the manual.
- Do not use the device if any part is damaged or defective. If the device is damaged or defective, replace the device immediately.
- Do not expose the device to water or moisture.
Cleaning and maintenance

- Do not attempt to repair the device. If the device does not operate correctly, replace it with a new device.
- Do not use cleaning solvents or abrasives.
- Do not clean the inside of the device.
- Clean the outside of the device using a soft, damp cloth.

Documents / ResourcesDownload manual
Here you can download full pdf version of manual, it may contain additional safety instructions, warranty information, FCC rules, etc.
Advertisement


Need help?
Do you have a question about the CL-FS50 and is the answer not in the manual?
Questions and answers