
Related Manuals for Coleman 90473E


Summary of Contents for Coleman 90473E
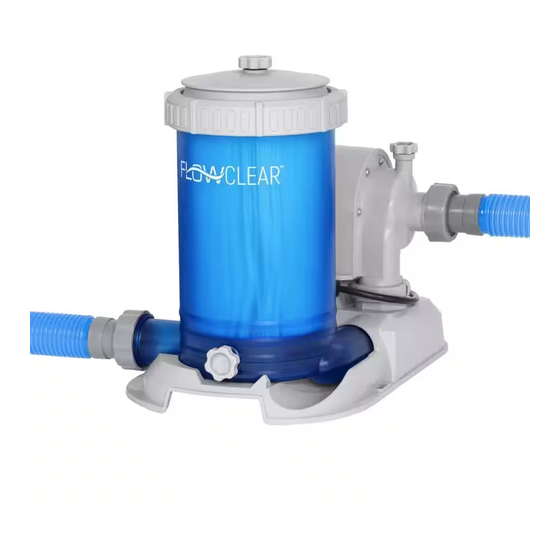
- Page 1 90473E FILTER PUMP OWNER’S MANUAL Para la instrucción en español, visite bestwaycorp.com/support DO NOT RETURN THIS ITEM TO THE STORE OR WEBSITE WHERE IT WAS PURCHASED. PLEASE VISIT BESTWAYCORP.COM/SUPPORT FOR QUESTIONS, OR FOR DEFECTIVE OR WARRANTY CLAIMS.
- Page 2 FILTER PUMP OWNER’S MANUAL WE SUGGEST NOT TO RETURN THE PRODUCT TO THE STORE QUESTIONS? PROBLEMS? MISSING PARTS? For FAQ, Manuals, Videos Or Spare Parts, Please Visit bestwaycorp.com/support WARNING IMPORTANT SAFETY INSTRUCTIONS When installing and using this electrical equipment, basic safety precautions should always be followed, including the following: READ AND FOLLOW ALL INSTRUCTIONS...
- Page 3 DO NOT BURY CORD. Locate cord to minimize abuse from lawn mowers, hedge trimmers, and other equipment. WARNING - To reduce the risk of electric shock, IF FILTER PUMP POWER CORD BECOMES DAMAGED IN ANY WAY, THE PUMP MUST BE DISCARDED.
- Page 4 NOTE: Do not add chemicals in the filter pump. NOTE: Assembly and disassembly of this product should only be performed by adults. • THERMALLY PROTECTED MOTOR CSA ENCLOSURE 3 • FOR USE WITH SWIMMING POOLS ONLY. CAUTION: • TO ENSURE CONTINUED PROTECTION AGAINST SHOCK HAZARD, USE ONLY IDENTICAL REPLACEMENT PARTS WHEN SERVICING.
- Page 5 limits for a Class B digital device, pursuant to part 15 of the FCC Rules. These limits are designed to provide reasonable protection against harmful interference in a residential installation. This equipment generates, uses and can radiate radio frequency energy and, if not installed and used in accordance with the instructions, may cause harmful interference to radio communications.
- Page 6 P05997 P05997 P61408ASS16 P05996 P6680ASS16 P6124ASS16 P05996...
- Page 7 P61318ASS16 P6680ASS16 P6916ASS16 PEDESTAL FIXING Fig.1 EN60335-2-41 TEST standard requires the filter pump must be vertically fixedon ground or a certain pedestal made of wood or concrete before use. There should be two holes 9mm in diameter on the pedestal, the space 2-M8 nut between which should be 163mm.
- Page 8 A. To test the GFCI plug, insert it into a grounding type receptacle. B. Press the “RESET” button; the indicator turns red. NOTE: If the indicator light is not on, the test has failed. C. Press the “TEST” button. The indicator turns off. NOTE: If the indicator light is not off, the test has failed.
- Page 10 ©2020 The Coleman Company, Inc. is a registered trademark of The Coleman Company, Inc., used under license. Manufactured by ©2020 Bestway (USA) Inc., 3411 E. Harbour Drive, Phoenix, Arizona 85034, United States of America ®™ Trademarks used in some countries under license to Bestway Inflatables &...
Need help?
Do you have a question about the 90473E and is the answer not in the manual?
Questions and answers
How many gallons per hour does this coleman 90473E pool filter flow?