
Subscribe to Our Youtube Channel
Related Manuals for Akw 4000 Series


Summary of Contents for Akw 4000 Series
- Page 1 4000 Series Range INSTALLATION AND USER MANUAL Please read all instructions before installation and leave this document with the end user for future reference as it contains important warranty information...
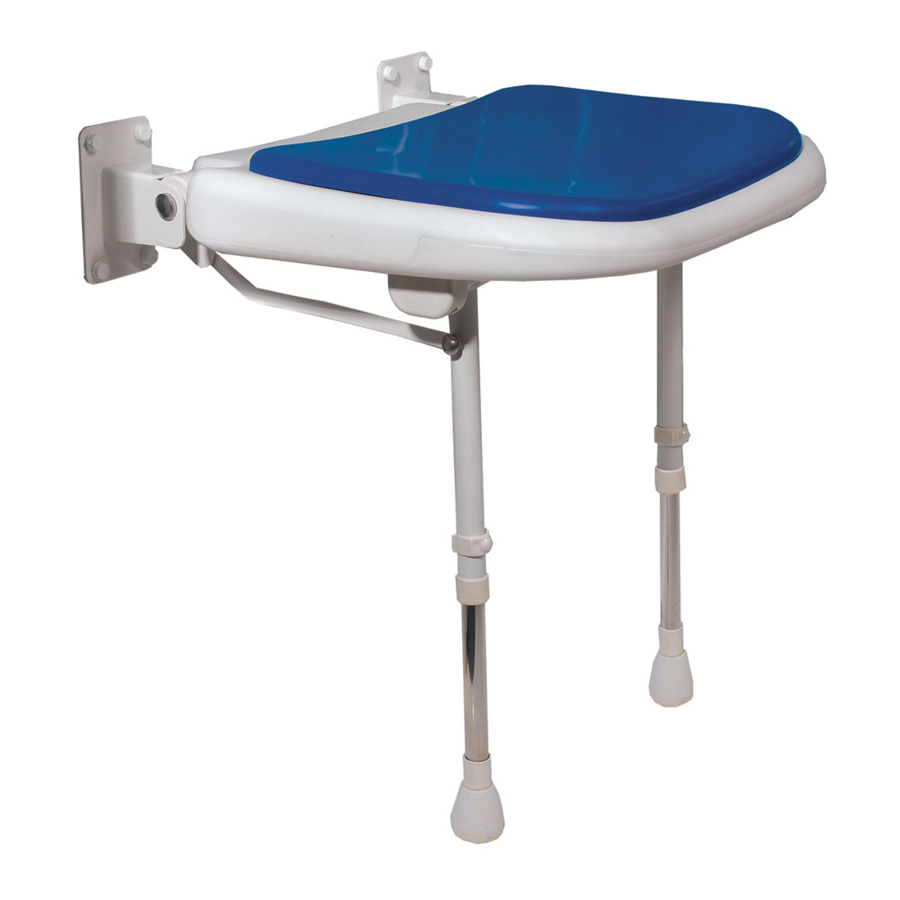
- Page 2 Blue Padded: 04580P Blue Padded: 04100P Grey Padded: 04270P Grey Padded: 04210P Grey Padded: 04570P Grey Padded: 04200P Parts Included: 4000 Series Seat, Retainer Caps X8, Hole Reducers X8, Swappable Long Legs. Optional: Seat Pads (P) General: 01905 823 298 www.akw-ltd.co.uk...
- Page 3 Grey Pads + Grey Arms: 04240P Dimensions shown are without Seat Pads (P). Pad Thickness: Seat 15mm, Horseshoe Seat 20mm, Back 10mm. Dimensions shown are with short legs. Long legs: +125mm. Order: 01905 823 299 orders.akw-ltd.co.uk Technical Support: 01905 560 219...
- Page 4 Once installed check that the plastic pivot caps are firmly in place and the leg C-clips are installed. • Remove the Seat cushions and mouldings. Un-clip the seat molding from the mounting frame to gain access to the mounting brackets by pushing the molding clips from the rear or underneath the frame. General: 01905 823 298 www.akw-ltd.co.uk...
-
Page 5: Installation
Ensure all fixings are secure. Re-attach the mounting bracket to the wall. Do not use seat mouldings onto the frame and ensure countersunk screws. the feet are flat against the floor surface. Order: 01905 823 299 orders.akw-ltd.co.uk Technical Support: 01905 560 219... - Page 6 Be careful not to overtighten the retainer caps. Retainer cap Lift arms to locate and adjust the screw: unscrew to lift the arm and screw to lower it. General: 01905 823 298 www.akw-ltd.co.uk...
-
Page 7: User Care Instructions
This information is provided on the condition that the person receiving it shall make his/her own tests to determine the suitability for his/her particular purpose. Failure to install this AKW product in accordance with supplied instructions or the making of unauthorised modifications will invalidate any warranty and may affect product safety. - Page 8 Follow us on Social: unresolved, contact AKW Technical Enquiries who will provide further advice and arrange for a maintenance engineer to visit if necessary. none of the foregoing affects your statutory rights.
Need help?
Do you have a question about the 4000 Series and is the answer not in the manual?
Questions and answers
what type of screws should be used to fit AKW 4000 series shower chair, this should state diameter, depth/length of screw and preferred type of screw/gauge
Use #9 or #10 flathead screws that are 2" to 2½" long. Use wood screws for joists or Tapcon-style screws for concrete. Coated screws are recommended to prevent corrosion.
This answer is automatically generated