Sign In
Upload
Download
Table of Contents
Contents
Add to my manuals
Delete from my manuals
Share
URL of this page:
HTML Link:
Bookmark this page
Add
Manual will be automatically added to "My Manuals"
Print this page
×
Bookmark added
×
Added to my manuals
Manuals
Brands
Nokia Manuals
Cell Phone
6235i
User manual
Nokia 6235i User Manual
Hide thumbs
1
2
3
Table Of Contents
4
5
6
7
8
9
10
11
12
13
14
15
16
17
18
19
20
21
22
23
24
25
26
27
28
29
30
31
32
33
34
35
36
37
38
39
40
41
42
43
44
45
46
47
48
49
50
51
52
53
54
55
56
57
58
59
60
61
62
63
64
65
66
67
68
69
70
71
72
73
74
75
76
77
78
79
80
81
82
83
84
85
86
87
88
89
90
91
92
93
94
95
96
97
98
99
100
101
102
103
104
105
106
107
108
109
110
111
112
113
114
115
116
117
118
119
120
121
122
123
124
125
page
of
125
Go
/
125
Contents
Table of Contents
Bookmarks
Table of Contents
Table of Contents
For Your Safety
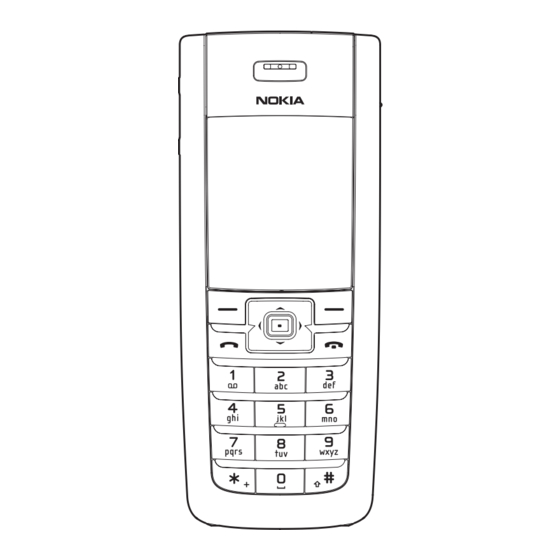
Phone at a Glance
Set up Your Phone
Text Entry
Messages
Call Log
Contacts
Camera
Gallery
Media
Settings
Organizer
Mobile Web
Extras
PC Connectivity
Enhancements
Reference Information
Care and Maintenance
Additional Safety Information
Advertisement
Quick Links
Download this manual
Nokia 6235, Nokia 6235i, Nokia
6236, and Nokia 6236i User Guide
1
Table of
Contents
Previous
Page
Next
Page
1
2
3
4
5
Advertisement
Table of Contents
Need help?
Do you have a question about the 6235i and is the answer not in the manual?
Ask a question
Questions and answers
Related Manuals for Nokia 6235i
Cell Phone Nokia 6235 User Manual
Nokia 6235: user guide (233 pages)
Cell Phone Nokia 6235 User Manual
(150 pages)
Cell Phone Nokia 6236i User Manual
Nokia cell phone user guide (109 pages)
Cell Phone Nokia 6235 User Manual
(102 pages)
Handhelds Nokia 6235 Troubleshooting Manual
(68 pages)
Cell Phone Nokia 6235 Baseband Description And Troubleshooting
Mobile terminals (48 pages)
Cell Phone Nokia 6235 Disassembly/Assembly
Mobile terminals (12 pages)
Cell Phone Nokia 6235 Antenna Description And Troubleshooting
Mobile terminals (10 pages)
Cell Phone Nokia 6236i Quick Start Manual
Nokia 6236i: quick start (2 pages)
Cell Phone Nokia 6235i Quick Start Manual
Nokia 6235i: quick start (2 pages)
Cell Phone Nokia 6235i - Cell Phone 10 MB Quick Start Manual
Nokia 6235i alltell quick start guide us english (2 pages)
Cell Phone Nokia 6230 Service Manual
(23 pages)
Cell Phone Nokia 6230i User Manual
Nokia 6230i: users guide (116 pages)
Cell Phone Nokia 6230i User Manual
(162 pages)
Cell Phone Nokia 5000 Specification Sheet
Nokia cell phone specification sheet (14 pages)
Cell Phone Nokia 6233 Service Manual
Nokia mobile phone service manual (19 pages)
This manual is also suitable for:
6235
6236
6236i
Table of Contents
Print
Rename the bookmark
Delete bookmark?
Delete from my manuals?
Login
Sign In
OR
Sign in with Facebook
Sign in with Google
Upload manual
Upload from disk
Upload from URL


Need help?
Do you have a question about the 6235i and is the answer not in the manual?
Questions and answers