Advertisement
Table of Contents
Contents
FIRST AUSTRIA FA-2461-6-BA, FA-2461-6-WI - Weather Forecast Station Manual
FEATURES
- Time in optional 12/24 hour format.
- Daily Alarm Function
- Snooze function (OFF or 1~60min)
- Low battery indicate
- Humidity: Indoor & Outdoor measurable range: 20%RH ~ 95%RH
- Temperature:
- Indoor temperature measurement ranges: -9.9°C (14.2°F) ~ 50°C (122°F)
- Outdoor temperature measurement ranges: -25°C (-13°F) ~ 50°C (122°F)
- Temperature alternatively in °C or °F.
- Outdoor thermometer ice alert
- Maximum /minimum value record of temperature and humidity
- Wireless Outdoor Sensor:
- Wall Mount or Table Stand
- 433.92MHz RF transmitting frequency
- 60 meter transmission range in an open area
- Weather forecasting function
- Power Supply:
Weather Station: Battery: 2 x LR06 AA
Wireless Outdoor Sensor: Battery: 2 x LR03 AAA
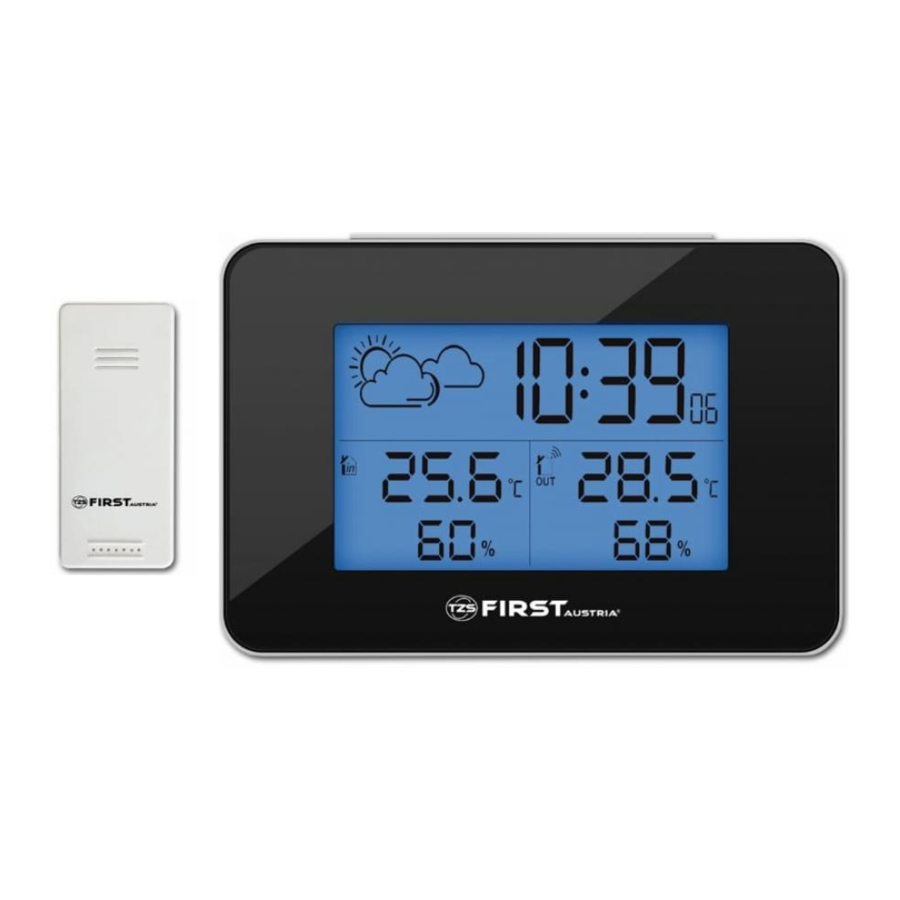
MAIN UNIT APPEARANCE

Part A - LCD (Fig. A)
-
- Weather Forecasting
- Outdoor Temperature
- Outdoor Humidity
- Indoor Temperature
- Indoor Humidity
- Time
Part B – Back button and power (Fig. B)
-
- "SNOOZE/LIGHT" touch key
- "SET" button
- "MEM" button
- "+" button
- "-" button
- Battery compartment
Part C – Wireless Outdoor Sensor
WIRELESS OUTDOOR SENSOR

-
- Wireless Outdoor Sensor battery compartment
Wireless remote sensor (transmitter)
- Transmitter frequency: 433.92 MHz.
- Range of transmission is up to 60m (200 feet).
- Insert the 2 batteries in to the transmitter. Pay attention to observe the correct polarity.
INITIAL OPERATION
- Open the Weather Station battery compartment cover
- Insert 2 x AA batteries observing polarity [ "+" and " –" marks]
- When you insert the batteries, all the icon on the LCD will light up for 3 seconds, and you will hear a beep tone, then detect indoor temperature & humidity.
- The Weather Station will now start to make a connection to the outdoor remote sensor. This operation takes about 3 minutes and is displayed by a flashing reception RF antenna symbol in the "OUTDOOR" display area on the receiver.
- This now, Open the remote Sensor battery compartment cover, Insert 2 x AAA batteries observing polarity [ "+" and "–" marks]
- After receiver has created a connection to the outdoor remote sensor, After 3 minutes it will Exit RF mode.
MANUAL TIME SETTING
- Press and hold the "SET" button for 2 seconds, the temperature unit starts to flash. Now use "+" and "-" buttons to set the temperature unit in °C or °F you need.
- Press "SET" button to confirm your setting, the 12/24HR start to flash. Now use"+" and "-" buttons to set the 12/24 hour mode you need.
- Press "SET" to confirm your setting, the Time zones start to flash, Now use"+" and "-" buttons set a correct time zone (-12 to +12).
- Press "SET" to confirm your setting, the Hour display starts to flash. Now use"+" and "-" buttons to set the correct hour.
- Press "SET" to confirm your setting, the Minute display starts to flash. Now use"+" and "-" buttons to set the correct minute.
- Press "SET" button to confirm your setting, the weather forecast pattern display starts to flash. Now use"+" and "-" uttons to select the current weather pattern.
- Press "SET" to confirm your setting and to end the setting procedures, Then it will return to the normal mode.
F.Y.I.:
- If there is no valid operation within 20 seconds, it will automatically return to normal time mode from the set mode.
Setting the daily alarms
- Press once "+" button, LCD display the "%", the alarm function is ON. Then press once "+" button, the "%" icon will disappears from the display, the alarm function is OFF.
- Press once "SET" button, LCD display alarm time, then Press and hold "SET" button for 2 seconds until hour of the Alarm time starts to flash. Use the "+" and "-" buttons to set the required hour.
- Press "SET" button to confirm your setting, The Minute of the Alarm time starts to flash. Use the "+" and "-" buttons to set the required minute.
- Press "SET" button to confirm your setting, the snooze time of the Alarm starts to flash. Use the "+" and "-" buttons to set the minute of snooze you need.
- Press "SET" button to confirm your setting and to end the setting procedure.
F.Y.I.:
- If there is no valid operation within 20 seconds, it will automatically return to normal time mode from the alarm time set mode.
- The alarm will sound for 2 minutes if you do not deactivate it by pressing any button. In this case the alarm will be repeated automatically after 24 hours.
- Rising alarm sound (crescendo, duration: 2 minutes) changes the volume 4 times whilst the alarm signal is heard.
Switching off the alarm signal
- When the alarm is ringing, press any button except the "SNOOZE/LIGHT" button to stop the alarm signal. It is not necessary to reactivate the alarm. It will ring again this time next day.
Snooze function
- When the alarm is ringing, touch the "SNOOZE/LIGHT" button the alarm mode will to get to SNOOZE mode. The alarm signal sounds again after already been set.
RF Transmission Procedure
- The weather station automatically starts receiving transmission from outdoor thermo sensor for outdoor temperature & humidity after batteries inserted. transmission from outdoor thermo sensor for outdoor temperature after batteries inserted.
- The remote sensor will automatically transmit temperature and humidity signal to the Weather Station after batteries inserted.
- If the Weather Station failed to receive transmission from outdoor sensor ("- -.-"display on the LCD), press and hold "-" button for 3 seconds to receive transmission manually. RF icon "
![]() " flashes on the LCD.The Weather Station to receive the remote sensor.
" flashes on the LCD.The Weather Station to receive the remote sensor.
Query Maximum/minimum numerical value
- When the indoor / outdoor temperature / humidity are shown in the LCD, The weather station began to record temperature/humidity maximum and minimum numerical value.
- Press once "MEM" button, the LCD will display maximum value of temperature/ humidity, The LCD will display the minimum value of temperature/humidity if press once "MEM" button again when the maximum value is displayed.
- At the same time, there are "MAX" or "MIN" displayed on the LCD.
- The temperature/humidity maximum/minimum value will RE records after press and hold "MEM" button 3 seconds.
F.Y.I.:
- If the temperature reading is below ranges, the LL.L will be displayed. If the temperature reading is above ranges, the HH.H will be displayed.
Ice alert
- The ice alert symbol appears and flashing next to the outdoor temperature when the outdoor temperature at –1°C to + 3°C or +30°F to + 37°F.
Weather forecasting function
- Please take the weather forecast from your local weather forecasting service into account as well as the forecast from your weather station. If there are discrepancies between the information from your device and from the local weather forecasting service, please take the advice of the latter as authoritative.
- The weather forecast is calculated base on the following humidity & temperature data and may deviate from the actual weather conditions if the station in central heating room or the humidity & temperature record is big different from the real natural state.
Please see table 1&2
The weather station displays the following weather symbols: sunny, light cloudy, cloudy and rainy
The weather symbols indicate the weather fluctuation over the next eight hours and not the current weather.

Documents / ResourcesDownload manual
Here you can download full pdf version of manual, it may contain additional safety instructions, warranty information, FCC rules, etc.
Download FIRST AUSTRIA FA-2461-6-BA, FA-2461-6-WI - Weather Forecast Station Manual
Advertisement


Need help?
Do you have a question about the FA-2461-6-BA and is the answer not in the manual?
Questions and answers