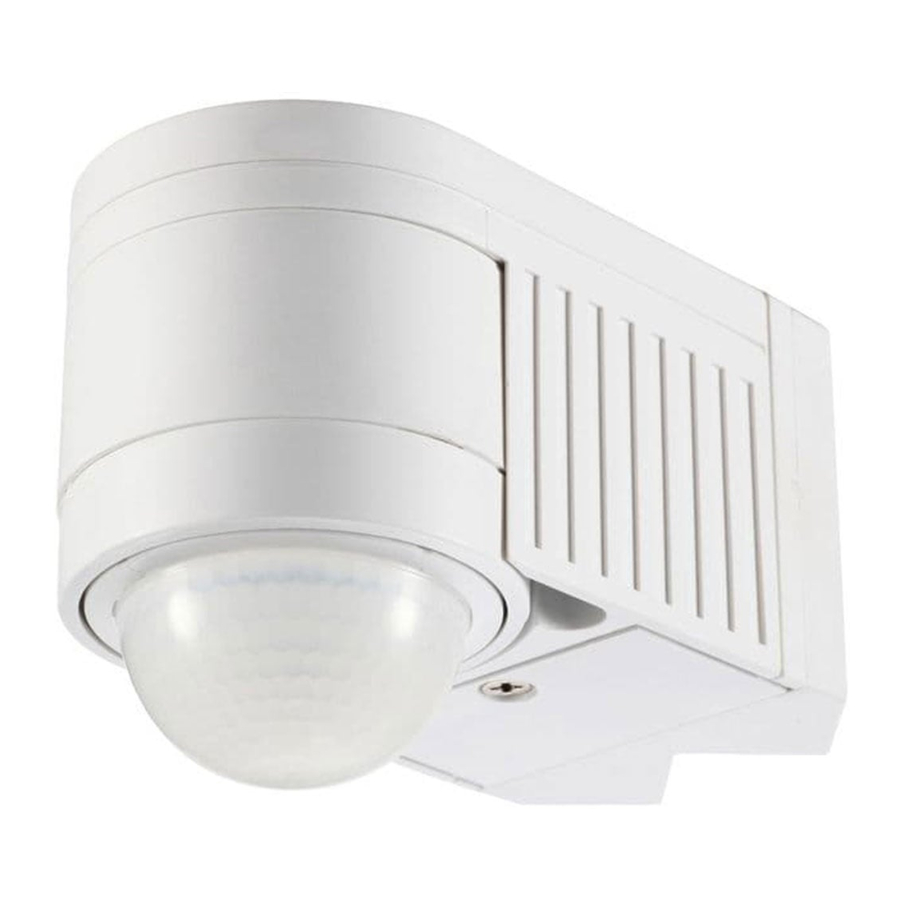
Zinc ZN25152 - Leda 360 Degree Corner Mount PIR Sensor Manual
- User instructions (2 pages)
Advertisement
Introduction
Welcome to use ST18 infrared motion sensor!
The product adopts good sensitivity detector and integrated circuit. It gathers automatism, convenience, safety, saving-energy and practicality functions. The wide detection field consists of up and down, left and right service field. It works by receiving human motion infrared rays. When one enters the detection field, it can start the load at once and identify automatically day and night. Its installation is very convenient and its using is very wide.
SPECIFICATION
| Power Source: | 220-240V/AC |
| Power Frequency: | 50Hz |
| Ambient Light: | <3-2000LUX (adjustable) |
| Time Delay: | Min.10sec 3sec |
| Max.15min 2min | |
| Rated Load: Max. | 1200W  |
300W  | |
| Detection Range: | 360° |
| Detection Distance: | 12m max(<24°C) |
| Working Temperature: | -20~+40°C |
| Working Humidity: | <93%RH |
| Power Consumption: | approx 0.5W |
| Installation Height: | 1.8-2.5m |
| Detection Moving Speed: | 0.6-1.5m/s |
FUNCTION
- Can identify day and night: The consumer can adjust working state in different ambient light. It can work in the daytime and at night when it is adjusted on the "sun" position (max). It can work in the ambient light less than 3LUX when it is adjusted on the "3LUX" position (min).
As for the adjustment pattern, please refer to the testing pattern. - Time-Delay is added continually: When it receives the second induction signals within the first induction, it will restart to time from the moment.


INSTALLATION ADVICE
As the detector responds to changes in temperature, avoid the following situations:
- Avoid pointing the detector towards objects with highly reflective surfaces, such as mirrors etc.
- Avoid mounting the detector near heat sources, such as heating vents, air conditioning units, light etc.
- Avoid pointing the detector towards objects that may move in the wind, such as curtains, tall plants etc.
![]()

CONNECTION

 Danger of death through electric shock!
- Must be installed by professional electrician
- Disconnect power source.
- Cover or shied any adjacent live components.
- Ensure device cannot be switched on.
- Check power supply is disconnected.
- Unload the cover near the detection window and adjust the TIME and LUX knob. If you need detection range less then 360°, you can install the plastic cover above the detection window. (refer to figure1). Unscrew the screw below the detection window and unload the bottom (refer to figure 2). Also unscrew the two screws at the bottom and unload the bottom into two parts. (refer to figure 3 )
- Find the wire hole at the bottom and pass the power wire through the hole. Connect the power with the connection-wire column according to the Connection-wire Diagram.
- Fix the bottom on the selected position with the inflated screw.
- Fix the sensor at the bottom and tighten the screw. Switch on the power and then you can test it.

- It not only can install on the wall directly but also can install in the inner corner or outer corner with the help of the widget (refer to photograph below):


Note: you can cut the plastic cover whatever shape you want and make different detection range. (refer to figure)

CONNECTION-WIRE DIAGRAM

TEST
- Turn the TIME knob anti-clockwise on the minimum (10s). Turn the LUX knob clockwise on the maximum (sun).
![]()
- Switch on the power; the sensor and its connected lamp will have no signal at the beginning. After Warm-up 30sec, the sensor can start work. If the sensor receives the induction signal, the lamp will turn on. While there is no another induction signal any more, the load should stop working within 10sec±3sec and the lamp would turn off.
- Turn LUX knob anti-clockwise on the minimum (3LUX). If the ambient light is more than 3LUX, the sensor would not work and the lamp stop working too. If the ambient light is less than 3LUX (darkness), the sensor would work. Under no induction signal condition, the sensor should stop working within 10sec±3sec.

Note: when testing in daylight, please turn LUX knob to ![]() (sun) position, otherwise the sensor could not work!
(sun) position, otherwise the sensor could not work!
Troubleshooting
The load does not work
- Please check if the connection of power source and load is correct.
- Please check if the load is good.
- Please check if the settings of working light correspond to ambient light.
The sensitivity is poor
- Please check if there is any hindrance in front of the detector to affect it to receive the signals.
- Please check if the ambient temperature is too high.
- Please check if the induction signal source is in the detection field.
- Please check if the installation height corresponds to the height required in the instruction.
- Please check if the moving orientation is correct.
The sensor can not shut off the load automatically:
- Please check if there is continual signal in the detection field.
- Please check if the time delay is set to the maximum position
- Please check if the power corresponds to the instruction.
Helpline
If you receive this item with parts broken or missing, please telephone:
0845-230-3400
Please have ready your name, address, tel. no., product reference, where purchased and parts required. An answering service is in operation outside office hours and during busy periods.
We regret that we are unable to give advice on internal house wiring.
Cascade Holdings Ltd, Gorse Mill, Gorse Street, Chadderton, Oldham. OL9 9RJ

Documents / ResourcesDownload manual
Here you can download full pdf version of manual, it may contain additional safety instructions, warranty information, FCC rules, etc.
Download Zinc ZN25152 - Leda 360 Degree Corner Mount PIR Sensor Manual
Advertisement


Need help?
Do you have a question about the ZN25152 and is the answer not in the manual?
Questions and answers