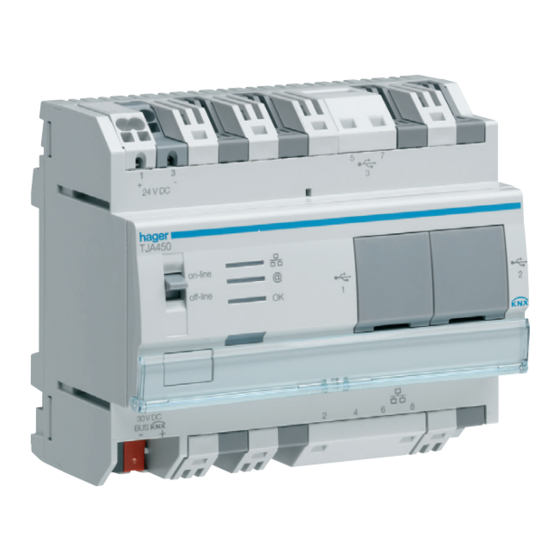
hager domovea Manual
Hide thumbs
Also See for domovea:
- Assembly instructions manual (6 pages) ,
- Operating & assembly instructions (28 pages)
Table of Contents
Advertisement
Quick Links
Advertisement
Table of Contents

Summary of Contents for hager domovea
- Page 1 panel...
-
Page 2: Table Of Contents
Date : 20/09/2012 User manual 6T 8205-02a CONTENTS INTRODUCTION ..............................3 ................................3 VERVIEW ................................3 ESCRIPTION ............................. 3 AFETY INSTRUCTIONS ................................4 TART ................................5 OME PAGE USE ..................................7 ..............................7 ASHBOARD VIEW ................................8 ROUPS VIEW ..............................9 EQUENCES VIEW .............................. -
Page 3: Introduction
1. INTRODUCTION 1.1 Overview domovea touch panel is a control and visualisation device for KNX installations. It is used to access all of the home automation functions of the house. All the functions described in the domovea software suite are accessible from this touch panel. -
Page 4: Start-Up
(DHCP) allowing automatic connection to the network. It also automatically detects the presence of the domovea server on the network and connects to it. Nevertheless, it may be that this connection is not made. In this case, the view below appears:... -
Page 5: Home Page
: Connection indicator LED If your domovea touch panel loses its connection with the KNX bus, this indicator LED switches to red. When this happens, no communication is possible between the bus and touch panel. - Page 6 Date : 20/09/2012 User manual 6T 8205-02a INTRODUCTION : Access to the parameter setting menu Quick links to the views: Select ‘dashboard’ view Select ‘sequences’ view Select ‘devices’ view Select ‘cameras’ view Select ‘favorites’ view The dashboard functions will be described in detail in the following section.
-
Page 7: Use
Date : 20/09/2012 User manual 6T 8205-02a 2. USE 2.1 Dashboard view This view is used to enter the general commands for your installation. By clicking in a frame (lights, shutters, etc.), without sending a command, you go to a view showing all the devices in a given category. -
Page 8: Groups View
Date : 20/09/2012 User manual 6T 8205-02a 2.2 Groups view This view is used to browse your installation via the groups, usually corresponding to the rooms of your residence. An example of the ‘Lounge’ device group In this example, it is possible to turn on or off all of the lights in the lounge, or to raise or lower all of the shutters with a single command. -
Page 9: Sequences View
Date : 20/09/2012 User manual 6T 8205-02a 2.3 Sequences view This view is used to visualise the various sequences programmed on your system by your installer. In the adjacent example, we have programmed a simple sequence (Leave on holiday) and an automatic sequence (Leave for Work) A sequence is a list of actions to be carried out on one or more items in your electrical installation. -
Page 10: Cameras View
Date : 20/09/2012 User manual 6T 8205-02a 2.4 Cameras view This view is used to visualise all of the cameras configured in your system. By clicking on a device, you access the view below to display the image from the camera. : switches to full-screen display of the image : captures an image of the screen 2.5 Favorites view... -
Page 11: Favorites
Date : 20/09/2012 User manual 6T 8205-02a By clicking on ‘display’, you can select whether to display the devices on a ‘Ribbon’ or in a ‘List’. Clicking on ‘navigate in a group’, displays the list of groups in your application. Click on the desired group to access the commands. -
Page 12: Customisation And Parameter Setting
6T 8205-02a CUSTOMISATION AND PARAMETER SETTING 3. CUSTOMISATION AND PARAMETER SETTING Independent of the specific application in your residence, it is possible to customise certain functions of the domovea touch panel. Press on the symbol at the top right of the screen to access the parameter setting bar. -
Page 13: Configuration Of The Screen
Date : 20/09/2012 User manual 6T 8205-02a CUSTOMISATION AND PARAMETER SETTING 3.2.1 Configuration of the screen Power management Used to adjust the various power management times. There are 3 types: ‘Screensaver’: Displays the standby view ‘Turn off the screen': Turns off the screen (black screen) ‘Put the computer to sleep’: Switches the CPU to standby mode. -
Page 14: Screen
Date : 20/09/2012 User manual 6T 8205-02a CUSTOMISATION AND PARAMETER SETTING To activate the loudspeakers, click and adjust the volume using the associated cursor. The higher the percentage set, the higher the volume. To turn off the microphone, click on (mute). - Page 15 Enable confirmations to activate message confirmation. All these settings can also be modified using the domovea server configurator. Click on ‘apply’ to confirm or ‘cancel’ to return to the previous screen. Protection: This menu is used to define which program functions must be protected by a password defined during installation using the domovea configurator.
-
Page 16: Journal
Settings Click on ‘apply’ to confirm or ‘cancel’ to return to the previous screen. 3.2.5 Journal Used to consult the various events on the domovea server. The screen displays the list of events beginning with the most recent. You can move through the list using the symbols Clicking on a specific event displays a window listing its details. -
Page 17: Network - Server Settings
CUSTOMISATION AND PARAMETER SETTING 3.2.6 Network – Server settings IP parameters Used to enter the settings for connection of the domovea touch panel on the IP network. Screen name: Enter the name visible on the network MAC address: Identifies the product's non-editable network... -
Page 18: Cleaning And Maintenance
Server name: Displays the name of the currently connected server. This view is also used to change the domovea server by clicking on ‘disconnect’. The program will then display the screen for selection of available servers so a new connection can be made (see section 1.4).


Need help?
Do you have a question about the domovea and is the answer not in the manual?
Questions and answers