Table of Contents
Advertisement
Quick Links
Advertisement
Table of Contents

Related Manuals for Greemotion GM-2013


Summary of Contents for Greemotion GM-2013
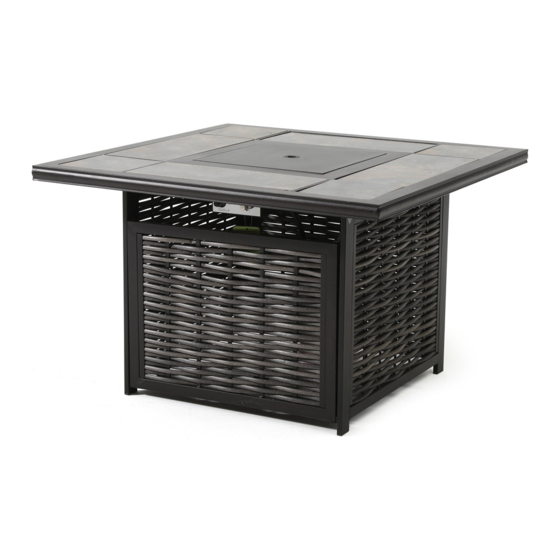
- Page 1 GM-2013 Firepit Dining Table...
- Page 2 SAFETY INSTRUCTIONS AND WARNINGS: INDICACIONES DE SEGURIDAD Y ADVERTENCIAS: • The product is to be used exclusively for its intended purpose. • Utilice el artículo exclusivamente conforme a las instrucciones de uso del • Regularly check the condition and functionality of the product. If you notice mismo.
- Page 3 WARNING DANGER: FIRE OR EXPLOSION HAZARD - If you smell gas: Shut o gas to the appliance. Extinguish any open ame. If odor continues, leave the area immediately. After leaving the area, call your gas supplier or re department. Failure to follow these instructions could result in re or explosion, which could cause property damage, personal injury, or death. Improper installation, adjustment, alteration, service or maintenance can cause property damage, personal injury or loss of life.
- Page 4 PARTS REAR FRAME FRAME A FRAME B BOTTOM FRAME FRONT DOOR CROSS BRACE TABLE TOP LOWER CONNECTOR UPPER CONNECTOR 4 PC 4 PC COVER TILE A TILE B 2 - 9...
- Page 5 HARDWARE 2 PC 10 PC 4 PC SCREW ST4.2*16 BOLT M6*15 BOLT M6*25 14 PC 1 PC 1 PC WASHER d6.5*D13*1.0 LAVA ROCKS BURNING SYSTEM Ⅱ Ⅰ 4 PC 1 PC BOLT M6*10 TOUCH UP PAINT TOOLS 3 - 9...
- Page 6 ASSEMBLY INSTRUCTIONS Fasten the frame A (#2) and the frame B (#3) to the Fasten the bottom frame (#4) and cross brace (#6) rear frame (#1) by using bolts (#14) and washers to the frames (#2 and #3) by using bolts (#15), (#16).
- Page 7 ASSEMBLY INSTRUCTIONS Igniter Valve Place the table top (#7) onto the frame assembly. Place the tiles (#11 and #12) onto the table top Fasten them together by using bolts (#14) and (#7). washers (#16). Fasten the burning system (#18) to Note: the table top (#7) by using bolts (#19).
-
Page 8: Specific Warnings
ASSEMBLY INSTRUCTIONS Fire Shield Note: Note: The lava rocks cannot be The fire shield on the exposed over top of the burner system must be steel cover surface. exposed. Place the lave rocks (#17) into the steel bowl. Place the cover (#10) onto the burning system (#18) to cover the lava rock set. -
Page 9: Care And Maintenance
SWITCH USAGE INSTRUCTIONS OFF/Arrêt LOW/ OFF/Arrêt OFF/ Arrêt Min. LOW/ OFF/ Arrêt Min. Allu- Allu- mage CLOSE mage OPEN Max. Max. Step 1: Lighting Step 2: Adjusting and Shutting Down Open the igniter button and install an AAA battery If the burner is not lit, press down the control knob (not included), then secure the cap back on. -
Page 10: Safety Instructions
LIGHTING AND SHUTTING DOWN Instructions for lighting and shutting down the Use of your appliance Incorrect Yellow appliance: causes carbon residue Correct Flame 1. Read instructions before lighting. to build up on the lava Flame Blue 2. Press down the control knob to " LOW ", at the same rocks inhibiting the time push in the ignition button and keep the button air ow and leading to a... -
Page 11: Removing The Tank
REMOVING THE TANK Plastic Counter-Clockwise Screw Note: Step B: Close the valve tightly before removing the tank. Remove the tank from the tank-support assembly Step A: and through the tank fastener. Note: To remove the fuel supply hose from the tank, rotate counter-clockwise.
Need help?
Do you have a question about the GM-2013 and is the answer not in the manual?
Questions and answers