Table of Contents
Advertisement
Quick Links
Advertisement
Table of Contents

Summary of Contents for Skil SPT67W
- Page 1 IMPORT NT: Read Before Using Operating/Safety Instructions SPT67W SPT67WL SPT67WM...
-
Page 2: General Power Tool Safety Warnings
General Power Tool Safety Warnings Read all safety warnings and all instructions. Failure to follow the warnings W RNING and instructions may result in electric shock, fire and/or serious injury. SAVE ALL WARNINGS AND INSTRUCTIONS FOR FUTURE REFERENCE The term “power tool” in the warnings refers to your mains-operated (corded) power tool or battery-operated (cordless) power tool. -
Page 3: Safety Rules For Circular Saws
Disconnect the plug from the power source Keep cutting tools sharp and clean. Properly and/or the battery pack from the power tool maintained cutting tools with sharp cutting before making any adjustments, changing edges are less likely to bind and are easier to accessories, or storing power tools. - Page 4 Kickback causes and related Blade depth and bevel adjusting locking warnings levers must be tight and secure before making cut. If blade adjustment shifts while Kickback is a sudden reaction to a pinched, cutting, it may cause binding and kickback. bound or misaligned saw blade, causing an uncontrolled saw to lift up and out of the Use extra caution when sawing into...
-
Page 5: Additional Safety Warnings
GFCI and personal protection devices like Risk of injury to user. The power cord must only electrician’s rubber gloves and footwear will be serviced by a Skil Factory Service Center or further enhance your personal safety. Authorized Skil Service Station. - Page 6 Symbols IMPORTANT: Some of the following symbols may be used on your tool. Please study them and learn their meaning. Proper interpretation of these symbols will allow you to operate the tool better and safer. Symbol Name Designation/Explanation Volts Voltage (potential) Amperes Current Hertz...
- Page 7 Symbols (continued) IMPORTANT: Some of the following symbols may be used on your tool. Please study them and learn their meaning. Proper interpretation of these symbols will allow you to operate the tool better and safer. This symbol designates that this tool is listed by Underwriters Laboratories. This symbol designates that this component is recognized by Underwriters Laboratories.
-
Page 8: Functional Description And Specifications
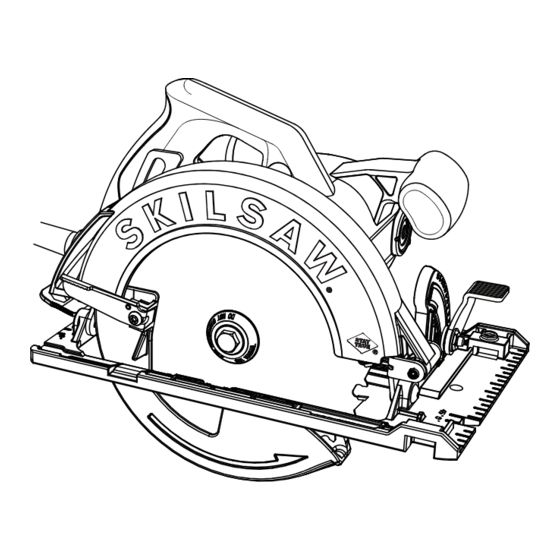
LOCK BUTTON DEPTH DJUSTMENT LEVER BL DE WRENCH & STOR GE Model number SPT67W, SPT67WL, SPT67WM Maximum Capacities Blade 7-1/4" Blade arbor hole 5/8" Round Depth of cut at 90° 2-7/16" (62.0mm) Depth of cut at 45° Bevel 1-7/8" (47.6mm) Depth of cut at 56°... - Page 9 Assembly ATTACHING THE BLADE 5. Reinstall OUTER WASHER. First tighten Disconnect the plug from BLADE STUD finger tight, then TIGHTEN W RNING the power source before BLADE STUD 1/8 TURN (45˚) WITH THE making any assembly, adjustments or WRENCH PROVIDED. changing accessories.
-
Page 10: Depth Adjustment
Operating Instructions DEPTH ADjUSTMENT Disconnect plug from power source. Loosen Not more than one tooth length of the blade the depth adjustment lever located between should extend below the material to be cut, for the guard and handle of saw. Hold the foot minimum splintering (Fig. - Page 11 0° LINE GUIDE 45° FIG. 7 CUTS BEVEL CUTS For a 0° cut, use right side of notch in the foot. For 45° bevel cuts, use the left side (Fig. 7). The cutting guide notch will give an approximate line of cut. Make sample cuts in scrap lumber to verify actual line of cut.
-
Page 12: Plunge Cuts
When cutting is interrupted, to resume cutting: CUTTING MASONRy/METAL squeeze the trigger and allow the blade to This tool is not designed for use with metal or reach full speed, re-enter the cut slowly and masonry cut-off wheels. resume cutting. Do not use abrasive wheels W RNING When cutting across the grain, the fibers of... - Page 13 Support the panel or board close to the cut, as FIG. 11 shown in (Fig. 11). Be sure to set the depth of RIGHT the cut so that you cut through the sheet or board only and not the table or work bench. The two-by-fours used to raise and support the work should be positioned so that the broadest sides support the work and rest on the table or bench.
-
Page 14: Maintenance
Do recommend that all tool service be performed not attempt to clean by inserting pointed by a Skil Factory Service Center or Authorized objects through openings. Skil Service Station. Certain cleaning agents... -
Page 15: Troubleshooting
1. Plug saw in. 2. Replace fuse or reset tripped circuit breaker. 3. Inspect cord for damage. If damaged, have cord replaced by an Authorized Skil Service Center or Service Station. 4. Have switch replaced by an Authorized Skil Service Center or Service Station.


Need help?
Do you have a question about the SPT67W and is the answer not in the manual?
Questions and answers