Brady BradyPrinter S3100 Quick Start Manual
Sign & label printer
Hide thumbs
Also See for BradyPrinter S3100:
- User manual (164 pages) ,
- Quick start manual (2 pages) ,
- Quick start manual (2 pages)
Advertisement
Quick Links
Quick Start Guide
Guide de démarrage rapide
Guía de inicio rápido
Guia de início rápido
Unpacking
Verify that the following items are included in the
box.
• Printer
• USB Cord
• Documentation CD
• Quick Start Guide
• Power Cord
• Cleaning Kit
Safety
IMPORTANT: Before operating the printer, be
sure to read important safety information in the
User's Manual located on the Documentation
CD.
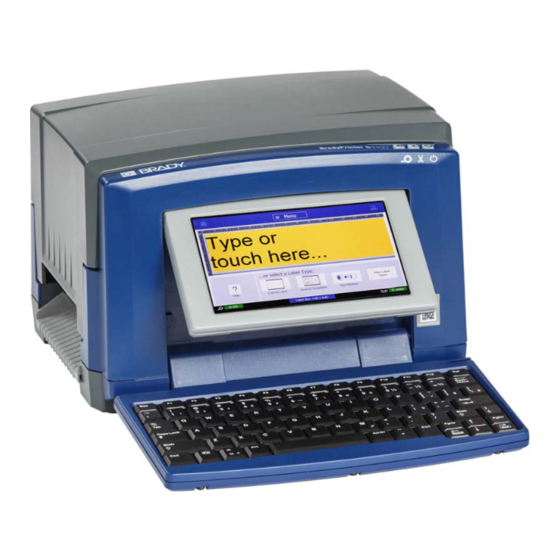
Components
A
Label Supply
B
Media Wiper
C
Media Guides
D
Roller
E
Ribbon
F
Screen
G
Keyboard
A
B
C
D
E
F
G
Installation and Setup
Connect Power
1. Plug in power cord.
2. Flip the power switch on the side of the
printer.
Install Media
1. Open the media guides and media wiper as
shown.
2. Insert the media and feed the media so that
the end sits just past the black rubber roller.
3. Close the media guides and move the media
wiper so it rests on the media.
Install Ribbon
1. Place ribbon cartridge with ribbon over print
head (product label toward machine), then
snap into place.
2. Close and latch ribbon cover.
Using the Display
The Home screen automatically displays when
you power on the printer. To return to the Home
screen at any time, touch
.
Menu
Touch
to access the following
options.
Advertisement

Subscribe to Our Youtube Channel
Related Manuals for Brady BradyPrinter S3100


Summary of Contents for Brady BradyPrinter S3100
- Page 1 Unpacking Installation and Setup Install Ribbon 1. Place ribbon cartridge with ribbon over print Verify that the following items are included in the Connect Power head (product label toward machine), then box. snap into place. 1. Plug in power cord. •...
- Page 2 2. In the Add Object panel, touch an object to add to the label. ©2017 Brady Worldwide, Inc. • With Object Selected: Provides options for editing an object. Use the More Options...
Need help?
Do you have a question about the BradyPrinter S3100 and is the answer not in the manual?
Questions and answers