Advertisement
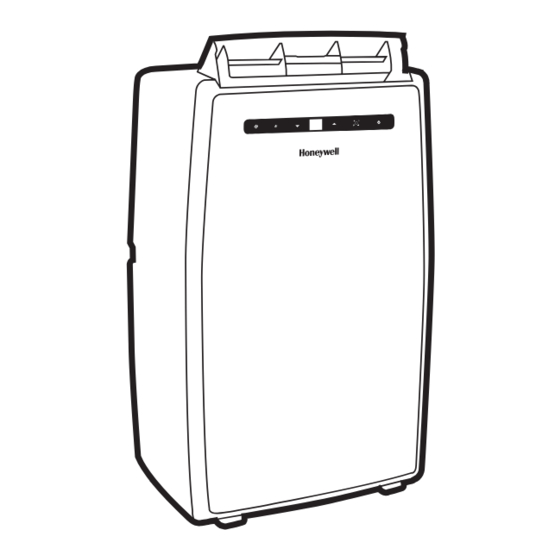
Portable Air Conditioner (Dual Hose)
User Manual
Read and save these instructions before use
Customer Support:
Web: www.jmatek.com
USA: 1-800-474-2147 | usinfo@jmatek.com
CANADA^: 1-888-209-0999 | canadainfo@jmatek.com
^ Canada Customer Support service available for models sold in Canada only.
Model:
MN10CED / MN10CHED
MN12CED / MN12CHED
MN14CED / MN14CHED
Series
Advertisement
Table of Contents


Need help?
Do you have a question about the MN10CED and is the answer not in the manual?
Questions and answers