Advertisement
For model:
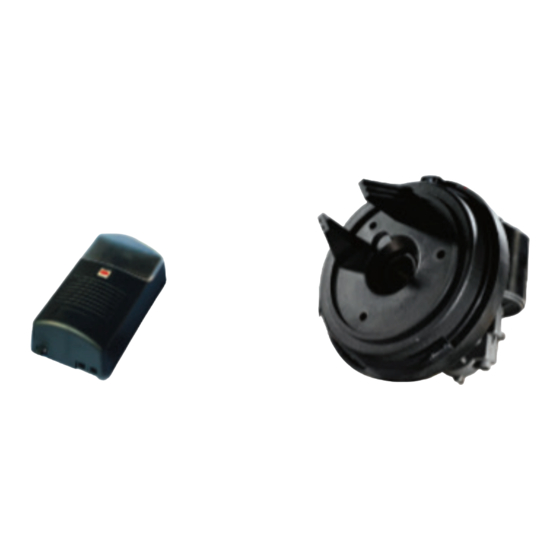
RDO12A
WARNING
Please read the manual carefully before installation and use. The installation of your new door
opener must be carried out by a technically qualified or licensed person. Attempting to install or
repair the door opener without suitable technical qualification may result in severe personal
injury, death and / or property damage.
GARAGE DOOR OPENER RDO12A
FOR ROLLER GARAGE DOORS | INSTALLATION & USER GUIDE
Advertisement

Related Manuals for Stratco RDO12A


Summary of Contents for Stratco RDO12A
- Page 1 Attempting to install or repair the door opener without suitable technical qualification may result in severe personal injury, death and / or property damage. GARAGE DOOR OPENER RDO12A FOR ROLLER GARAGE DOORS | INSTALLATION & USER GUIDE...
-
Page 2: Table Of Contents
CONTENTS CONTENTS Important safety recommendations...……..…………………………… ……………………..1 Preinstallation note......………………………………….………………………….2 Installation instructions……………………………………………….………………………….3 Control box set up…………………………………………….………………………………….4 Manual disengagement…………………………………………………………………………..7 Technical specifications……………………………………………………………………..…...7 Common trouble shooting……………………………………………………………………..….8... -
Page 3: Important Safety Recommendations
IMPORTANT! PLEASE READ THESE INSTRUCTIONS CAREFULLY PRIOR TO INSTALLATION OF THE ROLLER DOOR MOTOR. This automatic opener has been designed to provide years of trouble free use. The opener will perform efficiently only if it is installed and operated correctly. READ THESE IMPORTANT SAFETY RULES FIRST. -
Page 4: Preinstallation Note
Pre-installation Notes Right hand installation shown (inside garage looking out)Fig1 Check that there is sufficient side clearance to fit the operator unit. It may be fitted to either the right or left hand side. (1) Minimum side clearance: The minimum side clearance between door curtain and the inside edge of mounting bracket is 85mm;... -
Page 5: Installation Instructions
Installation Instruction STEP 1 Whilst the door roll is on the floor, rotate shaft backwards and forwards by hand and then release. This action will allow the roll to centralize itself on the shaft. (New installation only). STEP 2 Fit anti-coning collar TIGHT TO DRUM at opposite end of curtain to the motor using M8 Dome Head Screw and M8 Nyloc Nut as required. -
Page 6: Control Box Set Up
1. Control box set up ( ( Remove cover on front of control box first. ) ) Operation Controls: 1 SET Button - Confirm set and Reversing sensitivity 2 CODE Button - Transmitter code set. 3 UP Button - Limit mode set. 4 DOWN Button - Limit mode set Circuit Board Connections. - Page 7 2. Terminals and Connections. 1) GND & PB = Push Button terminals. Step by step command input (open, stop, close) same as step by step button on the transmitter. 2) 12V & GND & PE = Photo beam terminals. 3) 12V & GND & PB = Plug in receiver terminals To safeguard the operator and avoid damaging components while wiring, disconnect the unit from all power when working on it.
- Page 8 The door will then open and close automatically to map the open and close sensitivity force requirements. 4.8) The door is now set for normal operational mode. IMPORTANT: Safety systems must be checked regularly to ensure that maximum safety is maintained at all times.
-
Page 9: Manual Disengagement
Manual disengagement Pull manual release lever downwards. (Refer fig 10 below) Figure 10 Technical Specifications Model ET12A Power Input: 220-240 VAC 50/60Hz Motor: 18 VAC 3 minutes Courtesy light time: <90 % Relative humidity: 433.92 MHz Reception frequency: 12V Battery Transmitter power: -20 C –... -
Page 10: Common Trouble Shooting
COMMON TROUBLE SHOOTING Symptom Possible reason Solution Check power is on to control unit(Red Power not switch on LED illuminated) The door will not operate from control box Plug fully engaged on the control box Mains plug problem and motor wiring connections properly engaged Push the manual release lever up “beep, beep..”... - Page 11 There could be an obstruction Remove obstruction under the door The door stops automatically The moving force of the motor is Increase the safety reverse force when opening set too low The battery is loose. Open rear cover The remote light doesn’t flash and ensure battery is connected.
- Page 12 « SCAN THIS QR CODE TO FIND A STRATCO NEAR YOU 1300 155 155 stratco.com.au All brands and logos/images accompanied by ® or ™ are trade marks of Stratco (Australia) Pty Limited. ® Copyright March 2021...
Need help?
Do you have a question about the RDO12A and is the answer not in the manual?
Questions and answers