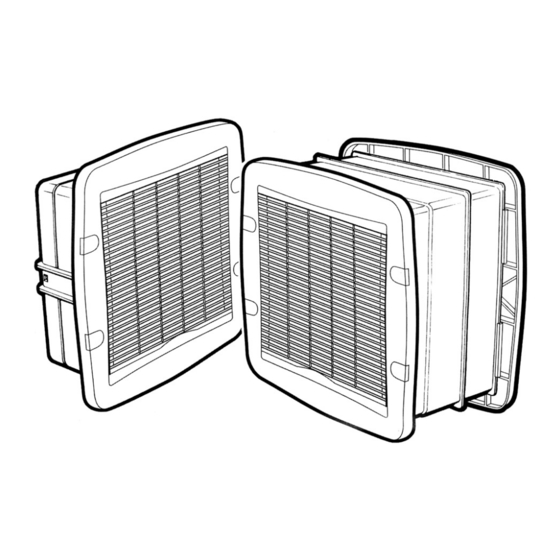
Summary of Contents for Vent-Axia TX7 WL
- Page 1 T-series Wall & Panel Models Installation & User Instructions 220-240V~50Hz PLEASE READ INSTRUCTIONS IN CONJUNCTION WITH ILLUSTRATIONS READ AND SAVE THESE INSTRUCTIONS...
- Page 2 3 pin plug or, if 8.READ THESE INSTRUCTIONS FULLY BEFORE permanently wired, a double pole isolator switch having a The motor in this Vent-Axia product is fitted with sealed-for- COMMENCING INSTALLATION contact separation of not less than 3mm must be provided.
- Page 3 Tænd for strømmen og kontrollér ventilatorens funktion. SIKRE, AT DE IKKE LEGER MED APPARATET. styreenhed til en enkelt ventilator, skal isoleringen på lederne i Motoren i dette Vent-Axia produkt er udstyret med lejer, som er det 5-leder kabel fjernes, se Vejledning for elektrisk tilslutning SPÆNDING af styreenheden og fortsæt fra F6.
- Page 4 PULIZIA cavo proveniente dal controller serie T (cavo a 5 fili) o Oltre a eliminare gli odori, la ventola Vent-Axia estrae anche le dell'interruttore on/off (cavo a 3 fili). All'interno del telaio deve impurità presenti nell'aria come lo sporco, la polvere e il grasso.
- Page 5 Os ventiladores eléctricos do Controlador da 'Série T' (cabo trifásico) ou do Vent-Axia da 'Série T' foram concebidos para uma limpeza e interruptor simples (cabo monofásico). Deverá haver um manutenção fáceis. Assim, para garantir sempre o melhor comprimento de cabo suficiente no interior do tubo para desempenho do seu ventilador, deverá...
- Page 6 PREPARACIÓN E INSTALACIÓN Para la expulsión de aire El motor de este producto de Vent-Axia está dotado de Ajuste del Modelo Panel F4Conecte Cargado (marrón) al terminal L3, Neutral (azul) al cojinetes herméticamente sellados durante la vida útil del...
- Page 7 VOORBEREIDING EN INSTALLATIE (groen/geel) aansluitingspunt De motor in dit product van Vent-Axia is uitgerust met Het installeren van het paneelmodel aansluitingscontactdoos. Verbind aansluitingspunt L3 met L1. levenslang dichte lagers en behoeft bijgevolg geen smering. C4ii.Uw paneelmodel van de T-serie is geschikt om zowel in Voor inlaatwerking verticale als horizontale oppervlakken te worden geïnstalleerd.
- Page 8 Figures C1i/C3ii pour vérifier que le ventilateur est adapté fonctionne. borne L3 à L1. à la position proposée. Le moteur de ce produit Vent-Axia est équipé de paliers scellés Pour faire fonction en admission PREPARATION ET INSTALLATION à vie qui ne demandent aucune lubrification.
- Page 9 Anschlussbuchse und zum Abziehen der Lüftereinheit sein. REINIGUNG D3.Zementieren Sie die beiden Wandschachtauskleidungen ein. Ihr Lüfter von Vent-Axia zieht nicht nur Gerüche ab, sondern Achten Sie dabei darauf, dass sie die Seiten nicht verformen. auch in der Luft befindliche Schmutz-, Staub- und Fettteilchen.
- Page 10 (οι νευρώσεις προς την κάτω πλευρά, το άνοιγμα για το εξωτερικό περίβλημα του καλωδίου. Ο κινητήρας σε αυτό το προϊόν της Vent-Axia διαθέτει καλώδιο προς την επάνω). Συνδέστε με την τροφοδοσία μέσω F7.Σύρτε και πάλι το επάνω κάλυμμα στη θέση του και...
- Page 11 SIZE C3ii C4ii SIZE...
- Page 13 EXTRACT INTAKE...
- Page 14 G11/G12...
- Page 16 SALES ENQUIRIES: Tel: 0344 8560590 Fax: 01293 565169 TECHNICAL SUPPORT: Tel: 0344 8560594 Fax: 01293 532814 For details of the warranty and returns procedure please refer to www.vent-axia.com or write to Vent-Axia Ltd, Fleming Way, Crawley, RH10 9YX 442615C 0521...


Need help?
Do you have a question about the TX7 WL and is the answer not in the manual?
Questions and answers