Advertisement
Table of Contents
Advertisement
Table of Contents

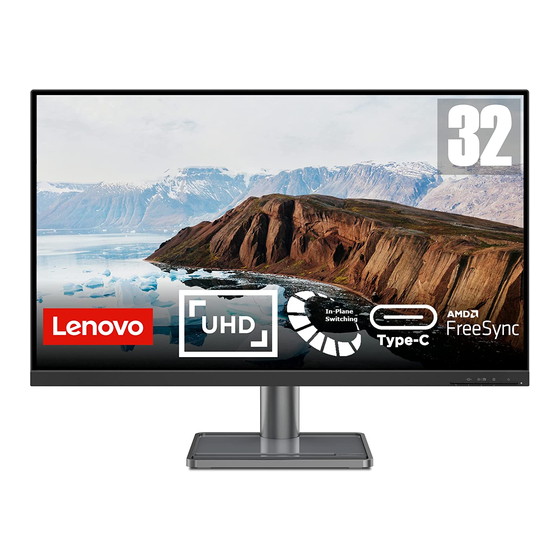
Summary of Contents for Lenovo L32P-30
- Page 1 L32P-30 Simplified service manual for dismantling Model Name: Lenovo L32P-30...
- Page 2 Exploded Diagram...
- Page 3 1. Precaution Please read the precaution as follows to prevent any damages to the LCD Monitor. Make sure all power connector is removed. Be sure that the LCD Monitor is in power off status. Prepare soft cloth and sponge as working platform to place LCD monitor horizontally.
- Page 4 2. Appropriate tools Select the Appropriate tools for disassembly and re-assembly. Phillips screwdriver (#2) spacer screwdriver C/D disassembly tool Gloves or soft cloth...
- Page 5 3. Disassembly SOP Remove the screw on the hinge firstly and then pull out the hinge by hand Use the C/D disassembly tool to release Rear cover hook from the bottom site...
- Page 6 Remove the tapes and disconnect phone jack connectors , then unscrew the 3 *screws on the mainframe . Tool : Phillips screwdriver (#2) Turn over the mainframe and disconnect the connectors as the picture Remove the mylar sheet on the power board...
- Page 7 Unscrew the 6*screws on the boards Tool : Phillips screwdriver (#2) Mainboard and power board...
- Page 8 Unscrew the screws on the middle frame . Tool : Phillips screwdriver (#2) Disconnect the connector on the keyboard Panel...


Need help?
Do you have a question about the L32P-30 and is the answer not in the manual?
Questions and answers
how to set resolution of L32p-30 to maximum?
To set the maximum resolution for the Lenovo L32P-30 monitor (3840x2160), follow these steps:
1. Connect the Monitor – Ensure the monitor is properly connected to your computer using a compatible cable (DisplayPort or HDMI 2.0+).
2. Open Display Settings – On Windows, right-click on the desktop and select Display settings.
3. Select the Monitor – Scroll down to the Display resolution section and choose 3840x2160 from the dropdown menu.
4. Apply and Confirm – Click Apply, then select Keep changes if the display looks correct.
5. Check Refresh Rate – Click Advanced display settings and ensure the refresh rate is set correctly (typically 60Hz for this monitor).
6. Update Drivers (if needed) – Ensure your graphics drivers are up to date by checking the manufacturer’s website.
If the resolution does not appear as an option, verify that your graphics card supports 4K and that you are using a high-quality cable.
This answer is automatically generated