Table of Contents
Advertisement
Quick Links
Item # 1009025763
Model # VXWC540BSSEL
USE AND CARE GUIDE
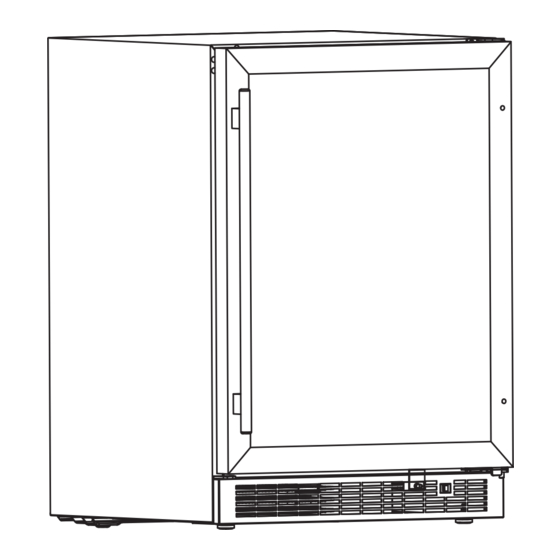
DUAL ZONE 24 IN.
BUILT-IN 51-BOTTLE WINE AND BEVERAGE
COOLER IN STAINLESS STEEL
Questions, problems, missing parts? Before returning to the store,
call Vissani Customer Service
8 a.m. – 7 p.m., EST, Monday-Friday, 9 a.m. – 6 p.m., EST, Saturday
1-855-847-7264
HOMEDEPOT.COM
THANK YOU
We appreciate the trust and con dence you have placed in Vissani through the purchase of this wine cooler. We strive to continually create
quality products designed to enhance your home. Visit us online to see our full line of products available for your home improvement needs.
Thank you for choosing Vissani!
Advertisement
Table of Contents

Related Manuals for Vissani VXWC540BSSEL


Summary of Contents for Vissani VXWC540BSSEL
- Page 1 THANK YOU We appreciate the trust and con dence you have placed in Vissani through the purchase of this wine cooler. We strive to continually create quality products designed to enhance your home. Visit us online to see our full line of products available for your home improvement needs.
-
Page 2: Table Of Contents
Table of Contents Removing Hinge Assembly ............Table of Contents ............2 Safety Information ............2 Switching Handle Iocation ............Warranty ................. 3 Installing Hinge ............... What is Covered ..............3 Installing The Door ..............What is Not Covered ............... 3 Operation ................ -
Page 3: Warranty
Safety Information (continued) WARNING: NOTE: Do not connect your appliance to □ extension cords or together with another Do not use electrical appliances inside the appliance in the same wall outlet. Do not splice food storage compartments of the the power cord. Do not under any appliance, unless they are of the type circumstances cut or remove the third ground recommended by the manufacturer. -
Page 4: Pre-Operation
CAUTION: the appliance is in operation. Failure to fully close the door can lead to excessive condensation and potential water damage to oor under the appliance. Vissani will not be responsible for damages from misuse. TOOLS REQUIRED Tape measure... -
Page 5: Preparing The Enclosure
Pre-operation (continued) PREPARING THE ENCLOSURE □ Gloves and safety goggles should be worn during installation. □ It is not recommended to install the appliance into a corner or directly beside a wall. The cooler door will need to be opened more than 90° to allow full extension of the shelves. If it is necessary to place next to a wall or in a corner, leave at least 2-4 inches (5-10 cm) of space between the wall and the appliance to allow for the door opening. -
Page 6: Package Contents
Pre-operation (continued) PACKAGE CONTENTS Part Evaporator Compressor Glass door Door handle Wooden shelf (1) Wooden shelf (2) Temperature control box LED light Power plug Cabinet Hexagon screwdriver... -
Page 7: Removing Hinge Assembly
Pre-operation (continued) Removing Hinge Assembly Switching Handle Iocation □ □ Remove the screw (5) at the lower right corner of Loosen the screw (6) and remove the handle (D). □ the glass door (C). Remove the screws (8) from the back of the glass □... -
Page 8: Installing Hinge
Pre-operation (continued) Installing Hinge Installing The Door □ □ Install the removed screw hole cover (1) onto the Remove the left lower hinge (10) from the accessory screw hole in the upper right corner of the box (D). pocket and install it onto the hinge retainer plate (11). □... -
Page 9: Operation
Operation Learning the Appliance Features □ Low-E Glass Door (1): Low-E glass used to re ect and absorb heat. □ Electronic Display and Controls (2): For viewing and regulating the temperature. □ Magnetic Door Gaskets (3): Tight tting seals retain all the cooling power and humidity levels. - Page 10 Operation (continued) Leveling Instructions □ There is an adjustable leg on the bottom of the appliance that can be turned up or down to ensure that the appliance is level. □ Turn the leveling leg counterclockwise as far as it will go, until the top of the foot is touching the bottom of the cabinet.
-
Page 11: Maintenance
Maintenance VACATION □ Short vacations: Leave the appliance operating during vacations of less than three weeks. □ Turn the adjustable foot up to the base to avoid damage. □ Protect the outside of the appliance with a blanket or similar item. □... -
Page 12: Troubleshooting
Troubleshooting Problems Possible Causes Solutions □ No power. A fuse may be blown or the circuit breaker Check both causes and plug in tripped. again. □ The plug is not fully inserted into the wall outlet. □ Internal temperature not cold Temperature setting is too warm. - Page 13 Questions, problems, missing parts? Before returning to the store, call Vissani Customer Service 8 a.m. – 7 p.m., EST, Monday-Friday, 9 a.m. – 6 p.m., EST, Saturday 1-855-847-7264 HOMEDEPOT.COM Retain this manual for future use.
Need help?
Do you have a question about the VXWC540BSSEL and is the answer not in the manual?
Questions and answers