Table of Contents
Advertisement
Quick Links
Advertisement
Table of Contents

Subscribe to Our Youtube Channel
Related Manuals for Logitech CC4900e


Summary of Contents for Logitech CC4900e
- Page 1 CC4900e Setup Guide | 设置指南...
- Page 2 English 简体中文...
- Page 3 POWER SUPPLY WARNING! The power supply is for indoor use only. Only use the power supply price paid, if the hardware is returned to the point of purchase or such other place as Logitech included with your product. Do not attempt to repair or use a damaged power supply. Do not may direct along with a receipt.
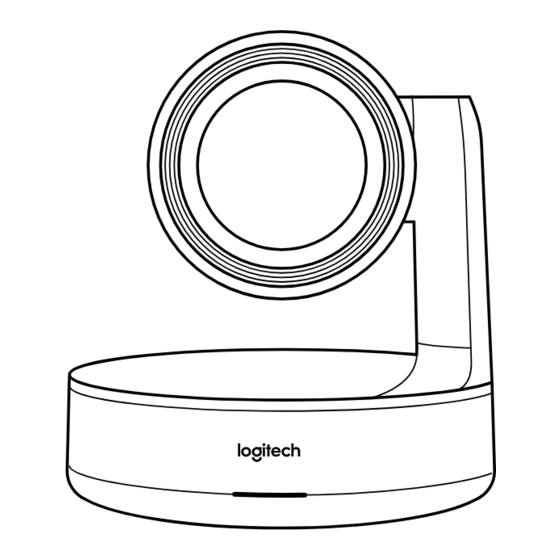
- Page 4 WHAT’S WHAT CAMERA 1. Remote Pairing Button 4. Security Slot 2. USB 5. MIPI 3. Status LED 6. Tripod Thread 7. Expansion Slot English...
- Page 5 REMOTE 1. Video Mute 4. Camera Presets 2. Pan/Tilt 5. Zoom In/Out 3. Camera Home English...
-
Page 6: Connect Your Camera
1. Plug the power splitter USB pigtail into the USB port of the camera 5. If issues persist, consult www logitech com/support/ rallycamera or call technical support 2. Connect the power adapter from the power splitter to a wall outlet 3. -
Page 7: Mount Your Camera
Insert the power splitter into the power splitter case and route cables as shown e. Secure the camera to the mount via the tripod screw 3. Mount to the TV: An optional TV mount bracket is available at www logitech com English... -
Page 8: Pan And Tilt
CAMERA PRESETS and macOS 10 14+ To enable or disable Set up to 2 preset positions Once in the RightSight, download the Logitech Sync desired position, save a preset by pressing application Pressing the pan, tilt or and holding the button for 3 seconds... -
Page 9: Pairing The Remote
4. If the pairing fails, the LED will keep flashing Start from step 2 and repeat FOR MORE INFORMATION You can find additional information on Rally including: – FAQs – Firmware Upgrades – Software Downloads – Support Community – Warranty Information – Replacement Parts – And more at www.logitech.com/support/rallycamera English... - Page 10 POWER SUPPLY WARNING! The power supply is for indoor use only. Only use the power supply price paid, if the hardware is returned to the point of purchase or such other place as Logitech included with your product. Do not attempt to repair or use a damaged power supply. Do not may direct along with a receipt.
- Page 11 硬件说明 摄像头 1. 遥控器配对按钮 4. 防盗锁插孔 2. USB 端口 5. MIPI 端口 3. LED 状态指示灯 6. 三脚架安装螺纹 7. 扩展插孔 简体中文...
- Page 12 遥控器 1. 视频静音 4. 摄像头预设位 2. 平移/俯仰 5. 变焦放大/缩小 3. 摄像头复位 简体中文...
- Page 13 4. 摄像头正在连接时, LED 指示灯会 连接摄像头 闪烁。 连接成功后, 摄像头会旋转。 无论您打算在会议室使用专用电脑, 还 是使用自带的笔记本召开会议, CC4900e 的连接方式都是一样的。 1. 将电源分线器的 USB 端插入摄像头的 USB 端口。 5. 若仍存在问题, 请咨询 www logitech com/support/ rallycamera 或致电技术支持。 2. 使用电源适配器将电源分线器与电源插 座相连接。 3. 使用 USB 线缆将电源分线器与计算机 相连接。 简体中文...
- Page 14 我们为 CC4900e提供了多种安装方式。 对于视频通话, 建议将摄像头尽量置于与 视线平齐的高度。 通常来说, 安装于电视 下方效果更佳。 1. 放置于桌面或电视附近的架子上。 2. 安装于墙面上: a. 将壁装底座固定在墙面上。 请根据 墙壁类型选用适合的的螺丝类型。 d. 将电源分线器盒嵌扣入安装底座。 b. 将电源分线器放入电源分线器盒内, 走线方式如图所示。 e. 使用三脚架螺丝将摄像头固定于安 装底座上。 3. 安装于电视上: 选购选配电视安装支 架, 请访问 www.logitech.com。 进行视频通话 要进行视频通话, 请打开您选择的应 用程序, 并选择 CC4900e。 视频流传 输时, LED 状态指示灯会亮起。 简体中文...
- Page 15 6. 遥控器和摄像头配对成功后, LED 会停 预设位。 按下预设位按钮, 摄像头即可回 止闪烁。 到预设位置。 7. 若配对失败, LED 则保持闪烁。 复位 从第 2 步开始重新执行。 复位即让摄像头恢复至开机位置。 按住此 获取更多信息 按钮 10 秒, 可保存新的复位位置。 有关 CC4900e 的其他信息, 例如: 摄像头设置应用程序 –常见问题解答 使用此程序可控制摄像头的平移、 俯仰、 –固件升级 变焦、 对焦和画面质量 (如亮度和对比度)。 下载软件请访问 www logitech com/ –软件下载 support/rallycamera –支持社区...
- Page 16 © 2020 Logitech Logi, Logitech, 罗技 and the Logitech Logo are trademarks or registered trademarks of Logitech Europe S A and/or its a liates in the U S and other countries All other tradmarks are the property of their respective...
Need help?
Do you have a question about the CC4900e and is the answer not in the manual?
Questions and answers