Table of Contents
Advertisement
Advertisement
Table of Contents

Subscribe to Our Youtube Channel
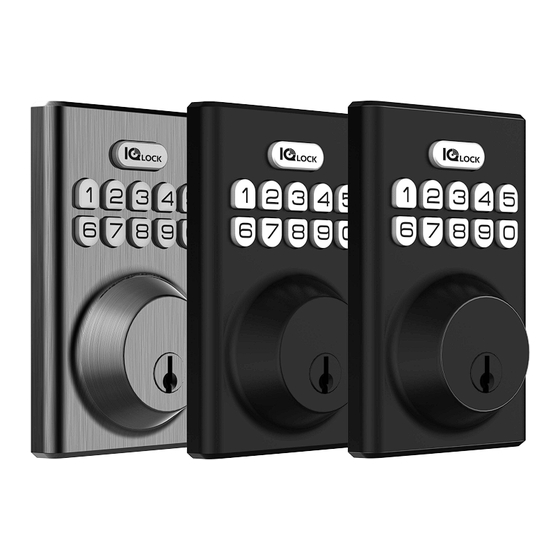
Related Manuals for Johnson Controls IQ Lock-PowerG

Summary of Contents for Johnson Controls IQ Lock-PowerG
- Page 1 IQ Lock-PowerG Installation and User Guide D-309240 D-309240...
- Page 2 IQ Lock-PowerG Installation and User Guide D-309240...
-
Page 3: Table Of Contents
Sound settings............................. 23 Incorrect user code entry..........................23 Resetting the IQ Lock-PG to factory default settings................24 FCC Information............................. 25 Modification statement........................25 Interference statement........................25 Wireless notice............................. 25 ISED Statement...............................25 Warranty and EULA............................27 Technical support............................27 IQ Lock-PowerG Installation and User Guide D-309240... - Page 4 IQ Lock-PowerG Installation and User Guide D-309240...
-
Page 5: Safety Information
Restrict access to your lock and routinely check your settings to ensure they are not altered without your knowledge. • To make sure you are not locked out of your premises, monitor the IQ Lock-PowerG battery levels and replace them when required. Ensure you have access to the physical keys. •... -
Page 6: Compatible Panels
Compatible panels For panels that are compatible with the IQ Lock-PG, access https://bit.ly/3mnWCmx. IQ Lock-PowerG Installation and User Guide D-309240... -
Page 7: Iq Lock-Pg Kit Details
Screws for mounting the interior assembly to the door. Door thickness should be between 35 mm and 58 mm. Interior assembly Screws Battery cover Drive-in collar Reset tool Important: The kit also contains four AA alkaline batteries. IQ Lock-PowerG Installation and User Guide D-309240... -
Page 8: Specifications
Measure to confirm that the door hole backset is 2 3/8 in. or 2 3/4 in. (60 mm or 70 mm). • Measure to confirm that the latch hole is 1 in. (25.4 mm) from top to bottom. IQ Lock-PowerG Installation and User Guide D-309240... - Page 9 Door thickness is between 1 3/8 in. and 2 1/4 in. (35 mm to 58 mm) Door hole backset is 2 3/8 in. or 2 3/4 in. (60 mm or 70 mm) Latch hole is 1 in. (25.4 mm) from top to bottom IQ Lock-PowerG Installation and User Guide D-309240...
-
Page 10: Installing The Iq Lock-Pg
The IQ Lock-PG latch has a rectangular faceplate in place as the default faceplate. A round drive-in collar is included in the kit if it is required. The following topics outline how to choose the correct faceplate: • Checking the rectangular faceplate • Attaching the round drive-in collar IQ Lock-PowerG Installation and User Guide D-309240... -
Page 11: Checking The Rectangular Faceplate
Check the door latch hole to see if the rectangular faceplate is suitable. If it is not suitable, proceed to the topic Attaching the round drive-in collar If the rectangular faceplate is suitable, continue to Installing the latch. Figure 5: Rectangular faceplate IQ Lock-PowerG Installation and User Guide D-309240... -
Page 12: Attaching The Round Drive-In Collar
If a round drive-in collar is required, remove the rectangular faceplate from the latch with a flat head screwdriver wedged between the faceplate and the faceplate clip. Figure 7: Removing the rectangular faceplate Remove the rectangular faceplate. Rotate it counterclockwise and pull. Figure 8: Rotated rectangular faceplate IQ Lock-PowerG Installation and User Guide D-309240... - Page 13 Attach the drive-in collar. Figure 9: Drive-in collar IQ Lock-PowerG Installation and User Guide D-309240...
-
Page 14: Installing The Latch
If the slotted hole is centered in the door hole, no adjustment is required. Proceed to the next step. b. If the slotted hole is not centered in the door hole, you need to make adjustments. IQ Lock-PowerG Installation and User Guide D-309240... - Page 15 Rotate and pull the latch to extend the latch. Adjust so that the slotted hole is centered. Install the latch and use a Philips head screwdriver to secure the latch with two latch screws. Make sure to install the latch according to the UP mark on the latch. IQ Lock-PowerG Installation and User Guide D-309240...
-
Page 16: Installing The Exterior Assembly
Before you begin: Make sure the bolt is in an unlocked position. Route the cable below the latch. Insert the torque blade into the slotted hole on the latch. Route the cable through the hole in the mounting plate. IQ Lock-PowerG Installation and User Guide D-309240... - Page 17 Secure the mounting plate with two screws. IQ Lock-PowerG Installation and User Guide D-309240...
-
Page 18: Installing The Interior Assembly
PCB Connector Cable Connector Rotate the thumb turn to the vertical unlocked position. Torque Blade Test the lock by rotating the thumb turn to make sure the bolt can extend and retract smoothly. IQ Lock-PowerG Installation and User Guide D-309240... -
Page 19: Setting Left Or Right Door Orientation
If the latch bolt does not start as part of auto-orientation, use a sharp pointed tool to press and hold the reset button for 5 seconds until you hear a long beeping sound. If the reset is successful, the latch bolt extends. Replace the battery cover. IQ Lock-PowerG Installation and User Guide D-309240... - Page 20 Install the strike on the door frame. IQ Lock-PowerG Installation and User Guide D-309240...
-
Page 21: Enrolling The Iq Lock-Pg With Auto Learn Enrollment
When a device is recognised, tap OK when the pop-up window appears. When the next configuration pop-up window appears, confirm the sensor ID and the sensor type. Tap Pair. Remove and reinsert the batteries. Result: The device enrolls successfully. IQ Lock-PowerG Installation and User Guide D-309240... -
Page 22: Checking The Iq Lock-Pg Powerg Signal Strength
Notifications from the IQ Lock-PG to the IQ Panel are sent for the following reasons: • When the IQ Lock-PG is locked or unlocked • When the lock is jammed • When the battery is low IQ Lock-PowerG Installation and User Guide D-309240... -
Page 23: Iq Lock-Pg Low Battery
• If you want to unlock immediately, you cannot unlock the IQ Lock-PG using the buttons on the IQ Lock-PG. See Locking and unlocking the IQ Lock-PG, for other unlock options. IQ Lock-PowerG Installation and User Guide D-309240... -
Page 24: Resetting The Iq Lock-Pg To Factory Default Settings
Note: If you delete the IQ Lock-PG from the panel, you must reset the IQ Lock-PG to factory default settings. To delete the lock on the panel, refer to the panel user guide for instructions. IQ Lock-PowerG Installation and User Guide D-309240... -
Page 25: Fcc Information
This information applies to the IQ Lock-PG. Modification statement Johnson Controls Inc. has not approved any changes or modifications to this device by the user. Any changes or modifications could void the user’s authority to operate the equipment. Interference statement This device complies with Part 15 of the FCC Rules. - Page 26 Cet équipement est conforme aux limites d'exposition aux rayonnements du Canada établies pour un environnement non contrôlé. Cet équipement doit être installé et utilisé à une distance minimale de 20 cm entre le radiateur et votre corps. IQ Lock-PowerG Installation and User Guide D-309240...
-
Page 27: Warranty And Eula
To access Warranty and EULA information, access the following link: https://bit.ly/3mnWCmx scan the following QR code: Technical support For JCI Intrusion technical support, see http://qolsys.com/contact-us. North America (US & Canada): + 1-800-387-3630 Email: intrusion-support@jci.com IQ Lock-PowerG Installation and User Guide D-309240... - Page 28 Rev.00 06/23...
Need help?
Do you have a question about the IQ Lock-PowerG and is the answer not in the manual?
Questions and answers