Table of Contents
Advertisement
Advertisement
Table of Contents

Related Manuals for Samsung SMT-2231


Summary of Contents for Samsung SMT-2231
- Page 1 TFT-LCD MONITOR SMT-2231 User Guide...
-
Page 2: Important Safety Instructions
Use only with a cart, stand, tripod. bracket or table recommended by Samsung, or sold with the monitor. Any mounting of the monitor should follow Samsung’s instructions and should use a mounting accessory recommended by Samsung. -
Page 3: Ic Compliance Notice
20.Replacement Parts : When replacement parts are required, be sure the service technician has used replacement parts specified by Samsung or have the same characteristics as the original parts. Unauthorized substitutions may result in fire, electric shock or other hazards. -
Page 4: Table Of Contents
USER'S MANUAL Contents Important Safety Instructions ... 2 Unpacking ... 5 Viewing the Control Panels ... 5 Front View ... 5 Rear & Left Side View ... 6 Remote Controller ... 7 Connecting to External Devices..8 OSD Menu Configurations ... 9 No Signal Display ... -
Page 5: Unpacking
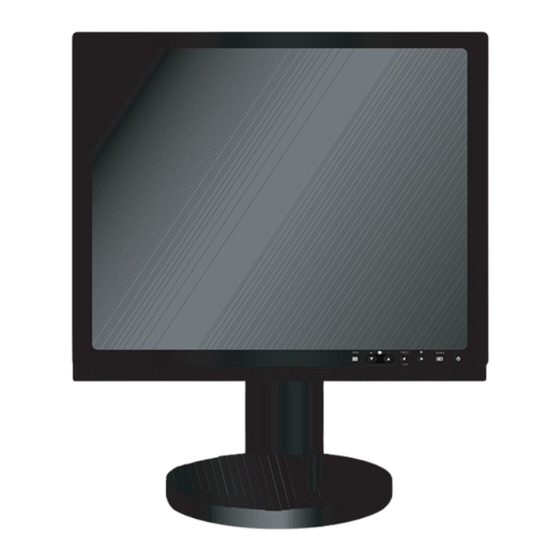
Remove the package cover and place the product on a flat and secure surface or in the installation location. Check whether all the following devices and accessories are included with the main system. TFT-LCD REMOTE & MONITOR BATTERIES Viewing the Control Panels Front View IR Sensor Remote controller sensor. -
Page 6: Rear & Left Side View
USER'S MANUAL USER'S MANUAL USER'S MANUAL Rear & Left Side View Left Side View Rear View Rear View POWER AC power input. VIDEO-A IN Composite signal input for VIDEO A. VIDEO-A OUT Video looping output for VIDEO A. VIDEO-B IN Composite signal input for VIDEO B. -
Page 7: Remote Controller
SOURCE Press the 'SOURCE' button to change the input signal source. Changing the source is allowed only in external devices that are connected to the monitor at the time. buttons Moves from one menu item to another horizontally, vertically or adjusts selected menu values. -
Page 8: Connecting To External Devices
USER'S MANUAL USER'S MANUAL Connecting to External Devices. The product can be connected to an external device such as Camera, DVR, External Monitor, etc. CAMERA External MONITOR HDMI IN - 8 -... -
Page 9: Osd Menu Configurations
USER'S MANUAL USER'S MANUAL OSD Menu Configurations No Signal Display When there is no connection at the VGA and Video input, the On Screen Display will show this message. No Signal <Video mode> Check signal cable. <VGA mode> OSD Menu Selection 1. -
Page 10: Auto Adjustment
USER'S MANUAL USER'S MANUAL 4. Press the and the ENTER button to adjust the setting value and save. 5. Press the MENU button to exit. In VGA Mode, "Sharpness" can not be adjusted. Screen Image Lock , PC Position , Image Reset Screen Image Lock PC Position... -
Page 11: Sound Menu
USER'S MANUAL USER'S MANUAL Picture Options: Colour Tone/Size/ Digital NR/HDMI Black Level Picture Options Colour Tone Cool Size Normal Warm1 Digital NR : Auto Warm2 HDMI Black Level : Normal Move Enter Size 16:9 Zoom Under Scan Move Enter 1. Press the MENU button to select the Picture menu. -
Page 12: Sound Select
USER'S MANUAL USER'S MANUAL Equalizer Sound Mode : Custom Equalizer Sound Select : Main Reset Move Enter Equalizer Balance 100Hz 300Hz 1kHz 3kHz 10kHz Move Adjust 1. Press the MENU and button to select the Sound menu. 2. Press the ENTER or button. -
Page 13: Energy Saving
If you wish to continue viewing the poor picture, you must set the "Blue Screen" mode to "Off". • Melody:Off/Low/Medium/High You can hear melody sound when the monitor is powered on or off. 5. Press the MENU button to exit. Energy Saving... -
Page 14: Display Modes
Even if your actual screens look different, the same, basic set-up information will apply in almost all cases. (If not, contact your computer manufacturer or Samsung Dealer.) 1. First, click on "Control Panel" on the Windows start menu. - Page 15 8. Press the MENU button to exit. • PC Position Adjust the PC’s screen positioning if it does not fi t the Monitor screen. 1. Follow the "Image Lock" instructions number 2 to 4. 2. Press the then press 3. Press the Press the Press the ENTER button.
-
Page 16: Source List
USER'S MANUAL System ID Setup Language : English Blue Screen Melody Medium Energy Saving System ID No Signal OSD Move Enter 1. Press the MENU and button to select the Setup menu. 2. Press the ENTER or button. 3. Press the button to select the System ID. -
Page 17: Specifications
2Channel input, 2W Stereo, RCA Type Language (Eng/ Chn /Fre/Ger/Spa/Ita/Por/Dut/Swe/Rus/Kor/Jpn/Tur/Dan/Tha/Ara) Tilt Swivel 515.0mm x 217.4mm x 402.0mm 515.0mm x 69.0mm x 330.5mm 20% – 90% (non-condensation) - 17 - SMT-2231 World Wide NTSC/PAL System 22" 21.5"W TFT LCD 1920 X 1080 1000:1 5msec...
Need help?
Do you have a question about the SMT-2231 and is the answer not in the manual?
Questions and answers