Advertisement
Table of Contents
- 1 Table of Contents
- 2 What's in the Box
- 3 Tools Required
- 4 Specifications
- 5 Explanations and Symbols, Cautions and Warnings
- 6 Important Safety Warnings
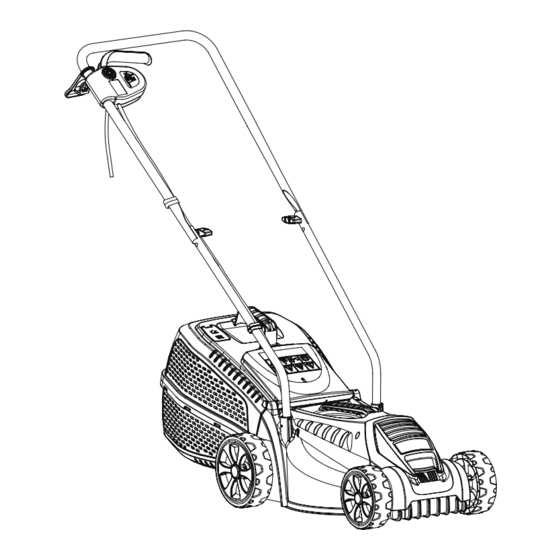
- 7 Product Description and Identifications
- 8 Assembly and Operating Instructions
- 9 Care and Cleaning
- 10 Trouble Shooting
- 11 Declaration of Conformity / Performance
- 12 Environmental Information
- 13 Guarantee
- 14 Customer Support
- Download this manual
Advertisement
Table of Contents


Need help?
Do you have a question about the Toolstation SLM32F-ZE and is the answer not in the manual?
Questions and answers
How to change the blade? Which way does the nut undo-struggling to open nut to change blade-any advice please?
To change the blade on a Hawksmoor Toolstation SLM32F-ZE:
1. Unplug the lawnmower.
2. Wear gardening gloves.
3. Use a suitable wrench to loosen the bolt by turning it anticlockwise.
4. Remove the bolt and cutting device.
5. Replace with a new cutting device of the same type.
6. Reattach the cutting device, ensuring correct alignment.
7. Tighten the bolt clockwise with 16 Nm to 20 Nm torque.
The nut (bolt) undoes by turning it anticlockwise.
This answer is automatically generated