Table of Contents
Advertisement
Quick Links
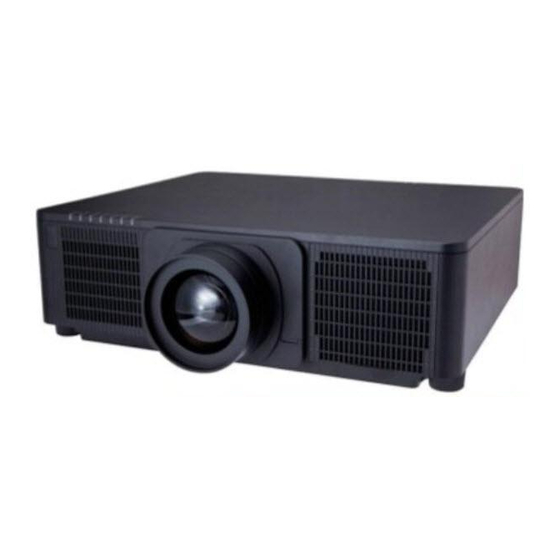
Projector
9005/9006W/9007WU
User's Manual
Quick Setup Guide
Thank you for purchasing this projector.
This manual is intended to explain only how to setup this product. For proper use
of this product, please refer to this manual and the other manuals for this product.
Please follow this manual step by step for a quick installation.
1 Setting up
Install the projector according to the
environment and manner the projector will
be used in.
2 Arrangement
Refer to tables T-1 to T-3 at the back of User's Manual (concise) as well as the
following to determine the screen size and projection distance. The values shown
in the table are calculated for a full size screen.
3 Installing the lens unit
See the manual of the optional lens.
430-9005-9006W-9007WU–QSG General-00
All manuals and user guides at all-guides.com
Projector top
Projector bottom
Ⓗ × Ⓥ : Screen size
ⓐ : Projection distance
(from the front of the
projector unit)
ⓑ , ⓒ : Screen height
1
Advertisement
Table of Contents

Related Manuals for Dukane 90006W


Summary of Contents for Dukane 90006W
- Page 1 All manuals and user guides at all-guides.com Projector 9005/9006W/9007WU User's Manual Quick Setup Guide Thank you for purchasing this projector. This manual is intended to explain only how to setup this product. For proper use of this product, please refer to this manual and the other manuals for this product. Please follow this manual step by step for a quick installation.
-
Page 2: Connecting With Your Devices
All manuals and user guides at all-guides.com 4 Connecting with your devices Before connecting the projector to a device, consult the manual of the device to confi rm that the device is suitable for connecting with this projector and prepare the required accessories, such as a cable in accord with the signal of the device. -
Page 3: Fastening The Cables
All manuals and user guides at all-guides.com 5 Fastening the cables Use the supplied cable tie to fasten the cables. Cable tie 6 Fastening the adapter cover USB wireless adapter: USB-WL-11N Temperature range: 0 ~ 45 °C (Operating) Loosen the screw (marked with triangle) on the bottom left of the WIRELESS port. -
Page 4: Connecting To A Power Supply
All manuals and user guides at all-guides.com 7 Connecting to a power supply Insert the connector of the power cord into the AC (AC inlet) of the projector. Firmly plug the power cord’s plug into the outlet. In a couple of seconds after the power supply connection, the POWER indicator will light up in steady orange. -
Page 5: Installing The Batteries
All manuals and user guides at all-guides.com 8 Installing the batteries Please insert the batteries into the remote control before using it. 9 Turning on the power Make sure that the power cord is firmly and correctly connected to the projector and the outlet. -
Page 6: Selecting An Input Signal
All manuals and user guides at all-guides.com 10 Selecting an input signal Press the INPUT button of the projector or the input buttons of the remote control. INPUT button Buttons for input ports 11 Selecting an aspect ratio Press ASPECT button on the remote control. ASPECT button 12 Changing the display language... -
Page 7: Using The Menu Function
All manuals and user guides at all-guides.com 13 Using the menu function To start the MENU, press the MENU button. The MENU you last used (EASY or ADVANCED) will appear. EASY MENU has priority to appear just after powered on. In the EASY MENU (1) Use the ▲/▼... - Page 8 All manuals and user guides at all-guides.com 14 Changing the Installation settings Press the MENU button, then follow below. EASY MENU > ADVANCED MENU > SETUP > INSTALLATION Choose according to your settings. FRONT / DESKTOP REAR / DESKTOP ...
-
Page 9: Web Control
All manuals and user guides at all-guides.com 15 Connecting to the network (continued) For wireless connection, use USB wireless adapter (USB-WL-11N). (Refer to User's Manual - Network Quick Setup Guide too.) Without an access point communication (Ad-Hoc) With an access point communication (Infrastructure) NOTE Before connecting to the network, contact the network administrator. - Page 10 All manuals and user guides at all-guides.com 16 Web Control (continued) ■Projector Web Control Advanced controls are available on this web control. Logon with your user name and password. User name Administrator Password <blank> ■Crestron e-Control Basic controls are available on this web control. 17 Using Instant Stack feature This projector can be used with another projector of the same model to project an image on the same screen.
-
Page 11: Installation
All manuals and user guides at all-guides.com 17 Using Instant Stack feature (continued) Installation Use the same model of projectors and install them side by side. L: distance Recommended screen size [cm] [inch] Screen size Projector 0 ± 10cm L (50cm or more) Setting up the fi... -
Page 12: Troubleshooting
For more details of setup and adjustments, please refer to the User's Manual (detailed). 18 Troubleshooting Please check the following web address where you may find the latest information for this projector. DUKANE CORP AV SERVICE DEPT 2900 Dukane Drive St Charles, IL 60174 800-676-2487 / 630-762-4032 Fax 630-584-5156 avservice@dukane.com...
Need help?
Do you have a question about the 90006W and is the answer not in the manual?
Questions and answers