Advertisement
Quick Links
REPLACEMENT PARTS
Please do not contact the company purchased from as we can help you faster.
Order replacement parts and hardware at " www.boltonfurniture.com "
. Use of power tool to assemble this
product will invalidate any claim and
damage this product making it
unsafe !!!
. Please assemble on a clean soft
surface to avoid damage.
5/6/2022
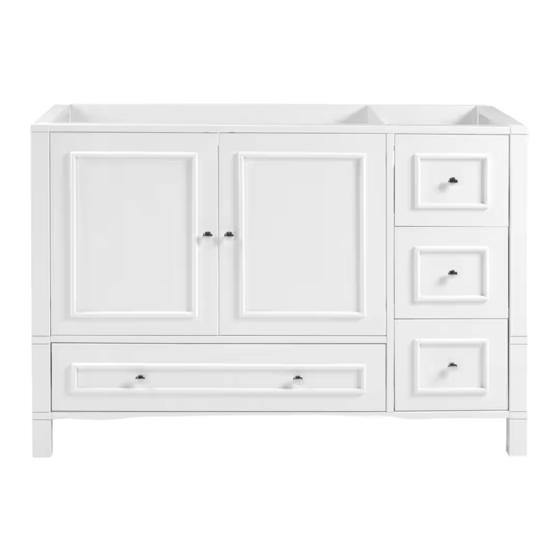
48" Vanity
www.boltonfurniture.com
1 of 12
Tools Required
(Included)
(Not Included)
AVAN48WHBB 48"VANITY
12
11
1
2
10
9
3
8
4
5
7
6
70 minutes
(Not Included)
Advertisement

Related Manuals for Bolton Furniture AVAN48WHBB


Summary of Contents for Bolton Furniture AVAN48WHBB
- Page 1 . Use of power tool to assemble this Tools Required product will invalidate any claim and damage this product making it unsafe !!! . Please assemble on a clean soft (Included) (Not Included) (Not Included) surface to avoid damage. www.boltonfurniture.com 5/6/2022 1 of 12 AVAN48WHBB 48"VANITY...
- Page 2 Part list - 48" Vanity Identifying the hardware-Identify the hardware using the illustrations below Ø8*30mm Wood Dowel M6*45mm Bolt Ø6*16mm Washer Hinge-1 Hinge-2 3.5*15mm Screw 4*25mm Screw Leveler 4*50mm Screw 4*25mm Screw 3.5*12mm Screw Ø6*20mm Wood Dowel www.boltonfurniture.com 5/6/2022 2 of 12 AVAN48WHBB 48"VANITY...
- Page 3 Step 01 Step 02 3.5*12mm Screw 5/6/2022 3 of 12 AVAN48WHBB 48"VANITY...
- Page 4 Step 03 3.5*12mm Screw 5/6/2022 4 of 12 AVAN48WHBB 48"VANITY...
- Page 5 Step 04 3.5*12mm Screw Step 05 Ø8*30mm Wood Dowel (Not Included) 5/6/2022 5 of 12 AVAN48WHBB 48"VANITY...
- Page 6 Step 06 M6*45mm Bolt Ø6*16mm Washer Note: Do not tighten bolts firmly at this time Step 07 M6*45mm Bolt Ø6*16mm Washer 5/6/2022 6 of 12 AVAN48WHBB 48"VANITY...
- Page 7 Step 08 M6*45mm Bolt Ø6*16mm Washer Step 09 M6*45mm Bolt Ø6*16mm Washer Note: Tighten all bolts at this time 5/6/2022 7 of 12 AVAN48WHBB 48"VANITY...
- Page 8 Step 10 4*25mm Screw Ø6*30mm Wood Dowel Step 11 4*25mm Screw Ø6*30mm Wood Dowel 5/6/2022 8 of 12 AVAN48WHBB 48"VANITY...
- Page 9 Step 12 Hinge-1 3.5*15mm Screw 4*25mm Screw Hinge1 Step 13 Hinge-2 3.5*15mm Screw 4*25mm Screw Hinge2 5/6/2022 9 of 12 AVAN48WHBB 48"VANITY...
- Page 10 Step 14 3.5*15mm Screw Hinge1 Hinge2 Step 15 5/6/2022 10 of 12 AVAN48WHBB 48"VANITY...
- Page 11 Step 16 4*25mm Screw 4*25mm Screw 5/6/2022 11 of 12 AVAN48WHBB 48"VANITY...
- Page 12 . Drill a 1/16" thru hole in the center of the Stretcher Rail at the location of the studs in the wall. . Secure the Vanity to the wall using screws (I) Make sure the screws align with the wall. Stud Stud 5/6/2022 12 of 12 AVAN48WHBB 48"VANITY...
Need help?
Do you have a question about the AVAN48WHBB and is the answer not in the manual?
Questions and answers