Advertisement
Welcome!
We appreciate you trusting YoLink for your smart home & automation needs. Your 100% satisfaction is our goal. If you experience any problems with your installation, with our products or if you have any questions that this manual does not answer, please contact us right away. See the Contact Us section for more info.
The following icons are used in this guide to convey specific types of information:
 | Very important information (can save you time!) |
 | Good to know info but may not apply to you |
Before You Begin
You can also find all guides and additional resources, such as videos and troubleshooting instructions, on the Temperature & Humidity Sensor Product Support page by scanning the QR code below or by visiting: https://shop.yosmart.com/pages/temperature-humidity-sensor-productsupport

Product Support
Your Temperature & Humidity Sensor connects to the internet via a YoLink hub (SpeakerHub or the original YoLink Hub), and it does not connect directly to your WiFi or local network. In order for remote access to the device from the app, and for full functionality, a hub is required. This guide assumes the YoLink app has been installed on your smartphone, and a YoLink hub is installed and online (or your location, apartment, condo, etcetera, is already served by a YoLink wireless network).

To provide years between battery changes, your sensor refreshes at least once an hour or more frequently if the SET button is pressed or if the temperature or humidity change meets refresh criteria as explained in the user guide.
In the Box

Required Items
You may require these items:

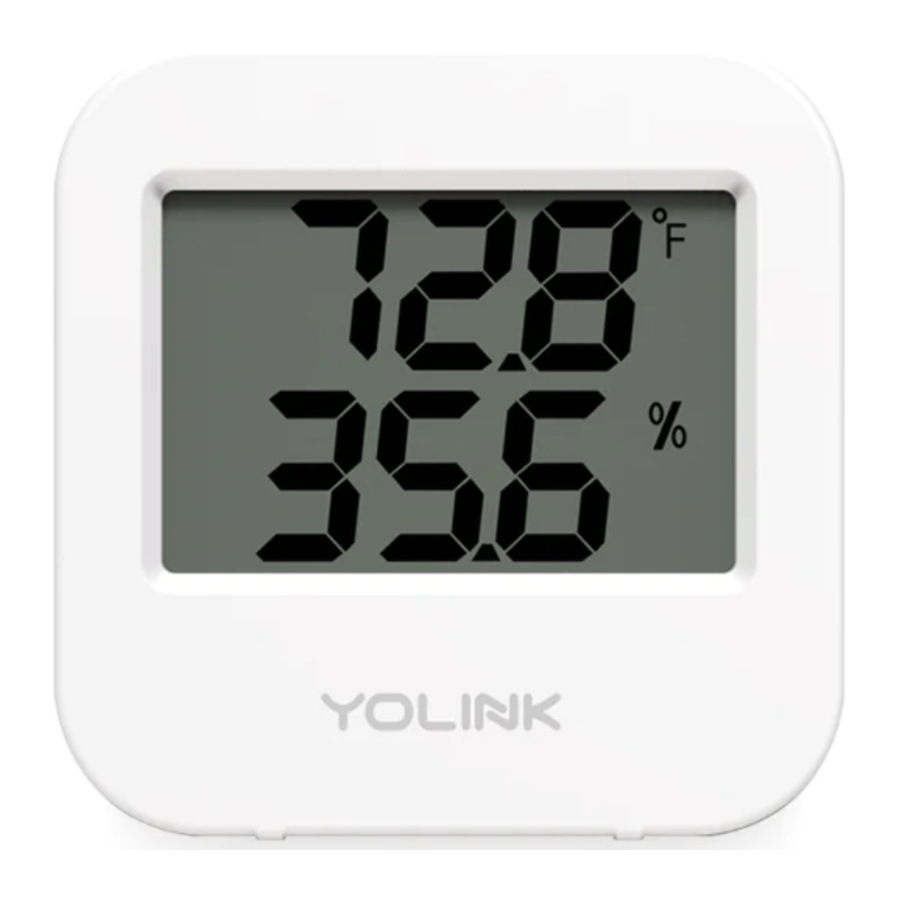
Get to Know Your Temp & Humidity Sensor

LED Behaviors
 | Blinking Red Once, then Green Once Device turned on |
 | Blinking Red And Green Alternately Restoring to Factory Defaults |
 | Blinking Green Once Switching temperature mode |
 | Blinking Green Connecting to Cloud |
 | Slow Blinking Green Updating |
 | Blinking Red Once Device alerts or device is connected to the cloud and is functioning normally |
 | Fast Blinking Red Every 30 Seconds Batteries are low; please replace the batteries |
Power Up

Install the App
If you are new to YoLink, please install the app on your phone or tablet, if you have not already. Otherwise, please proceed to the next section
Scan the appropriate QR code below or find the "YoLink app" on the appropriate app store.


Apple phone/tablet iOS 9.0 or higher


Android phone/ tablet 4.4 or higher
Open the app and tap Sign up for an account. You will be required to provide a username and a password. Follow the instructions, to set up a new account. Allow notifications, when prompted.
You will immediately receive a welcome email from no-reply@yosmart.com with some helpful information. Please mark the yosmart.com domain as safe, to ensure you receive important messages in the future.
Log in to the app using your new username and password.
The app opens to the Favorite screen. This is where your favorite devices and scenes will be shown. You can organize your devices by room, in the Rooms screen, later.
Refer to the full user guide and online support for instructions on the use of the YoLink app.
Add the Sensor to the App
- Tap Add Device (if shown) or tap the scanner icon:

- Approve access to your phone's camera, if requested. A viewfinder will be shown on the app.

- Hold the phone over the QR code so that the code appears in the viewfinder. If successful, the Add Device screen will be displayed.
- You can change the device name and assign it to a room later. Tap Bind device.
Install the Temperature & Humidity Sensor
Environment Considerations:
Determine an appropriate location for your sensor.
Please note: the Temperature & Humidity Sensor is intended for indoor use, at dry locations. Refer to the product support page for the full environmental specifications.
- Consider our Weatherproof Temperature & Humidity Sensor for outdoor locations.
- If you plan to use this sensor in a freezer, ensure the sensor does not get wet during defrosting cycles.
Location Considerations:
If placing the sensor on a shelf or countertop, ensure it is a stable surface. If hanging or mounting the sensor on a wall, ensure the mounting method is secure, and the location does not subject the sensor to physical damage. The warranty does not cover physical damage.
- Do not place the sensor where it may get wet
- Do not place the sensor where it will be subjected to direct sunlight
- Avoid placing the sensor near HVAC grilles or diffusers
- Before installing or placing your sensor, ensure the display mode is correct for your application. To switch between Celsius and Fahrenheit display mode, briefly press the SET button (on the rear of the sensor).
- If placing the sensor on a shelf or countertop or other stable service, place the sensor where desired, then proceed to the next section.
- Before mounting or hanging the sensor on the wall or vertical surface, determine your desired method:
- Hang the sensor from a nail or screw or small hook
- Hang or mount the sensor by other methods, such as 3M brand Command hooks
- Secure the sensor to the wall using mounting tape, Velcro or similar methods. If affixing something to the rear of the sensor, be aware of the impact of covering the SET button or LED, and allow for battery replacement in the future.
- Mount or hang the sensor on the wall or vertical surface using your desired method. (Insert a screw into the wall, hammer a nail into the wall, etc.)
- Allow your sensor at least one hour to stabilize and report the correct temperature and humidity to the app. Refer to the full installation & user guide for instructions on calibrating your sensor, if it does not appear to indicate the correct temperature and/or humidity.
Refer to the full Installation & User Guide, to complete the setup of your Temperature & Humidity Sensor.
Contact Us
We are here for you, if you ever need any assistance installing, setting up or using a YoLink app or product!
Need help? For fastest service, please email us 24/7 at service@yosmart.com
Or call us at 831-292-4831 (US phone support hours: Monday - Friday, 9AM to 5PM Pacific)
You can also find additional support and ways to contact us at: www.yosmart.com/support-and-service
Or scan the QR code:

Support Home Page
Finally, if you have any feedback or suggestions for us, please email us at feedback@yosmart.com
15375 Barranca Parkway Ste. J-107 | Irvine, California 92618
© 2023 YOSMART, INC IRVINE, CALIFORNIA

Documents / Resources
References
Download manual
Here you can download full pdf version of manual, it may contain additional safety instructions, warranty information, FCC rules, etc.
Download Yolink YS8003-UC - Temperature And Humidity Sensor Quick Start Guide
Advertisement

Need help?
Do you have a question about the YS8003-UC and is the answer not in the manual?
Questions and answers