
Related Manuals for MyBinding Rapid 105 Electronic


Summary of Contents for MyBinding Rapid 105 Electronic
- Page 1 Rapid Electronic Stapler Instruction Manual For Models: Rapid 105 Electronic Rapid 106 Electronic...
- Page 2 GB Operator’s manual Read these instructions carefully and make sure you understand them Rapid 105E before using the machine. Bedienungsanweisung Lesen Sie die Bedienungsanweisung sorgfältig durch und machen Sie sich mit dem Inhalt vertraut, bevor Sie die 106E Machine benutzen. Manuel d’...
- Page 3 ENGLISH DEUTSCH 7-10 FRANCAIS 11-14 ESPAÑOL 15-18 ITALIANO 19-22 NEDERLANDS 23-26 PORTUGUES 27-30 SVENSKA 31-34 DANSK 35-38 SUOMI 39-42 ∂§§∏¡π∫∞ 43-47 48-51 RUSSKIJ LIST OF TERMS...
-
Page 4: Important Safety Instructions
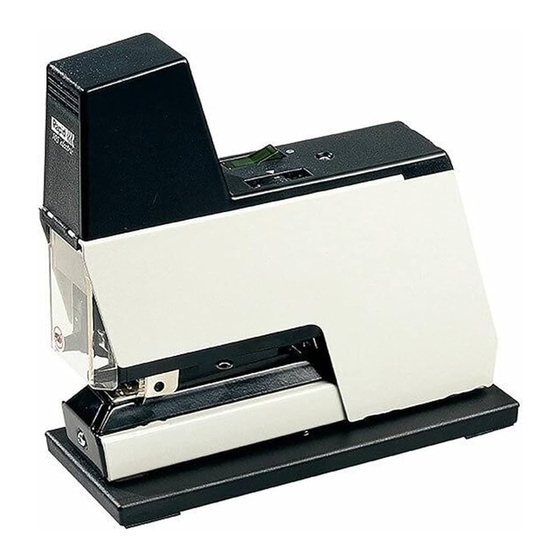
IMPORTANT SAFETY INSTRUCTIONS 1. Read all of these instructions. A. When the power cord or plug is damaged or 2. Save these instructions for later use. frayed. 3. Follow all warnings and instructions marked on B. If liquid has been spilled into the product. the product. - Page 5 DESCRIPTION OF PRODUCT G. Multi base for adjustable fixing of up to 4 sta- plers together, (size 145_300 mm). Two devices A. Rapid 105 Table stapler. for fixture are included. B. Rapid 106 Saddle stapler enabling flat stapling. EXTRA ACCESSORIES FOR RAPID 106 Several units can be connected for H.
- Page 6 2. Turn one of the knobs (10) anticlockwise and connect the opto cable (extra accessory) to the move the trigger (9) to the desired position. main unit's upper socket. This is marked with 3. Let go the knob. The trigger is now set. an arrow pointing away from the socket (= out- 4.
-
Page 7: Maintenance
MAINTENANCE 6. To maintain perfect stapling it is necessary to adjust the position of the insert stapler towards 1. Remove dust, loose staples and other particles the anvil. This adjustment is achieved by using which may have collected in the unit. the guide plate (27) enclosed with the machine. - Page 8 MEDIDAS DE PRECAUCION 1. Lea detenidamente las instrucciones para el uso. A. Al estar dañado el cable de acometida o el enchufe de clavija. 2. Guarde las instrucciones. B. Si ha penetrado líquido en el aparato. 3. Aténgase a las advertencias y a los datos indi- cados en el aparato.
- Page 9 ESPECIFICACION DEL PRODUCTO 145_300 mm). Viene acompañada de dos cha- pas de montaje. A. Rapid 105, grapadora de mesa. B. Rapid 106, grapadora de loma con posibilidad ACCESORIOS OPCIONALES PARA LA de grapado plano. RAPID 106 Los aparatos pueden ser acoplados para el gra- H.
- Page 10 5. En el caso de dos o más aparatos acoplados, te el cable óptico (accesorio opcional) a la aco- los brazos de disparo de los ”aparatos com- metida superior del aparato principal. El plementarios” pueden ser utilizados como enchufe está marcado con una flecha apunt- soporte del material para grapar (no ejecutan ando en dirección del enchufe (señal salida).
-
Page 11: Mantenimiento
Los dos topes (17) en la parte estrecha de la 3. Monte el nuevo cabezal introduciendo primero mesa pueden ser movidos de lado, dándoles la anilla de almacenaje (19) en posición abierta primero la vuelta. encima del yunque (8). 4. Apriete el empujador (28) hacia arriba y pliegue MANTENIMIENTO la anilla de almacenaje (19) de modo que su punta estrecha dé...
Need help?
Do you have a question about the Rapid 105 Electronic and is the answer not in the manual?
Questions and answers