Bushnell Trail Scout 11-9501 - Trail Camera Viewer/Copiep Manual
- Instruction manual (17 pages)
Advertisement
- 1 Introduction
- 2 Trail Scout Viewer/Copier Technical Specifications
- 3 Parts Guide
- 4 Display Icons
- 5 Setup
- 6 Viewing Photos and Videos
- 7 3x Zoom Display Function (Still photos)
- 8 Deleting Photos/Videos
- 9 Lock/Unlock Feature (Protecting Files)
- 10 Copying Photos To A Second Card (Camera Slot > Storage Slot)
- 11 Setup Options
- 12 Using the Viewer With A Computer (Card Reader Function)
- 13 Transferring Photos to Your PC - Step by Step
- 14 Documents / Resources
Introduction
The Bushnell® Trail Scout Viewer/Copier is a convenient, portable device that is the perfect companion for any model of Bushnell Trail Scout™ or Sentry™, as well as most other trail camera brands*. Simply remove the SD or CF card from your trail cam and place it into the slot for that type of card. The battery powered Viewer will automatically read and display the files captured by the trail camera, allowing you to easily see what your camera has captured in the field, without taking along a bulky, expensive, fragile laptop computer. Both still photos and video clips (with audio if your camera records it) may be reviewed. You can delete unwanted photos to free up more space for new shots, erase all files from the card, protect important photos from accidental erasure, and even copy all of your photos/videos (or just your favorites) to another SD card to take home with you. The Viewer has a USB port, so you can also use it as a card reader with your PC at home to view or backup your photos to a hard drive.
Trail Scout Viewer/Copier Technical Specifications
| Display | 2.5" TFT LCD, 480x234 pixels |
| USB | USB 1.1 standard, USB Mass Storage device |
| Software requirements | (For card reader function) Windows 2000, ME,XP or Vista (Windows 98 not supported); Mac OS9 or OSX. |
| Card Slots | Read only: 1 SD & 1 CF slot (Camera). Read or Write files: 1 SD slot (Storage) |
| Card Compatibility | Maximum card capacity: 1 GB or less, Normal or High speed |
| File Compatibility | Standard JPEG (.jpg) still photo files, AVI (.avi) video files |
| Power Supply | 2xAA batteries, alkaline, lithium or NiMh rechargeable (>2000mAh recommended) |
| Power Consumption | 0.85 w |
* Compatibility with still & video files on cards from non-Bushnell cameras cannot be assumed, due to potential differences in file directory structure and file compression standards.
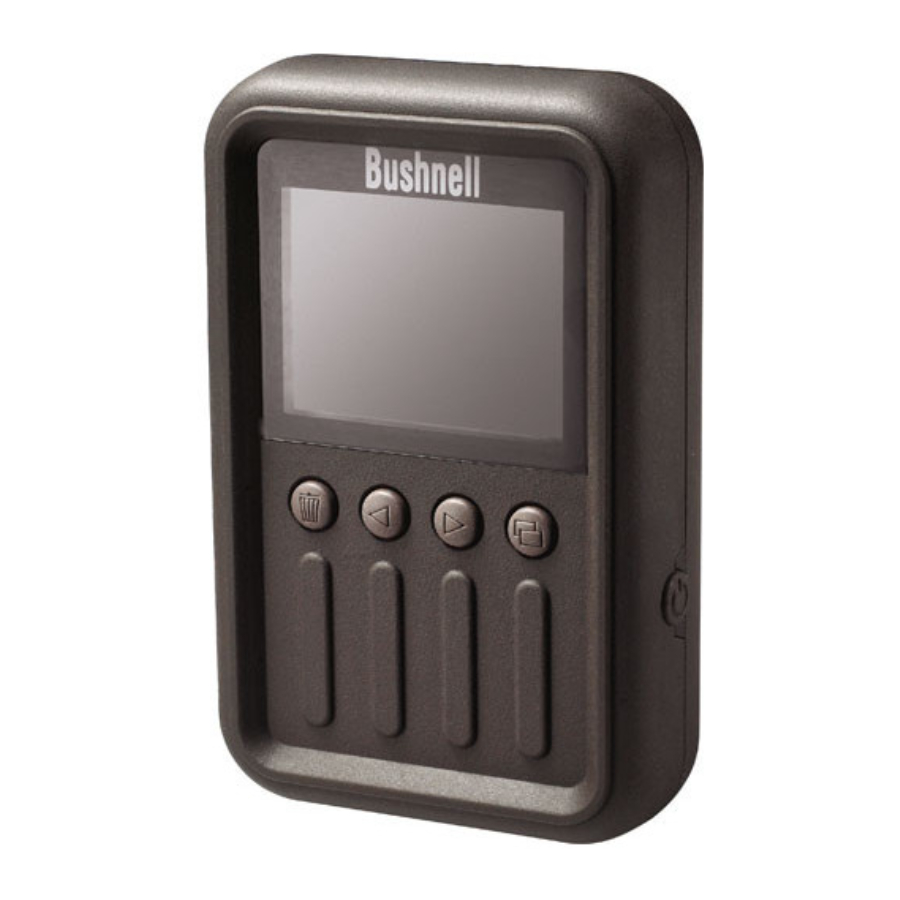
Parts Guide
Function

| Item | A | B | C | D |
| Function | Camera Card Slots (Only Reads files) | Storage Card Slot (Read or Write files) | USB Port | Power Switch |
Buttons

| Button # | 1-Delete | 2-Left | 3-Right | 4-Copy |
| Function in Normal Display Mode | DELETE or ZOOM | BACKWARD (Last Photo) | FORWARD (Next Photo) | COPY |
| Function in Delete, Copy & Setup Menus | Next Menu Item | OK (Confirm Setting) | not used | Previous Menu Item |
With the slots oriented as shown (lettering upright, USB on right), SD cards should be inserted "face down" (metal contacts on card facing up, notched corner on rear left). To insert, push it clicks. To remove SD cards, push in again, then pull out. CF cards (face up) simply push in/pull out.
Display Icons
![]()
DISPLAY ICONS-STILL PHOTOS
- Curent file # / Total files on card
- Resolution (in pixels) of the Photo
- Battery Indicator
DISPLAY ICONS-VIDEO CLIPS
- File Locked (also a still photo option)
- Indicates Video File Type
Setup
- Open the battery cover located on the bottom of the Viewer by sliding it the direction of the arrow on the cover, and insert two AA size batteries (alkaline, lithium or NiMh) with the flat end (negative, or "-" terminal) of each battery in contact with the springs. Slide the cover back to the closed position. The small holes on the back of the Viewer, just below the battery cover, allow sound from the speaker to be heard during playback of video clips that may also contain audio.
- Slide open the door on the left side of the Viewer in the direction of the arrow on the door. Insert an SD or CF card* into the correct size slot (do not attempt to insert an SD card into the CF card slot). With the slots oriented as shown in the Parts Guide, (lettering upright, USB on right), SD cards should be inserted "face down" (metal contacts on card facing up, notched corner on rear left). To insert, push the SD card in until a click is heard. To remove, push in again, then pull out. CF cards simply push in/pull out (face up). Use the "Camera" slots (A) for cards from your Trail Camera. Use the "Storage" slot (B) for a blank SD card (optional) if you will want to copy photos from a card in one of the "Camera" slots. After inserting your card(s), briefly press the Power switch on the lower right side of the Viewer. The screen will activate in a few seconds (the time it takes may vary with the number and size of the files on your card) and display the first image on your camera card. To turn off the Viewer when you are done, press the Power button again. Replace the door (cards may be left in place) that covers the slots and USB port when not using or carrying your Viewer, to prevent the entry of dust and dirt.
- Please refer to the section titled "Setup Options" for details on how to change the language used for all display menus and change the Auto Off interval if desired.
* Secure Digital or Compact Flash
Viewing Photos and Videos
If only one card is inserted into any of the Viewer's card slots (only CF cards can be used in the CF slot), the Viewer will automatically display the files stored on that card. If cards are inserted into both the SD "Storage" card slot (B) and either of the "Camera" slots (A), only the files stored on the card in the "Camera" slot will be displayed. If you want to quickly check the files on the SD card in the "Storage" slot (to make sure it's a blank card or the one you intended to copy your camera's files to), you may temporarily remove the card from the "Camera" slot-the viewer will then show the photos stored on the "Storage" card. When finished, replace the "Camera" card back into its slot (the Viewer will switch back to displaying the files on that card again).
Use the Right and Left arrow buttons to step forwards or backwards through your displayed photos and/or videos. The first frame of any video files will be shown on the screen, and the lower left corner of the display will indicate "AVI", instead of the pixel resolution as it does for still photos. To play a video, press the Copy button. Press it again to stop video playback.
3x Zoom Display Function (Still photos)
Photos (but not video clips) stored on your card may be viewed at an enlarged 3x magnification. This "zoom" feature allows you to better identify a small object in a photo, read a date imprint more easily, or check the photo quality. To use the zoom function, press and hold the Delete button for a few seconds until the display shows the enlarged center area of the photo, along with 4 small yellow arrows. To scroll around and see other sections of the photo at this 3x magnification, briefly press (tap) the Left and Right arrow buttons to move the to left or right areas of the photo. Press the Delete or Copy buttons to move the view down or up. When finished using the zoom function, press and hold the Delete button again to return the normal image.
Deleting Photos/Videos
To delete the one or more photo or video files from the card, briefly press the Delete button. You will see this list of options (the Delete Menu):
DELETE ONE
DELETE ALL
LOCK
UNLOCK
EXIT
To delete the currently displayed photo from its card, leave "DELETE ONE" highlighted (or press the Delete or Copy buttons to select it if necessary). Press the Left button-you will see "DELETE ONE " with a choice of "YES" or "NO" ("NO" is the highlighted default, to prevent accidental erasure). To delete the selected photo (still visible on the display underneath), press the Copy button to select "YES", then press the Left button to confirm. The display will indicate "DELETING FILE" as the photo is erased, then return to the normal display of the previous photo.
To delete multiple photos, either select the next photo with the Right/Left buttons and repeat the above procedure, or highlight "DELETE ALL" on the Delete Menu list of options (press Delete to move down the menu list), and repeat the same process used for deleting a single file (press the Left button, select "Yes" and press Left again). The display will indicate " DELETING FILES" then return to the normal display of the previous photo.
Lock/Unlock Feature (Protecting Files)
To protect the currently displayed photo/video from being accidentally deleted or erased, briefly press the Delete button to view the Delete Menu. Press the Delete button to move down the list until "LOCK" is highlighted, then press the Left button to confirm. The display will indicate "LOCKED" then return to the normal view. A padlock icon will now be visible in the top right corner whenever this photo or video file is displayed on the Viewer. This means that the DELETE (ONE or ALL) function will not be able to affect the protected file, and it will remain on the card (until it is "unlocked" and deleted). To unlock or remove the delete protection from currently displayed file, select "UNLOCK" from the Delete Menu and press the
Left button to confirm. The padlock icon will be removed, and the photo can be erased now if desired. The "Lock" feature can be very useful if you only have two photos you want to keep that are stored on a card along with a large number of other photos that aren't any good and you wish to erase over. Simply "lock" the two good photos, then use the DELETE ALL function. All photos except the two locked ones will be quickly deleted-much faster than deleting 48 out of 50 total photos, one at a time!
Copying Photos To A Second Card (Camera Slot > Storage Slot)
The Viewer will also allow you to copy your photos from your camera's card to a new SD card. This is a very convenient way to take your trail camera pictures home with you to view, print, etc on a PC, while returning the original card to the trail camera to capture another round of photos. To do this, remove the card from the camera, copy its contents to a new SD card you have inserted in the "Storage" slot (B), then you can delete all the photos from the original card and put it back in your camera. If you are using multiple trail cameras to cover a large area, you can "make the rounds" and repeat this process for all of them-just be sure to purchase a "storage" card with enough capacity to hold all of the copied files. For example, if you plan to copy all contents from three 32MB "camera" cards, use a 128MB or greater "storage" card so it will hold the total contents of all three cards (96MB) if they are full.
To perform the copy process, a blank SD card (or one previously used to copy files with the Viewer) should be inserted in the "Storage" slot located below the CF card slot. You may use standard or high speed SD cards, with any capacity up to a maximum of 1GB.
To copy one or all of the photo files from the card in a "Camera" slot to the SD card in the "Storage" slot, hold down the Copy button until you see the Copy Menu:
COPY ONE
COPY ALL
EXIT
The Copy Menu works the same way as the Delete Menu-press the Delete or Copy buttons to select (highlight) an option, and press the Left button to confirm or perform an action.
Select COPY ONE (to copy only the currently displayed photo/video) or COPY ALL (to copy all files stored on a "Camera" slot card to the "Storage" slot SD card) from the Copy Menu options.
Next, press the Left button. During the file copying process, the display indicates "Copy to Card", with "Please Wait" flashing below (larger files such as high resolution photos or long videos will take longer to copy). The name of the file being copied is also displayed at the bottom of the screen. When the copy process is completed, the display will indicate "End Copy File" and return to the normal view screen. If you have more files on other cards to copy to the Storage card, simply remove the first Camera card, insert the next one, and repeat the Copy process.
 Note: Do not turn off the Viewer or remove any card during the copy process, to 10 prevent possible damage to the card or your files.
Setup Options
Hold down the Left button for a few seconds to view the Setup Menu. Just as in the other menus, use the Delete and Copy buttons to select (highlight) "LANGUAGE" or "AUTO OFF" from the Setup Menu, then press the Left button briefly (don't hold it down) to see the available settings for that option. Press Delete or Copy again to select your preferred setting, then press the Left button to confirm the setting and return to the Setup options. When finished, select "EXIT" and press the Left button to return to the normal display. The Setup options function as follows:
LANGUAGE: Selects your preferred language for all display menus/messages. English (default), French, German, Italian and Spanish are available.
AUTO OFF: Select 1 MIN, 2 MIN (default), or DISABLE. This determines the length of time before the Viewer will automatically shut off to save battery power, after the last time any button has been pushed. If you select "DISABLE", the viewer will not shut off until you press the Power button. Selecting 1 MIN or 2 MIN will help extend battery life if you forget to turn off the viewer or if the Power button is accidentally activated while transporting the Viewer, as it will limit the time the Viewer remains on when it is inactive.
Using the Viewer With A Computer (Card Reader Function)
The USB port next to the card slots on the left side of the Viewer allows it to function as an SD "card reader" when connected with the included USB cable to any computer (Windows 2000, ME, XP or Vista (Windows 98/98SE Is not supported); Mac OS 9 or OS X). The connected Viewer will operate just like an external hard drive, from which your photos may be accessed for viewing, editing and/or storing on your computer.
Transferring Photos to Your PC - Step by Step
- Make sure the Viewer power is on first, then connect the supplied cable to the Viewer's USB port (open the door on the left side of the Viewer), then directly to a main USB port on your computer-do not use front panel/keyboard USB ports or unpowered "hubs".
- The LCD display will indicate that the Viewer has been recognized as a standard "Mass Storage" device. This means that the camera files can be easily viewed, edited, or copied to your hard drive, just as if they were stored on an external hard drive or CD-ROM. (Mac users: the Viewer will be seen as a new drive icon on your desktop.) Note: if you connect the Viewer to your PC first, then turn its power on, the Viewer may be incorrectly identified by your computer as a new or unknown "PC Camera" (webcam). If so, simply click "Cancel" on your PC, disconnect the Viewer and try it again, this time powering on the Viewer before connecting the USB cable. If the Viewer "locks up" or does not respond, slide open the battery compartment door and temporarily pull one of the batteries out, re-insert it and try again.
- (This step is not required with Windows XP or Vista-you may simply use the options that will appear on your PC after the Viewer is connected to view, copy, edit, email, etc. your photos). Open "My Computer" or Windows Explorer. The Viewer will be shown as a new "Removable Disk" with an unused drive letter assigned to it. Double click this new "Disk" icon, then open any folder or folders found inside to get to your photo files. Single clicking any file should show a small preview image.
- Click "Edit>Select All" (or click on one photo, contol+click to select multiple photos), then "Edit>Copy to Folder" (in Windows menus). Select an existing folder on your hard drive, such as "My Pictures", or create a new folder (e.g.,"Trail Cam #2-Maine-May 07"), then click "OK" to transfer copies of the photo files you want.
- After the photos are transferred to your hard drive, you can disconnect the Viewer. Windows 2000 may produce a screen warning that you have disconnected a USB device without stopping or ejecting the "disk" first (your photo files will not be harmed). If so, check the box that adds an icon to your system tray or taskbar. Then next time you finish transferring photos, you can click that icon first, and "Stop the USB Mass Storage Device" before disconnecting the Viewer. On Macs, you should "eject" the Viewer before disconnecting, as you would any external storage device.
- You're now ready to open the photo files in any photo editing software. Just use File>Open and go to the folder where you stored the photos earlier. It is also possible to open and work with your photos directly from the Viewer while it is still connected-under "File>Open", select the "Removable Disk", and open the folders inside until you get to the JPEG photo files. If you choose to work this way, from a connected Viewer, be sure that you save the photo (when you are done editing) to your hard drive, and not the Viewer's "Camera"/Source card.
- If you are using photo editing software on your computer, refer to the manufacturer's manual or Help menu for details on using its features. Along with adjusting the brightness, contrast, sharpness and color of your photos, you can resize the photo to fit the paper if you are printing, or save a smaller, low or medium resolution version for email or inserting into documents. When you are ready to save your edited.jpg file to your hard drive, you may want to use "Save As" and give it a more descriptive name than "SUNP00003". Doing this also preserves the original file as a backup if you decide to use it for something different later (for example, it's hard to make a good large print from a photo file that's been reduced in size for email). Make sure you have successfully transferred all the photos you wanted to save before using "Delete All" on your camera source card to make room for new images.

Documents / ResourcesDownload manual
Here you can download full pdf version of manual, it may contain additional safety instructions, warranty information, FCC rules, etc.
Download Bushnell Trail Scout 11-9501 - Trail Camera Viewer/Copiep Manual
Advertisement


Need help?
Do you have a question about the Trail Scout 11-9501 and is the answer not in the manual?
Questions and answers