Advertisement
Quick Links
Advertisement

Subscribe to Our Youtube Channel
Related Manuals for DaytonAudio MKBOOM


Summary of Contents for DaytonAudio MKBOOM
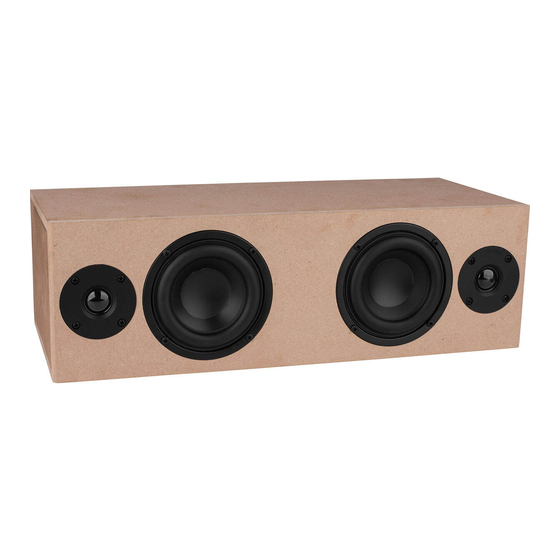
- Page 1 MKBOOM BLUETOOTH POWERED SPEAKER KIT Model: MKBOOM Assembly Guide...
-
Page 2: Package Contents
Thank you for purchasing the MKBoom kit. This kit includes an easy to assemble cabinet and high-performance components that will put a DIY smile on your face no matter your skill level. With a little time and patience, your finished product will provide years of enjoyment. Please follow these instructions for the best possible results. -
Page 3: Enclosure Assembly
Enclosure Assembly: 1. First, set the enclosure parts out on a flat level surface and ensure that all pieces are free of dust and debris. 2. With the bottom panel lying flat, glue the internal walls in place making sure the front edges are flush with the front of the bottom panel. - Page 4 5. Next, locate the two 2-way Pre-Wired Crossover Boards. Cut the small white connector off of the red and black wires and strip the wires back roughly 1/2". 6. Once the glue is dry you can install a crossover board into each speaker cavity using four #6 x 3/4" Deep Thread Pan Head Screws Black.
- Page 5 9. Use a hot glue gun, caulk, or even poster tack to seal up the through-holes in the internal walls. 10. Once this is complete you are ready to glue the Top Panel on the enclosure. Clamp it securely and allow it to dry per the glue manufacturers recommendations.
- Page 6 13. Insert the Power (green/black wires), Bluetooth (blue/black wires), and Charging (red/black wires) LED's into the panel by removing the nut and lock washer from each LED and insert, wire first, through the corresponding holes in the front of the panel. Add a lock washer then nut to each LED and secure nuts with included Wrench. 14.
- Page 7 17. Remove the 2 black jumpers from pins 1,2 and 5,6 from the 6 pin "Volume Control" connector on the KAB-250v4 2 x 50W Class D Audio Amplifier Board with Bluetooth 5.0. Tip: The connectors on the on the KAB-250v4 amplifier are labeled on the back of the board. 18.
- Page 8 20. Locate the four 22mm Silver Standoffs in the PC Board M3 Standoff Kit. Have these ready for the next step. 21. Hold the KAB-250v4 2 x 50W Class D Audio Amplifier Board with the connectors/heatsink pointing down and the Precut Panel hanging freely. Keep the 4 conductor cable for the KAB-BE 18650 Battery Extension Board separate from the other wires.
-
Page 9: Final Assembly
30. Finally, plug the 15V 4A DC Power Supply AC Adapter into the DC input in the back of the speaker to activate the KAB-BE 18650 Battery Extension Board. Allow to charge 24 hours to ensure batteries are fully charged (the MKBoom can be used while charging). You are now ready to enjoy your finished MKBoom! - Page 10 5-Year Limited Warranty See daytonaudio.com for details daytonaudio.com 705 Pleasant Valley Dr. tel + 937.743.8248 Springboro, OH 45066 info@daytonaudio.com Dayton Audio Last Revised: 11/22/2022 ®...
Need help?
Do you have a question about the MKBOOM and is the answer not in the manual?
Questions and answers