Table of Contents
Advertisement
Quick Links
Advertisement
Table of Contents

Related Manuals for AMD Radeon RX 5700


Summary of Contents for AMD Radeon RX 5700
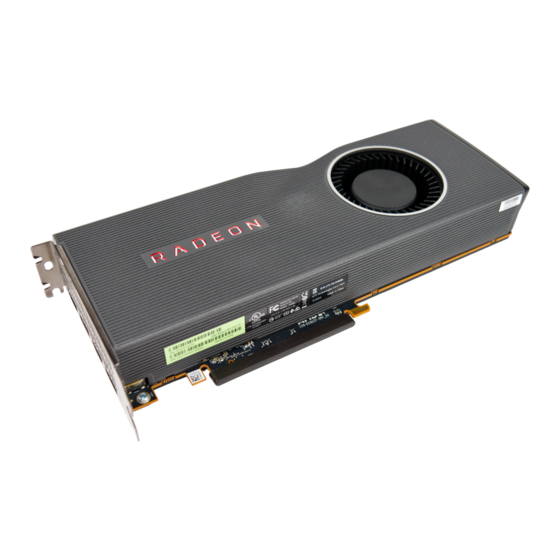
- Page 1 AMD Radeon™ RX 5700 AMD Radeon™ RX 5700 XT Quick Setup Guide...
- Page 2 Write down the serial number and part number before installing your product. The serial number and part number on the product are required for registration and technical support. They are located on a sticker on the back of your AMD Radeon™ RX 5700 / AMD Radeon™ RX 5700 XT graphics card.
- Page 3 2. If needed, remove any existing graphics card(s). 3. Install the new graphics card. 4. Reassemble and connect your computer system and display(s). 5. Start the computer system, install the AMD drivers and configuration software. 6. Restart the computer system. Installing the Graphics Card Power Connection Location Power supply.
- Page 4 Installing the Graphics Card Turn off the computer, monitor(s) and other peripheral devices. 2. Unplug the computer’s power cord, and then disconnect all cables from the back of the computer. 3. Remove the cover to the computer’s case. NOTE: If necessary, consult the computer manual for help in removing the cover. CAUTION: Static electricity can seriously damage computer components.
- Page 5 Adapters/ dongles that are not provided with your graphics cards can be purchased from AMD’s website or through your local AMD resellers. When connecting displays to a DisplayPort connection, the type of adapter and display that you use may determine the number of displays that can be used with your graphics card.
- Page 6 Display Configurations Display Configurations Connecting Displays The Radeon™ RX 5700 / Radeon™ RX 5700 XT graphics card provides support for Ultra HD resolutions via its DisplayPort connections. Up to four displays can be simultaneously supported via the onboard DisplayPort and HDMI connections. Non- DisplayPort devices may be connected using adapter cables.
- Page 7 No license, including implied or arising by estoppel, to any intellectual property rights is granted by this document. Terms and limitations applicable to the purchase or use of AMD’s products are as set forth in a signed agreement between the parties or in AMD’s Standard Terms and Conditions of Sale.
- Page 8 AMD.COM © 2019 AMD, and the AMD Arrow logo, Radeon, EyeFinity, FreeSync, and combinations thereof are trademarks of Advanced Micro Devices, Inc. DirectX and Microsoft are registered trademarks of Microsoft Corporation in the US and other jurisdictions. PCI Express and PCIe are registered trademarks of PCI-SIG Corporation. Vulkan and the Vulkan logo are trademarks of the Khronos Group Inc.
Need help?
Do you have a question about the Radeon RX 5700 and is the answer not in the manual?
Questions and answers