Advertisement
Quick Links
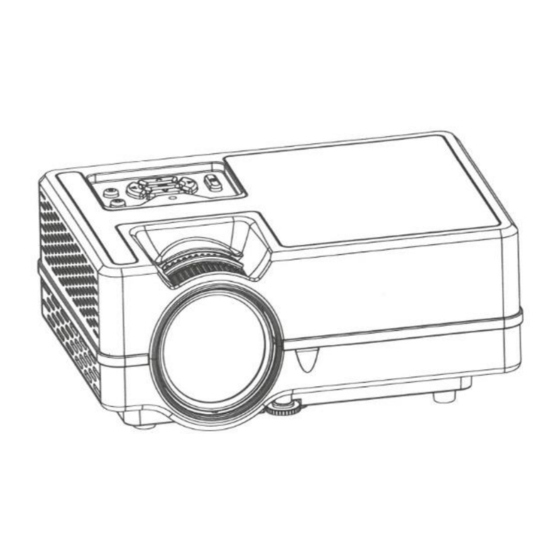
Projector User Manual
VS313 Sync Screen
Features
1. Sealing design, high efficient cooling dual cooling system, which improve the stability and
extend the use time.
2. Gorgeous LED indicator working over 20000h shows the condition of the projector.
3. Electronic zoom for image size adjusting.
4. Professional fault diagnosis and protection system.
5. Small and light.
6. Free transfer of 16:9/4:3 image modes.
7. Ultra-noise isolation and dust-proof design; Not need for an inside cleaning.
8. Low power consumption/more efficient/more environmental friendly.
9. Rich interface: HD in/TF/USB/VGA/AV/ AUDIO/TV
10. Simple and elegant appearance.
11. Hidden Lens.
Notice
1. Before you use the machine, please read this manual carefully;
2. To provide a stable power supply, please use the right circuit according with national power
supply standard or the socket with protection function, like grounding outlet;
3. Please use the same power adapter outlined on the manual or the adapter coming with the
projector.
4. Please don't disassemble the machine in an unauthorized manner, or our company won't take
this response.
5. For fear of hurting your eyes, please don't look at the projector lens in its' working situation,
Advertisement

Related Manuals for tekkiwear VS313

Summary of Contents for tekkiwear VS313
- Page 1 Projector User Manual VS313 Sync Screen Features 1. Sealing design, high efficient cooling dual cooling system, which improve the stability and extend the use time. 2. Gorgeous LED indicator working over 20000h shows the condition of the projector. 3. Electronic zoom for image size adjusting.
- Page 2 6. Please don't place the projector on the items which may block the vent, such cloth, blanket etc. 7. This projector isn't water-proof; you should prevent it from water spray and splashing water. It should be placed away from vast/liquid container etc. 8.
-
Page 3: Remote Control
Remote Control On / Off Fast Forward Previous Mute Fast Backward Next Play / Pause Stop Source Useless UP / Channel Up Left / Volume Down Right / Volume Up Down / Channel Down Menu Exit Single / Double number input Number keys Loop Playback 1. -
Page 4: Operation
Operation Starting up the projector 1. Plug the power cord into the projector and into a wall socket. Turn on the wall socket switch (where fitted). Check that the Power indicator light on the projector lights red after power has been applied. - Page 5 Rotate the Focus Ring to adjust Focus as that shown in the below figure. Correcting keystone Keystoning refers to the situation where the projected image is noticeably wider at either the top or bottom. It occurs when the projector is not perpendicular to the screen.
- Page 6 Connecting Video source devices You can connect your projector to various Video source devices that provide any one of the following output sockets: * HD in * Computer * Video(composite)&Audio(stereo) * Analog television signal Many notebooks do not turn on their external video ports when connected to a projector. Usually a key combo like FN + F5 or CRT/LCD key turns the external display on/off.
- Page 7 Note: that the menu items are available when the projector detects at least one valid signal. If there is no equipment connected to the projector or no signal detected, limited menu items are accessible. Multimedia format 1. Video formats: * .MPG,*.MPEG,*.ASF,*.AVI,* .MOV, * .MP4, *.V0B,* .FLV, * .DAT, * .RMVB 2.
- Page 8 2) Input password "12345678"to connect. 3) Call up "Notification Center"on iPhone. Then tap "Screen mirroring". Select the right device to connect. See picture 4 * iPhone connection with Cellular data network 1) Enter iPhone WiFi. Select the right SSID displayed on the projection image. 2) Input password "12345678"to connect.
- Page 9 2) Tap "WiFi AP"-"Scan". You will see the WiFi SSID you connected. Tap forget to disconnect. See picture 11 *Note: This manual is only for reference. The connection steps in practice may slightly different as the phone OS update or projector software update.
Need help?
Do you have a question about the VS313 and is the answer not in the manual?
Questions and answers