Advertisement
Quick Links
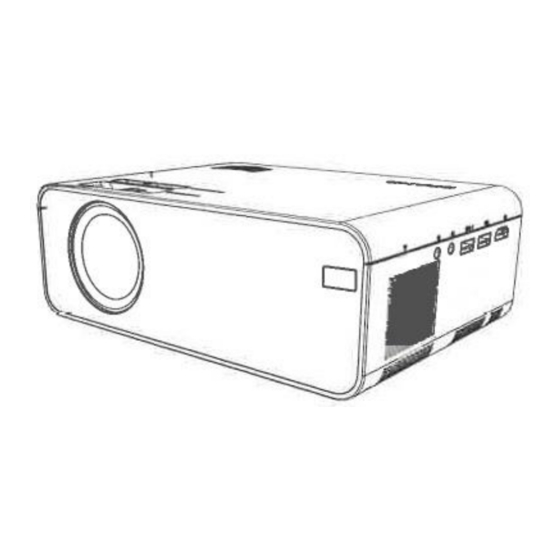
PROJECTOR USER'S MANUAL - DAM G86
Important Safety Considerations
Thank you for purchasing this series of digital projectors.
Please read this "User's Manual" for the correct use of this product.
Please keep this manual together with the warranty card in a safe place for reference when needed after reading.
Note:
Do not open the housing to avoid electric shock. No components of the projector can be repaired by customers. Please
entrust repair to qualified professional service personnel.
The identification warns users of the uninsulated voltage in the projector, which may cause electric shock through the
surface magnetic field. Therefore, contact with any component inside the projector is very dangerous.
The identification reminds users to be very careful and cautious in operation and maintenance. Therefore, please read
the manual carefully to avoid any failure.
Warning
Do not expose the projector to rain or moisture to avoid fire or electric shock; do not open the case.
The following safety instructions ensure a long service life of the projector to prevent fire or electric shock. Be sure to
read them carefully and heed all of the following warnings.
Do not install the projector in unventilated locations:
Do not install the projector in hot and humid places.
Do not block ventilation openings (inlet or outlet).
Advertisement

Related Manuals for tekkiwear DAM G86

Summary of Contents for tekkiwear DAM G86
- Page 1 PROJECTOR USER'S MANUAL - DAM G86 Important Safety Considerations Thank you for purchasing this series of digital projectors. Please read this "User's Manual" for the correct use of this product. Please keep this manual together with the warranty card in a safe place for reference when needed after reading.
- Page 2 Do not install the projector in dusty or smoky places. Do not install the projector near the temperature and smoke transducer. It may cause the sensor to fail Do not install the projector in places where hot or cold wind from the air conditioner blows directly. Otherwise, it may lead to projector failure due to moisture condensation or temperature rise.
- Page 3 Moving - Use soft packing materials and attach the lens cover to protect the lens when moving the projector. Also, do not impose severe mechanical vibrations on the projector. High temperature warning - During and after projection, the temperature near the socket will rise, so touching it may cause burns. Do not look into the lens, or it may cause serious eye injury.
- Page 4 Get to know the remote control (multimedia version) I. Caution: Be careful when using the remote control. Do not drop or step on the remote control, or allow any liquid to splash on Do not place the remote control near a heat source, in a place exposed to direct sunlight or in a damp room. 2 How to install and debug the projector Installation and debugging 1 Installing the projector...
- Page 5 It is recommended to adjust the keystone correction ring in case of keystone distortion in the image (Figure 1 on the right). When the image on the screen is blurred (Figure 2 on the right), it is recommended to adjust the focus ring to improve the image definition.
- Page 6 1. Press the "S" key on the projector control panel and choose the appropriate input source from the menu (as shown in the Figure on the right). 2. Press the "INPUT" key on the remote control to select the appropriate input source. 3.
-
Page 7: Playing Music
Attention! Video content can be viewed by holding the cursor over the selected video for more than 3 seconds. Only MP4, RMVB, AVI, RM, MKV and other video formats are supported for video playback. Playing music Music files in the memory device can be played in the following steps. (1) To play a music file, first select "Music"... - Page 8 2. Press the "<" and ">" keys on the operation panel to select the device for image storage. 3. Press the "<" and ">" buttons on the control panel to select the appropriate image (or the folder to enter the subfolder), and then press the "OK"...
- Page 9 4 Projection configuration (multimedia version) 4. The options related to "Audio" are set in this screen. Audio Mode: Audio sets the bass and treble ratio of the audio. The "Standard" modes, "Music", "User", "Sports" and "Video" are the default modes. Balance: Adjust the gain difference of the left and right audio channels.
- Page 10 (2) "Picture", "Sound", "Time", "Settings" can be adjusted. Press the "<" and ">" keys on the control panel to select the range of settings.. (3) The options related to "Image" are set on this screen. Picture mode: "Standard", "Brief Report", "User", "Video" and other picture modes are defaulted to suit a variety of projection.
- Page 11 6 Synchronize cell phone display and screen adaptation function The contents of the cell phone screen can be synchronized on the projection screen in the following steps. It is convenient for enjoying videos and images, or a simple business meeting on a larger screen. 1.
- Page 12 - The steps to enable developer options vary for different Android device models. You can check online or contact us for detailed steps. Let's take Samsung Galaxy S8+ as an example. - Go to the settings of your Android device, then tap About phone > Software info> Build number. Continuously tap on the build number for several times until it shows that the developer mode has been enabled.
- Page 13 - For Bluetooth connection, go to the settings option and then click on the Bluetooth icon and turn on Bluetooth and turn on Bluetooth. - Click on the Bluetooth icon and turn on the Bluetooth and search for other search for other available Bluetooth devices within 10 meters range and connect.
Need help?
Do you have a question about the DAM G86 and is the answer not in the manual?
Questions and answers