Table of Contents
Advertisement
Quick Links
Advertisement
Table of Contents

Related Manuals for Full Spectrum Laser 1080 NM

Summary of Contents for Full Spectrum Laser 1080 NM
-
Page 2: Safety Warning
Safety Warning: Specifications: Do not leave your machine unattended. Test Conditions Minimum Average Maximum (if applicable) Avoid using materials made of carbon or that contain carbon components. Operating Voltage 200V AC 220V AC 240V AC Have a fume extractor ready to catch any fumes or vapors that may be created during the welding process Input Power 100 % Output... - Page 3 1200 W Tuning Range of Output Power 100 % Output 10 % 100 % Emission Wavelength 100 % Output 1070 nm 1080 nm 1090 nm Spectrum Width 100 % Output Power Instability 100 % Output ± 1 ± 2 20 µm output ON/OFF Switch Time 50 µs...
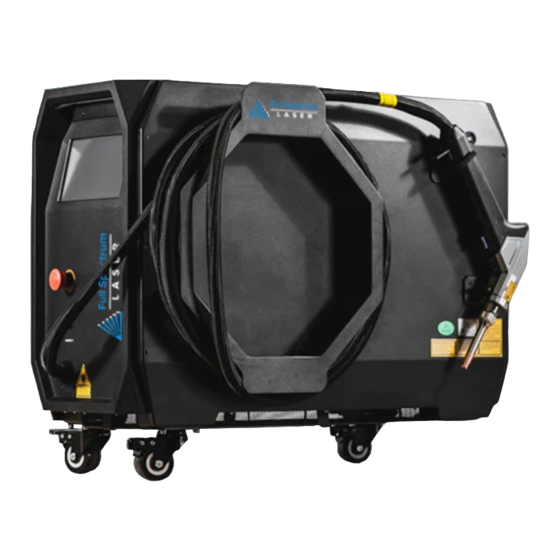
- Page 4 Diagrams: Welding Torch: Main Unit (Front): Main Unit (Back): Wire Feeder:...
- Page 5 Unboxing & Assembly: 4. Locate the Cable Rack. Align the holes in the cable rack to the ones on the left side of the machine. 2. Open the box and carefully remove the items. 1. Cut open the 1st box. 3.
- Page 6 6. Locate the welding head rack and install it onto the left side of the machine. 9. Connect the grounding wire to the back of the machine and connect the other end directly to ground. 10. Connect the 5 pin Cable to the Wire Feeder.
- Page 7 Connecting Wire Feeder: 5. Pull the red levels down to remove the Wire Feed Rollers. 1. Cut open the 2nd box. 3. Remove the Wire Feeder from box. 6. The number on the wire rollers correspond to the wires diameter and therefore must be placed together.
- Page 8 10. Lower red levers to the down position. 8. Run the Feeding Wire through the wire assembly (see above), then secure in place using a screwdriver. 11. Run the wire through the silver wire guide and through the assembly. The wire should be inside the Feeder (as seen above).
- Page 9 14. Thread the nozzle assembly in place. 18. Adjust the wire feed holder to be centered. 16. Secure the assembly in place using the screw. 15. Install the wire feeding tube and nozzle. 19. Adjust the height of the wire using the bolts. 20.
-
Page 10: Connecting Gas
Connecting Gas: Before turning on the Laser Welder your machine should be connected to the gas and Pressure set ot the appropriate PSI. We recommend Nitrogen gas for this machine. Meters Gas Valve T-handle 1. Connect the gas tube to the gas regulator as shown above. Secure it in place using cable clips or something similar. - Page 11 Interface: When the Laser Welder turns on, the following screen appears. Home Menu: This screen is called the Streamline mode. Feed Enable- Makes the Wire Feeder usable In Streamline mode, the feeder can be enable and disabled. Similarly, the laser can be Laser Enable- Enable to laser to be fire using the trigger started by selecting the large white button, a warning will appear before turning on the machine.
-
Page 12: Parameters Menu
Interface: Machine Recommendations: Gas: Compressed Nitrogen gas is used with this machine (30PSI recommended). Alternatively Argon can be used. Welding Wire: The wire usually used on this machine is the .03 inch steel or aluminum wire. Welding supplies can generally be purchased locally or online here. Nozzles: The nozzles used will depend on the type of welding method you are trying to perform. - Page 13 Preparing and Uploading New Settings: The Parameters menu has a list of prepared material settings. By selecting a material a new window will open that will show the set parameters for this setting. In order to use this setting you must first select a parameter to load the editing screen (as shown below).
Need help?
Do you have a question about the 1080 NM and is the answer not in the manual?
Questions and answers