Advertisement
Introduction
This operation manual is only for a brief description of the product, for more product information please open the
CDROM.
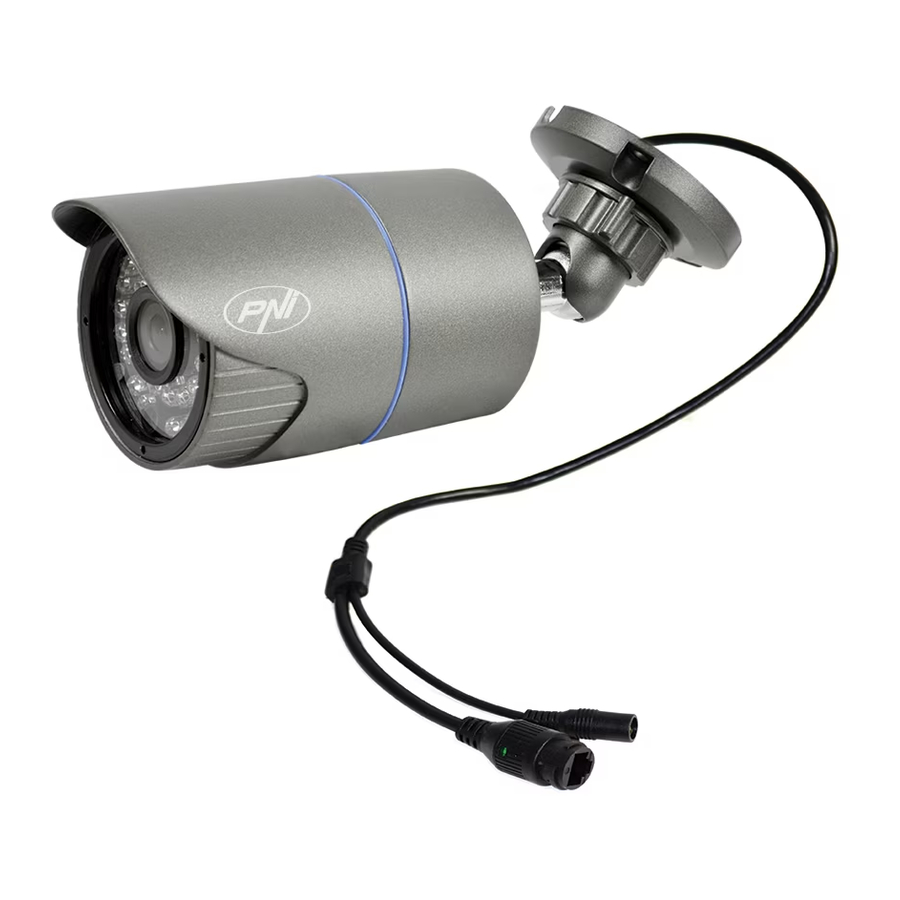
Product description

Boot up & IP configuration
Boot up
Please use the formal 12 V 2A power adapter.
Please use the positive power of about 50 seconds of network cameras start complete, the network camera through a cable connected to the LAN. We recommend the accesories.
IP config
[IP address]:default is 192.168.1.10
[Subnet Mask]:default is 255.255.255.0
[Gateway]:default is 192.168.1.1.
Open the CD and install the software General Device Manager.
Then click [IP search], all online IP addresses of the monitoring devices within the LAN will be searched and displayed.

 Choose one IP address
Choose IP address to config. IP address and port are displayed on the right, you can modify the IP parameters and click "Modify" to save.
Note: IP address of the speed dome must share the same network segment with the router and conform to the router's IP, and make sure the IP is not conflicted in the network of LAN. Go to[conform to local PC] to automatically match subnet mask and default gateway with local computer.
Camera Access
IE Access
Open web browser, enter IP address, take 192.168.1.1 O as an example, input http: //192.168.1.10 to connect. Enter user name and password
(default user name is admin, no password). Change the administrator password after login.
After successful login, go to [Stream menu] to connect main stream or substream.

 Main menu
 PTZ control
 Stream selection
 Shortcut menu
Note: Plug-ins need to be installed if you login via IE browser. IE is default to intercept plug-in.
Please set IE security level. Go to <internet options>--<security>--< Customized level> and Enable all ActiveX options. Install Active X plig-in fromt he CD included in the package.
CMS access
- Open the CD search and install the General CMS software. CMS shortcut icon will be displayed when installed successfully.
- Double-click CMS shortcut icon, input user name and password( user name: super, no password) to login.
![]()
- Go to [Main Menu] > [System] > [Device Manager] to add camera to CMS.

Note: The CMS detailed user manual can be found on the CD included in the package.
Mobile Access
Network environment: WIFI, 3G
Mobile system: Android, iOS|
Software Name: VmEyeCloud
Open vMEye application and add your camera using the option "By Device".
Click "Add" on top left of "Device List", to access "Device Detail". You can add manually or click "Search" to add the devices on LAN.
Note: The detailed user manual of the mobile applications can be found on the CD included in the package.
Technical specifications
- Sensor: CMOS
- IR-CUT filter
- Resolution1080P / 2.0 MP
- Video system PAL
- Fixed 3.6mm Lens
- 36 pcs. IR LED
- 30 Meter illumination
- Supports: iOS, Android
- Supports ONVIF 2.4 protocol
- Port Ethernet 10 / 100 Mbps
- Supports iCloud (P2P) function
- Supports Internet Explorer
- Waterproof IP66
- Working temperature
- 20°C ~ +40°C
- Working humidity <95%

Documents / ResourcesDownload manual
Here you can download full pdf version of manual, it may contain additional safety instructions, warranty information, FCC rules, etc.
Advertisement


Need help?
Do you have a question about the IP20MP and is the answer not in the manual?
Questions and answers