Advertisement
Description
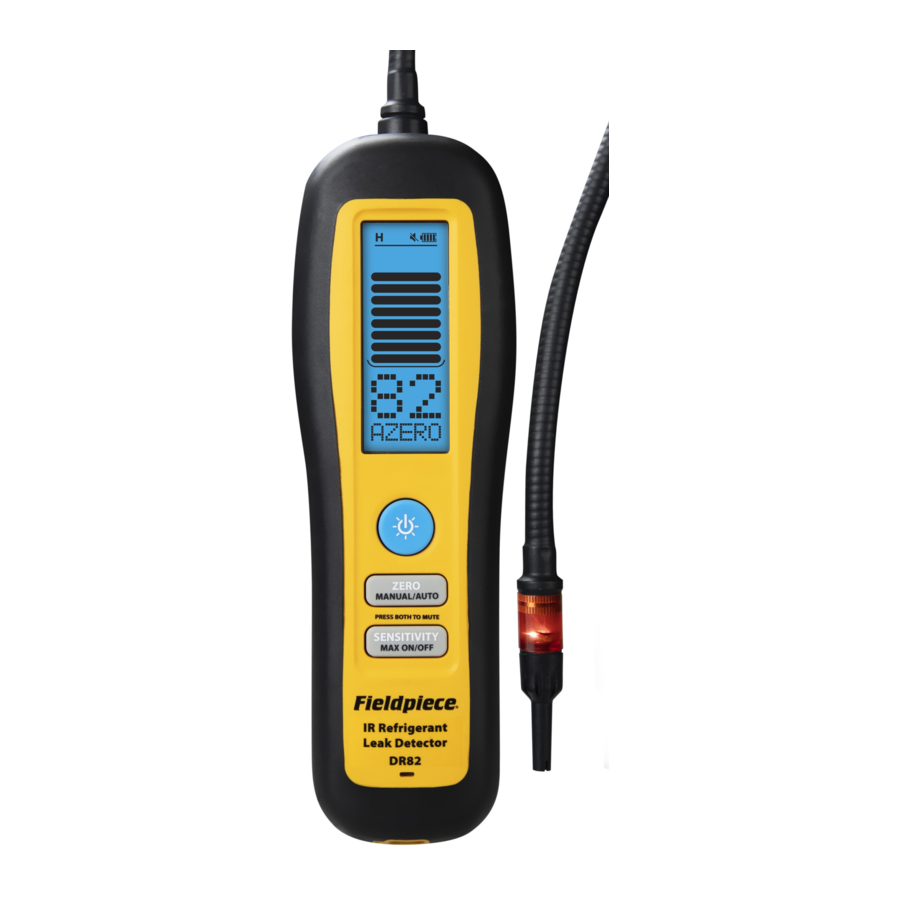
Compact and rugged, the DR82 Infrared Refrigerant Leak Detector helps you find leaks fast in the field. The 10 year infrared (IR) sensor detects all HFC, HCFC, CFC, HFO, and blends.
Multiple indicators and sensitivity 20x higher than soap bubbles make it easy to track down even the smallest leaks in various environments. A red LED flashes at the tip so you can keep your eyes on the target. The large bars on the backlit LCD are easy to see in bright sunlight or low light, and the numerical value provides an extra digit of resolution.
Unlike conventional leak detectors, you have full control with both an automatic (AZERO) and manual (MZERO) zero mode.
The large Li-ion rechargable battery provides over 10 hours of continuous operation and is convenient to charge via USB-C. Replaceable tips filter out water and dust while getting into tight spots. All wrapped up in a ruggedized IP54 housing, it's built for the field.
What's Included
- DR82 Infrared Refrigerant Leak Detector
- Blow Molded Carrying Case (ABM2)
- AC Charger and USB-C Cable (RCA3)
- 5 x Filter Tips and Gaskets (RFT6)
- Operator's Manual
- 1 Year Limited Warranty
Specifications
Sensor Type: Infrared (IR)
Sensor Life: 10 years typical
Sensitivity Levels: High, medium, low, turbo (selectable)
Maximum Sensitivity: 0.03 oz/yr (1g/a), stationary; 0.1 oz/yr (3g/a), in motion
Detection Feedback: Red tip LED, LCD bar graph, LCD digits, beeper
Refrigerants: HFC, HCFC, CFC, HFOs, and blends
Response Time: <1 seconds typical
Recovery Time: <5 seconds typical
Battery Type: 3.7 VDC (nominal) 2600mAh, non-replaceable
Charge Time: 6 hours typical with included charger.
Battery Life: 10 hours typical, backlight off
Auto Power Off: 10 minutes without detection or button press
Operating Environment: 32°F to 104°F (0°C to 40°C); < 75% RH (non-condensing)
Storage Temperature: -4°F to 140°F (-20°C to 60°C); < 80% RH
Weight: 14 oz (400g)
Water Resistance: Designed to IP54
US Patent: www.fieldpiece.com/patents
Certifications and Compliance
 EN 14624 |  Regulatory Compliance Mark |
 Restriction of Hazardous Substances Compliant |  Waste Electrical and Electronic Equipment |

Inhalation of high concentrations of refrigerant vapor can block oxygen to the brain causing injury or death. Do not use this device in a combustible gas atmosphere or with A3 refrigerants such as R-290, propane or R-600, isobutane. Do not block exhaust port or device or will not function properly.
Quick Start
- Move to a refrigerant-free environment and hold
![]() until your DR82 powers on.
until your DR82 powers on. - Allow warm-up (calibration) to complete.
- Begin searching for the leak source.
Move the tip slowly (~3 inches/sec) and as closely as possible to the suspected refrigerant line. - Search until refrigerant gas is detected. Red light flashes, audible alarm triggers, and the display indicates the relative gas concentration.
- Confirm leak source.
Move tip away from alarm location for a few seconds to clear the sensor. Return tip back to suspected leak, looking for the highest value.
Maintenance
CLEANING: Clean the exterior with a damp cloth. Do not use detergents or solvents.
BATTERY CHARGING: Recharge the internal battery as needed using the USB-C cable. In addition to the AC plug, most generic USB ports supply enough power to charge. The long life Li-ion rechargable battery is permanently installed. To maximize battery life, minimize time spent at 100% full or 0% full.
FILTER REPLACEMENT: The hydrophobic filter is built into the replaceable tip and should be replaced periodically to maximize sensor life and performance. Five filtered tips (RFT6) are included. Unscrew the tip to remove.

Functionality Test
Use a refrigerant tank and a cap to check if your DR82 is detecting refrigerant properly.
- Tightly cap a refrigerant tank port to seal it.

- Open valve to coat the inside of the cap, then close the valve.

- With DR82 set to high sensitivity (H), remove the cap and wave the tip over the cap. You should see a very large leak size of approximately "99" and a full bar graph. If not, the filtered tip may need to be replaced.


Operation
Power
Press  >1 second to toggle power.
Backlight
Press to toggle the blue backlight.
Zero Modes (AZERO/MZERO)
DR82 starts up in automatic zero mode (AZERO) which sets a new zero point every 4-5 seconds, indicated by a double beep.
Moving closer to the leak source will show the relative increase in concentration, triggering the alarm. Conversely, stopping at or moving away from the leak source will not trigger a response.
Press MANUAL/AUTO >1 second to toggle manual zero mode (MZERO). DR82 does not zero automatically while MZERO is displayed and will continue to alarm and display the relative leak size.
Zero Set
In manual zero mode (MZERO), press ZERO to initiate a 10 second calibration, during which "Zeroing" is displayed. For best performance, remain stationary until calibration finishes.

Numerical Leak Size Indicator with Bar Graph
The number is the relative concentration of refrigerant gas (0-99 units). The bar graph shows the same measurement in steps of 10 units for easy monitoring. The higher the number, the higher the concentration of gas being measured and the closer you are to the exact leak location.
Maximum Mode
Press MAX ON/OFF >1 second to toggle max mode. When max mode is on, the highest leak size detected is continually recorded. The recorded max is cleared when the sensitivity is changed or if manually zeroed.
Sensitivity (H/M/L/T)
DR82 starts up in high sensitivity (H) which is recommended for most situations. When leaks are difficult to pinpoint due to excess triggering or sensor saturation, press SENSITIVITY to cycle to another sensitivity (Medium/Low/Turbo). Turbo is extremely sensitive, and may false trigger from abrupt motion or small changes in gas content.
Mute ( )
)
Press ZERO and SENSITIVITY simultaneously to toggle the speaker.
Red Leak Indicator LED
In most situations, the red LED at the tip is easier to monitor than the display. Because the blink rate increases as the relative concentration increases, many leaks can be found without ever viewing the display.

5 Commonwealth Ave
Woburn, MA 01801
Phone 781-665-1400 Toll Free 1-800-517-8431
Visit us at www.TestEquipmentDepot.com
© Fieldpiece Instruments, Inc 2021; v01

Documents / Resources
References
Patents - Fieldpiece Instruments
![www.testequipmentdepot.com]() Welcome to the Test Equipment Depot, your test equipment supplier of all the best brands.
Welcome to the Test Equipment Depot, your test equipment supplier of all the best brands.
Download manual
Here you can download full pdf version of manual, it may contain additional safety instructions, warranty information, FCC rules, etc.
Download Fieldpiece DR82 - Infrared (IR) Refrigerant Leak Detector Manual
Advertisement


Need help?
Do you have a question about the DR82 and is the answer not in the manual?
Questions and answers