Table of Contents
Advertisement
Advertisement
Table of Contents

Subscribe to Our Youtube Channel
Related Manuals for RCA RP4010


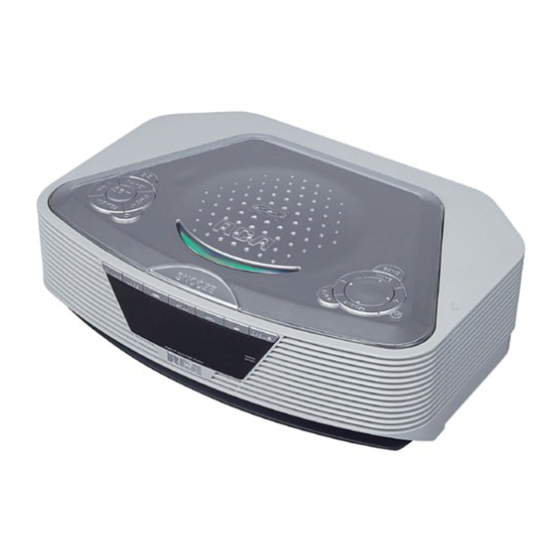
Summary of Contents for RCA RP4010
- Page 2 T H E FLASH AND ARROW- HEAD WITHIN THE T R I A N G L E I S W A R N I N G ALERTING YOU OF " D A N G E R O U S VOLTAGE" INSIDE THE PRODUCT.
-
Page 3: Fcc Information
CAUTION: TO PREVENT ELECTRIC SHOCK, MATCH WIDE BLADE OF PLUG TO WIDE SLOT, FULLY INSERT. Technical Specification Product: Clock Radio with CD player Brand: RCA Model: RP4010 Electrical Consumption Power Supply: 120V~60Hz Power Consumption: 40 Watts IMPORTER Comercializadora Thomson de México, S.A. de C.V. -
Page 4: Battery Back-Up Operation
When normal household power is interrupted, or the AC line cord is unplugged, the battery will power the clock radio to keep track of time and alarm settings programmed into memory. When the battery backup functions, the digital display will not light, however, the... -
Page 5: General Controls
General Controls WAKE UP Station / Track - sets the wake up radio station or CD track. CD MODE - selects repeat / repeat all / shuffle / repeat shuffle in CD mode. Rev - skips / searches backward. Play / pause - starts / pauses CD playback. NAP - sets the alarm to sound after a specific period of time. -
Page 6: Remote Control
Remote Control RADIO ON / BAND- turns on the radio / changes radio band MEMO RECALL - recalls available preset radio stations. OFF - turns off the CD / radio / alarm tone MUTE - mutes the volume. VOLUME - / + - adjusts the volume. Play / pause - starts / pauses CD playback. -
Page 7: Clock Display
Display Clock Display - In clock setting mode. WEEKEND CANCEL - Weekend Cancel is activated. Wake settings are activated during Mon to Fri, but are cancelled on Sat and Sun. - Nap activated. - Sleep activated. AM - In AM radio band. FM - In FM radio band. -
Page 8: Setting The Clock
Setting the Clock Setting Clock Time Your digital clock operates on a 12-hour standard mechanism. AM or PM will show on the display accordingly. When you first turn on the unit: 1. The clock icon shows on the display 2. Press << or >> to set the clock time. When you press and hold <<... -
Page 9: Operating The Radio
Operating the Radio Antennas FM antenna - The power cord acts as your FM antenna. It picks up moderate to strong radio stations and eliminates the need for an external antenna in most strong signal areas. Be sure the power cord is stretched to its full length. - Page 10 Operating the Radio Setting the Preset Radio Stations 1. Press RADIO ON/BAND to turn on the radio. 2. Press RADIO ON/BAND to change the broadcast band. 3. Press << or >> to tune to your desired radio station. 4. If you want to memorize this radio sta- tion, press SET once, and then press MEMO RECALL repeatedly to choose the radio station number you want to...
-
Page 11: Operating The Alarm
Operating the Alarm Setting the Wake Time 1. Press SET repeatedly until WAKE 1 or WAKE 2 flashes on the display. 2. Press << or >> to set the wake time. The time decrements or increments will follow by a faster rate when you press and hold either <<... -
Page 12: Waking To Radio
Operating the Alarm Waking to RADIO When the waking to radio is selected, the icon is displayed. 1. Set the wake time (see directions on the previous page). 2. Press WAKE 1 or WAKE 2 to select wak- ing up by RADIO 3. -
Page 13: Operating The Cd Player
Operating the CD Player Listening to Compact Disc 1. Press OPEN to open the CD compart- ment. 2. Insert a disc, the compartment will au- tomatically close. 3. Press Play/pause. 4. Adjust volume to your desired level. 5. Press Rev or Fwd to skip backward or forward the CD track. -
Page 14: Alarm Settings
Alarm Settings Setting Sleep Time In sleep mode, the radio and CD will turn off automatically. To set the sleep time, simply: 1. Press SLEEP, then the time display will exhibit 0:59. 2. While holding SLEEP, press << or >> to set the sleep time. -
Page 15: Nap Mode
Alarm Settings Nap Mode For catnaps up to 2 hours without disturb- ing the regular alarm settings, the NAP function wakes you up after a short pe- riod of time. Simply: 1. Press NAP, the NAP indicator will flash. While the NAP indicator is flashing, press <<... - Page 16 U.S. Limited Warranty What your warranty covers: • Defects in materials or workmanship. For how long after your purchase: • One year from date of purchase. The warranty period for rental units begins with the first rental or 45 days from date of shipment to the rental firm, whichever comes first.
- Page 17 U.S. Limited Warranty Limitation of Warranty: • THE WARRANTY STATED ABOVE IS THE ONLY WARRANTY APPLICABLE TO THIS PRODUCT. ALL OTHER WARRANTIES, EXPRESS OR IMPLIED (INCLUDING ALL IMPLIED WARRANTIES OF MERCHANTABILITY OR FITNESS FOR A PARTICULAR PURPOSE) ARE HEREBY DISCLAIMED. NO VERBAL OR WRITTEN INFORMATION GIVEN BY THOMSON INC., ITS AGENTS OR EMPLOYEES SHALL CREATE A GUARANTY OR IN ANY WAY INCREASE THE SCOPE OF THIS WARRANTY.
-
Page 18: Canadian Limited Warranty
Canadian Limited Warranty Thomson multimedia Ltd. warrants to the purchaser or gift recipient that if any manufacturing defect becomes apparent in this product within 1 year from the original date of purchase, it will be replaced free of charge, including return transportation. This warranty does not include damage to the product resulting from accidents, misuse or leaking batteries.
Need help?
Do you have a question about the RP4010 and is the answer not in the manual?
Questions and answers