Table of Contents
Advertisement
Available languages
Available languages
Quick Links
USE AND CARE GUIDE
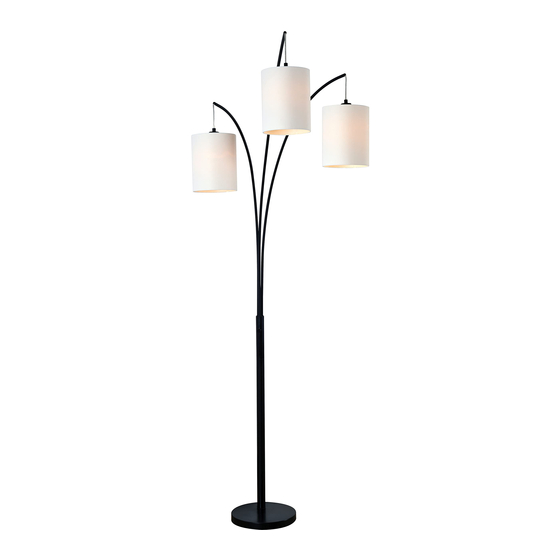
LEAH ARC FLOOR LAMP-#32849
Questions, problems, missing parts? Before returning to the store,
call Kenroy Home Customer Service
8 a.m.-6 p.m., EST, Monday-Friday
904-642-4340
THANK YOU
We appreciate the trust and confidence you have placed in Kenroy Home through the purchase of this lamp.
We strive to continually create quality products designed to enhance your home.
Thank you for choosing us!
Advertisement
Chapters
Table of Contents

Summary of Contents for Kenroy Home LEAH
- Page 1 8 a.m.-6 p.m., EST, Monday-Friday 904-642-4340 THANK YOU We appreciate the trust and confidence you have placed in Kenroy Home through the purchase of this lamp. We strive to continually create quality products designed to enhance your home. Thank you for choosing us!
-
Page 2: Table Of Contents
Table of Contents Safety Information ............................2 Warranty ..............................2 Pre-Installation ............................3 Planning Installation ..........................3 Package Contents ..........................3 Assembly .............................. 4, 5, 6 Care and Cleaning ............................7 Troubleshooting ............................7 Safety Information □ Consult a qualified electrician with any IMPORTANT: Inspect the wire insulation for electrical questions you may have. -
Page 3: Pre-Installation
Pre-Installation PLANNING INSTALLATION Read all instructions before assembly. To avoid damaging this product, assemble it on a soft, non-abrasive surface such as carpet or cardboard. Inspect each part for defects that may have occurred during shipping. Keep your receipt and these instructions for proof of purchase. NOTE: This lamp requires the use of three 120V, 60Hz, 60-Watt max, medium-base type A bulbs (not included). -
Page 4: Assembly
Assembly instructions Unpack the lamp and Assemble the upper arms assembly □ Carefully organize and place all parts on a smooth, flat surface. line up all of the parts according to the assembly diagram. □ Insert the pin on bottom of upper arm-1 assembly (C) into hole in lower arm assembly (H) and secure with one small screws (G). - Page 5 Assembly instructions (continued) Assemble the base □ Insert nipple of lower pole (I) into hole in base (J), then secure with metal washer (K) and nut (L) from bottom of the base (J), wrench (M) included. NOTE: Please make sure the sockets f ace front as shown.
- Page 6 Assembly instructions (continued) Install the bulbs □ Prior to installing the bulbs, inspect sockets for silica packet. If packet is present, then remove and throw away. Do not expose it to children or pets. □ Install three 120V, 60Hz, 60-watt max. medium-base type A bulbs (not included) into the sockets of the light lamp.
-
Page 7: Care And Cleaning
Important safety instructions □ This portable lamp has a polarized plug (one blade is wider than the other) as a feature to reduce the risk of electric shock. This plug will fit in a polarized outlet only one way. If the plug does not fit fully in the outlet, reverse the plug. - Page 8 www.kenroyhome.com CUSTOMER SUPPORT TEAM For any additional questions or concerns please contact our Customer Support Team: 904-642-4340 @KenroyHome customerorders@kenroyhome.com...
- Page 9 904-642-4340 JE VOUS REMERCIE Nous apprécions la confiance que vous avez placée dans Kenroy Home grâce à l’achat de cette lampe. Nous nous efforçons de créer continuellement des produits de qualité conçus pour améliorer votre maison. Merci de nous avoir choisis!
-
Page 10: Renseignements Sur La Sécurité
Tableau des matières Renseignements sur la sécurité ........................2 Garantie ............................... 2 Pré-installation ............................3 Installation de planification ........................3 Contenu du paquet ..........................3 Assemblée ............................4, 5, 6 Soins et Clea ning ............................7 Dépannage ..............................7 Sécurité information □... -
Page 11: Pré-Installation
Pré-installation INSTALLATION DE PLANIFICATION Lisez toutes les instructions avant l’assemblage. Pour éviter d’endommager ce produit, assemblez-le sur une surface douce et non abrasive comme le tapis ou le carton. Inspecter chaque pièce pour décexions qui pourraient s’être produites pendant l’expédition. Conservez votre reçu et ces instructions pour une preuve d’achat. - Page 12 Instructions d’assemblage Déballer la lampe et assembler l’assemblage des bras supérieurs □ Soigneusement organiser et lieu tout Pièces sur a surface lisse et plane. aligner toutes les pièces selon le diagramme d’assemblage. □ Insérer la goupille sur le fond de l’assemblage du bras supérieur-1 (C) dans le trou dans l’assemblage du bras inférieur (H) et fixer avec E une petite vis (G).
-
Page 13: Assemblée
Instructions d’assemblage (suite) Assembler la base □ Insérer le mamelon du pôle inférieur (I) dans le trou dans la base (J), puis fixer avec la laveuse métallique (K) et l’écrou (L) du bas de la base (J), clé (M) incluse. REMARQUE: S’il vous plaît assurez-vous que les prises f ace avant comme indiqué. - Page 14 Instructions d’assemblage (suite) Installer les ampoules □ Avant d’installer les ampoules, inspectez les prises à la recherche de paquets de silice. Si le paquet est présent, puis retirez et jetez. Ne l’exposez pas aux enfants ou aux animaux de compagnie. □...
-
Page 15: Soins Et Clea Ning
Instructions de sécurité importantes □ Cette lampe portative a une prise polarisée (une lame est plus large que l’autre) comme une caractéristique pour réduire le risque de choc électrique. Cette prise ne s’adaptera qu’à une seule façon dans une prise polarisée. Si la prise ne rentre pas complètement dans la prise, inverser la prise. S’il ne convient toujours pas, communiquez avec un électricien qualifié. - Page 16 www.kenroyhome.com ÉQUIPE DE SOUTIEN À LA CLIENTÈLE Pour toute question ou préoccupation supplémentaire, veuillez communiquer avec notre équipe de soutien à la clientèle: 904-642-4340 @KenroyHome customerorders@kenroyhome.com...


Need help?
Do you have a question about the LEAH and is the answer not in the manual?
Questions and answers