Advertisement
Quick Links
Advertisement

Related Manuals for YUHAO 1163


Summary of Contents for YUHAO 1163
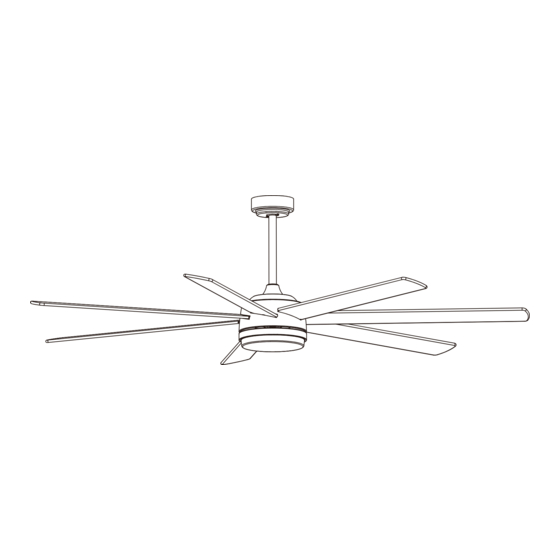
- Page 1 Model No.: 1163 Ceiling Fan Installation Instructions THANK YOU We appreciate the trust and confidence you have placed in us through the purchase of this ceiling fan.We strive to continually create quality products designed to enhance your home.Thank you for choosing us!
-
Page 2: Safety Precautions
Safety Precautions The information contained in the following pages has been prepared to ensure your maximum enjoyment of your fan Please remove the fuse or turn off the circuit breaker to cut off the power before installing the fan. Ensure all electrical connections are in compliance with local laws, regulations and national eletrical codes. -
Page 3: Pre-Installation
Pre-Installation Tools Needed Installation kit Part Description Quantity Blade screw Wire nut Screw Self tapping screw Blade balancing kit for further assistance. Visit www.pmwfan.com... - Page 4 Pre-Installation Specification AAA 1.5V Part Description Quantity Part Description Quantity Spare power cable Bracket Spare safety rope Down rod Receiver Canopy Remote controller Yoke cover Battery Body/motor Light kit Light cover Blades Note:The Illustrations in this manual are for explanation purposes only and may differ from the actual unit. It is subjected to change without prior notice for further improvements.
-
Page 5: Installation Instruction
Installation Instruction Step 1(Basic assembly of the fan) ① Decompose Drown rod. NOTE:If you are going to use a long down rod, follow these steps. 1.Connecting the Spare Power Cable for further assistance. Visit www.pmwfan.com... - Page 6 Installation Instruction 2.Connecting the Spare Safety rope Pass the cable through the Insert the canopy,yoke cover, and suspension ② ③ down rod and lock the down ball into the down rod. Then insert the fixing rod. pin, push the Hanging ball up, and fix it with screws.
- Page 7 Installation Instruction Step 2 (Ceiling bracket installation and fan into the installed Bracket.) ① Turn off the fan power supply at the circuit breaker box and the wall switch. Failure to disconnect the power ! supply prior to installation may result in serious injury or death.
- Page 8 Installation Instruction Safety rope installation method Safety rope Step 3 (Receiver and wiring installation) Connect the Connectors from Fan and Receiver. Connect the wires from the receiver ① to House Supply Wire. House power Black AC IN L( White AC IN N( To Light To Motor Ground wire...
- Page 9 Installation Instruction Step 4 (Blades and Light kit installation) Align the blades with the Remove the pre-installed screws. ① ② mounting holes, and then fix Connect the light kit cable, and then lock them with screws. the light kit. Step 5 (Switch on and ceiling fan works) for further assistance.
- Page 10 Remote Control ( Emitter ) Operation Transmitter learning process Press and hold 1.Insert the 2 pcs of batteries into for about 3 sec transmitter. 2.Turn on the power supply to the fan. Within 10 sec, press and hold the “1” and “2”...
-
Page 11: Troubleshooting
TroubleShooting WARNING: Make sure the power is off at the electrical panel box before you attempt any repairs. Problem Solution □ Check the main and branch circuit fuses or breakers. □ Check the line wire connections to the fan and switch wire connections in the switch housing. The fan will not start. - Page 12 Balancing – Wobbling problems during fan operation If the fan body wobbles during its operation, this is not a sign of malfunctioning (even if it wobbles a few centimeters). To reduce wobbling, you can turn off the fan,and: 1.Check that all blades are properly fastened by tightening their screws. 2.Check the distance between each blade and the ceiling.
- Page 14 Questions, problems, missing parts? Before returning to the store, visit www.pmwfan.com for further assistance. Retain this manual for future use. 23-04...
Need help?
Do you have a question about the 1163 and is the answer not in the manual?
Questions and answers