Advertisement
Quick Links
ASME A112.18.1 / CSA B125.1
ICC/ANSI A117.1
Model/Modelo/Modéle
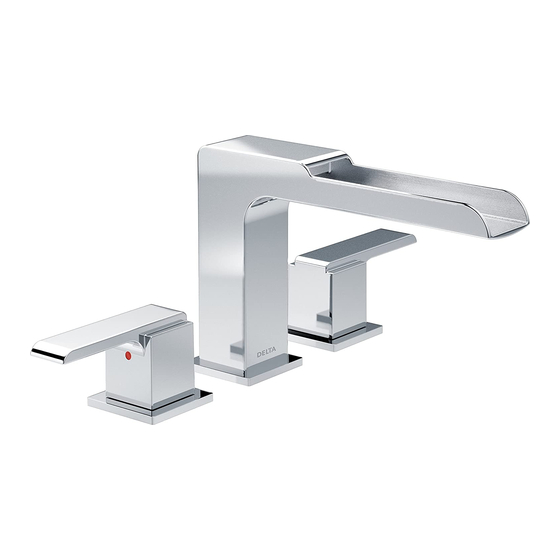
T2767 & T4767
T2768 & T4768
Series/Series/Seria
Ara
TM
Write purchased model number here.
Escriba aquí el número del modelo comprado.
Inscrivez le numéro de modèle ici.
Rough-in mounting / valving required to complete installation
El montaje / la valvulería eléctrico/a oculto/a que se requiere para completar la instalación
Plomberie brute montée/à soupape nécessaire pour terminer l'installation
You may need/Usted puede necesitar/Articles dont vous pouvez avoir besoin:
1/8" (3.17mm)
For easy installation of your Delta
faucet you will need:
• To READ ALL the instructions completely
before beginning.
• To READ ALL warnings, care, and maintenance
information.
• To complete the deck and valve rough-in prior to
installing this trim kit.
Para instalación fácil de su llave Delta
usted necesitará:
• LEER TODAS las instrucciones completamente
antes de empezar.
• LEER TODOS los avisos, cuidados, e
información de mantenimiento.
• Para completar el borde y la instalación de
válvulas dentro de las paredes previa a la
instalación de la llave y sus accesorios.
Pour installer votre robinet Delta
facilement, vous devez:
• LIRE TOUTES les instructions avant de début-
er;
• LIRE TOUS les avertissements ainsi que toutes
les instructions de nettoyage et d'entretien;
• Installez le corps du robinet et terminez le
pourtour du bain avant de poser les accessories
de finition.
www.deltafaucet.com
TWO HANDLE ROMAN TUB TRIM
75181
LLAVE Y SUS ACCESORIOS
PARA BAÑERA ROMANA DE DOS
MANIJAS (MANERALES)
ACCESSOIRES DE FINITION DE
ROBINET À DEUX POIGNÉES POUR
BAIN ROMAIN
?
75181
1
1/8"
(3.17mm)
1/8 po
3/32"
(2.38mm)
3/32 po
06/04/13 Rev. A
Advertisement


Need help?
Do you have a question about the Ara T2767 and is the answer not in the manual?
Questions and answers