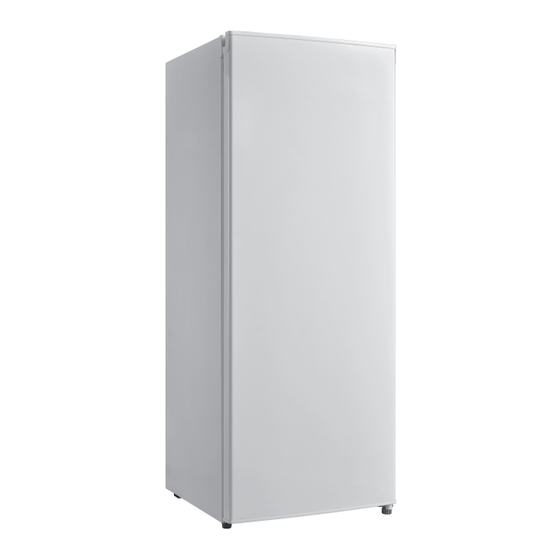
Summary of Contents for Koolatron KTUF160
- Page 1 5.3 cu.ft./150L Upright Freezer KTUF160 User Manual Please Read These Instructions Carefully Before Use!
-
Page 2: Table Of Contents
Contents Introduction ..................3 Important Safety Instructions . -
Page 3: Introduction
Introduction Congratulations on your purchase of a high-quality Classic product. Your 3730-936 represents the state of the art in upright freezer design and is designed for reliable and trouble-free performance. Important Safety Instructions CAUTION RISK OF ELECTRIC SHOCK DO NOT OPEN This symbol indicates that dangerous voltage constituting a risk of electric shock is present within your freezer. -
Page 4: Grounding Requirement
WARNING Electric Shock Hazard Failure to follow these instructions can result in electric shock, re, or death. 1 WARNING–Keep ventilation openings, in both your freezer and the built-in structure, clear of obstruction. 2 WARNING–Do not touch the interior of your freezer with wet hands. This could result in frostbite. 3 WARNING–Do not use mechanical devices or other means to accelerate the defrosting process, other than those recommended by the manufacturer. -
Page 5: Features
Features Package contents • 5.3 cubic foot upright freezer • User Guide Dimensions 21.5" (54.5 cm) Top of Freezer 135° 36.7" (93.1 cm) 21.7" (55 cm) -
Page 6: Interior
Interior Note The illustrations shown in this user guide are only for reference. The actual product may differ slightly. Control knob Notes • The four upper shelves measure 14.9 × 12.6" (37.8 × 32.1 cm) (W × D) • The bottom shelf measures 15.2 × 6.6" (38.5 × 16.8 cm) (W × D) •... -
Page 7: Finding A Suitable Location
Finding a suitable location • Place your freezer on a floor that is strong enough to support your freezer when it is fully loaded. • Do not install your freezer on carpeting or a rug. • Your freezer is designed to be free standing and should not be recessed or built-in. •... -
Page 8: Leveling Your Freezer
Leveling your freezer Lower Raise • Leveling your freezer is important. If you do not level your freezer during installation, the doors may not close or seal correctly which can cause cooling, frost, or moisture problems. • To level your freezer, rotate the leveling feet clockwise (to raise) your freezer or counter-clockwise (to lower). Note To make it easier to adjust the feet, have someone push against the top of your freezer to tilt it slightly. -
Page 9: Reversing The Freezer Door
Reversing the freezer door Warnings • Unplug your freezer before you reverse the door. Failure to unplug your freezer may result in serious injury or death from electrical shock. • To avoid personal injury and property damage, get another person to help you reverse the door. - Page 10 3 While one person tilts your freezer backwards, remove the bottom hinge screws and hinge and the two leveling feet. Install the bottom hinge and leveling feet on the other side. You can lay your freeze flat on the floor to make removing and installing the bottom hinge easier.
- Page 11 6 Align the hinge with the screw holes on the door and the hole in the top edge of the door. Slide the pin through the hole in the hinge and into the hole on the top edge of the door. Use the screws to attach the hinge to your freezer. Place the hole cover over the hinge opening on the other side of the door.
-
Page 12: Providing The Correct Power Source
Providing the correct power source Check your local power source. Your freezer requires a 115V, 60Hz power supply. Warnings Make sure that: • The power outlet accepts a 3-prong grounding plug. The third prong on the power cord plug grounds your freezer to minimize the possibility of electric shock. -
Page 13: Cleaning Your Freezer
Cleaning your freezer Your freezer is designed for year-round use with only minimal cleaning and maintenance. We recommend that you do the following every time you clean it to keep your freezer running odor-free and efficiently: Caution To prevent damage to the finish, do not use gasoline, benzine, thinner, or other solvents, and do not use abrasive cleaners. -
Page 14: Troubleshooting
• Do not line the freezer storage shelves with aluminum foil, wax paper, or paper toweling. Liners interfere with cold air circulation and make your freezer less efficient. • Organize and label food to reduce door openings and extended searches. Remove as many items as needed at one time, and close the door as soon as possible. - Page 15 WARRANTY Koolatron Corporation warrants that this product will be free from defects in materials or workmanship under normal household use for a period of 1 year from the date of retail purchase. During this time, defective products will be repaired or replaced at the discretion of the retailer and/or Koolatron Corporation.


Need help?
Do you have a question about the KTUF160 and is the answer not in the manual?
Questions and answers