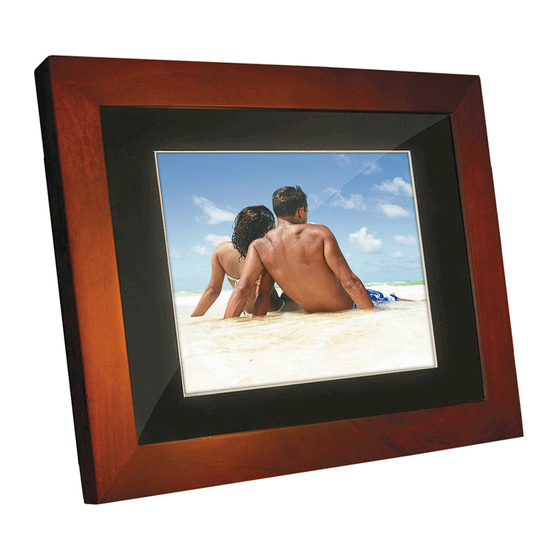
Summary of Contents for Portable USA PU-10W
- Page 1 10.4” Digital Picture Frame “The brightest way to display your memories” Model Number: PU-10W Version 1.1ZM...
-
Page 2: Table Of Contents
Table of Contents Table of Contents Introduction and welcome page Cautions and Warnings What’s in the box What do all the buttons do? Quick Setup Guide How does the remote work? Memory options Photo viewing Playing music Watching videos Warranty Details Specifications Page 2 Page 3... -
Page 3: Introduction And Welcome Page
Introduction and Welcome From all the management and staff at Portable USA, we would like to thank you for choosing us for your preferred Digital Picture Frame. We hope it will provide much happiness, a few giggles and plenty of smiles. -
Page 4: Cautions And Warnings
Cautions and Warnings Hopefully this should all be common sense but we want you to be safe and to use your frame for the purpose it was intended – it needs the right environment for the best results! To reduce the risk of fire, serious personal injury or shock; Do not use the unit near water or expose it to rain or a ✖... -
Page 5: What's In The Box
For extra safety, use a surge protector to protect ✖ against power surges. Clean the outer plastic parts only with a soft dampened ✖ cloth. You can use wood polish on the wood, but apply to a cloth first – never spray or pour cleaner directly onto the picture frame. -
Page 6: What Do All The Buttons Do
What do all the buttons do? AUTO – the Auto button adjusts your image for the best overall image color and position. MENU – Allows control of many of the display characteristics of the frame, most of which are automatically controlled however the menu options fall into five main categories, all navigated by using the MENU button, along with the up/down arrows. - Page 7 SCREEN ALIGNMENT – Primarily used for Horizontal and Vertical Positioning of the image on the display. Auto Adjust is the best setting. OSD ALIGNMENT – allows you to reposition the on screen display menu LANGUAGE – Select from English, Spanish, French, German and Chinese MISCELLANEOUS –...
-
Page 8: Quick Setup Guide
Quick Setup guide A. The first thing to really understand is that a computer is NOT required to enjoy your pictures on this frame – just a memory card from your camera. The rest should be straight-forward. B. Assemble the rear support leg by inserting the connector end of the leg into the frame. -
Page 9: Using The Remote Control
Using the Remote Control The remote control supplied has push button ease of use that allows full control of your digital photo frame Changing your battery STANDBY: Puts the unit in and out of sleep mode. To turn off fully, switch off on the frame... - Page 10 Setup – from the remote With no memory installed, hitting SETUP will bring up the on screen menu that allows you to control many aspects of the display. These options can be navigated with the arrow keys, up and down, left and right. ENTER allows you to select from the menu and ‘drill down’...
-
Page 11: Memory Options
Memory Options This 10.4” wooden frame supports Compact Flash Digital, Memory Stick Multimedia card, and xD Picture Cards (please note Type M cards are not compatible due to the proprietary compression method used). You can put multiple (different) cards in the frame and select which card to ‘play’... -
Page 12: Viewing Photographs
Viewing Photographs All images must be jpegs of 12MP or less to be displayed on this frame. The frame will automatically scale the image to 640x480 to provide perfect Aspect Ratio image accuracy. It is recommended that you maximize your memory card capacity and auto-scale everything to 640x480 for quicker image display and better use of your memory. -
Page 13: Playing Music
can select 14 ways of transitioning the slides along with a transition delay of 1, 3, 5 or 10 seconds. Playing your MP3 music files This frame only supports the MP3 file format for audio, so ensure you are using this on your flash cards. There are two ways to play your tunes. -
Page 14: Watching Your Videos
Watching Your Videos This frame will play MPEG1/2 and MPEG4 files. Please note that MPEG1 and MPEG2 are very space and memory hungry and while a fast speed, high capacity flash card may provide enough bandwidth, it is not very efficient and may result in slight stuttering. -
Page 15: Warranty Statement
• The product was installed without following the supplied installation instructions. • The serial number of the product is defaced, modified or missing. • The decision of Portable USA shall be final and binding with regards to the condition of product return and eligibility of repair or replacement. -
Page 16: Technical Details
Remote Control Screen Size Screen Type Display resolution Max. orig. image Weight Power Supply Positioning options Audio Video Support PU-10W 094922596987 13” x 10.5” x 1.75” Secure Digital(SD) , Multimedia Card (MMC), CompactFlash(CF) xD Picture Card , Memory Stick ...


Need help?
Do you have a question about the PU-10W and is the answer not in the manual?
Questions and answers