Advertisement
SUV Tent with Screen Room Set Up Guide
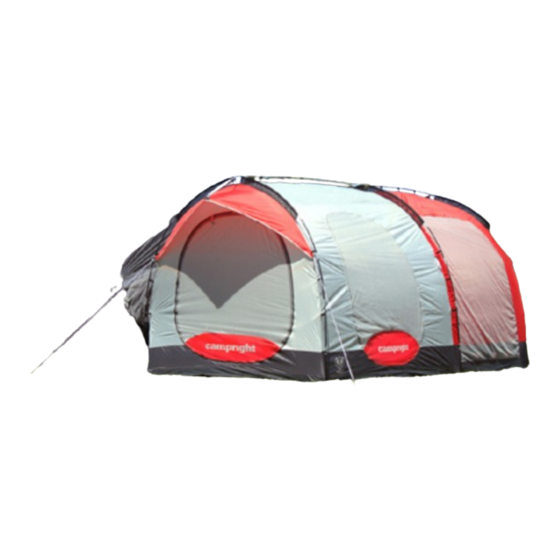
Setting Up The SUV Tent
1-
Clear sharp rocks and sticks from the ground. Lay out
the tent on a smooth flat surface.
2-Connect the (4) sections of the steel pole together using
the (3) junctions (Fig 1 and Fig 2) as follows:
•
Place the long steel pole section over the main tent
and place the shorter steel pole section over the
screen room. Connect these two pole sections with the
junction that is marked with the letter "M".
•
Place the (2) steel pole sections with black plastic caps
over the awnings on each end of the tent. Connect
these pole sections to the main pole sections with the
junctions that are marked with the letter "A".
Fig 1
3-Thread the (6) fiberglass
poles through the pole
sleeves and connect them
to the (3) junctions (Fig 3).
The fiberglass poles will
lay across the tent (Fig 4).
4-Attach the tent clips to
the steel poles (Fig 5).
Fig 4
WARNING:
Make sure the fiberglass poles are pushed all the
way onto the pole junctions before raising the tent.
Fig 2
Fig 3
Fig 5
5-Place the ends of the steel pole into the pockets at the
end of each awning (Fig 6).
6-Raise the tent by bending the black fiberglass poles and
placing their ends over the corresponding pole pins (Fig
7).
WARNING:
Don't use excessive force when raising the tent poles.
If there is resistance check to see that the pole sleeves
can slide over the poles without hang-ups.
Fig 7
Fig 6
7-Attach the tent clips to the black fiberglass poles once
all the poles are raised (Fig 8).
This tent has a lower sleeve and an upper sleeve which
create an alligator clamping action on the rear of the ve-
hicle.
8-Back the vehicle close to the tent, bumper touching Fig
9), and place the upper sleeve over the opened rear door.
9-Buckle the (2) short straps on the leading edge of the
upper sleeve around the vehicle's roof rack rear cross bar
(it may be necessary to adjust the position of the cross
bar.) If you do not have a roof rack, clip the (2) long strap
pieces provided into the short straps' female buckles and
attach the "J" hooks to the windshield wipers (Fig 10).
Fig 9
10-Adjust the baffle inside the top edge of the upper
sleeve to keep water, wind, and bugs out.
11-Make sure the lower sleeve is sitting above the ve-
hicle's muffler. Place the (2) adjustable straps of the lower
sleeve over the top of the vehicle's rear hatch (Fig 11).
Fig 11
12-Raise the hatch, making sure the straps are tight when
it reaches the top.
13-Attach the straps on the lower sleeve to the inside of
the vehicle's cargo area (Fig 12).
Fig 8
Fig 10
Fig 12
Advertisement
Table of Contents

Subscribe to Our Youtube Channel
Related Manuals for Rightline Gear CampRight


Summary of Contents for Rightline Gear CampRight
- Page 1 5-Place the ends of the steel pole into the pockets at the end of each awning (Fig 6). 6-Raise the tent by bending the black fiberglass poles and placing their ends over the corresponding pole pins (Fig WARNING: Don’t use excessive force when raising the tent poles. SUV Tent with Screen Room Set Up Guide If there is resistance check to see that the pole sleeves can slide over the poles without hang-ups.
- Page 2 17-Stake the corners, sides, and guy lines of the tent (Fig LIMITED WARRANTY Rightline Gear warrants that for one (1) year, from the date of purchase that all PackRight and CampRight prod- ucts will be free of material defect and Rightline Gear...
Need help?
Do you have a question about the CampRight and is the answer not in the manual?
Questions and answers