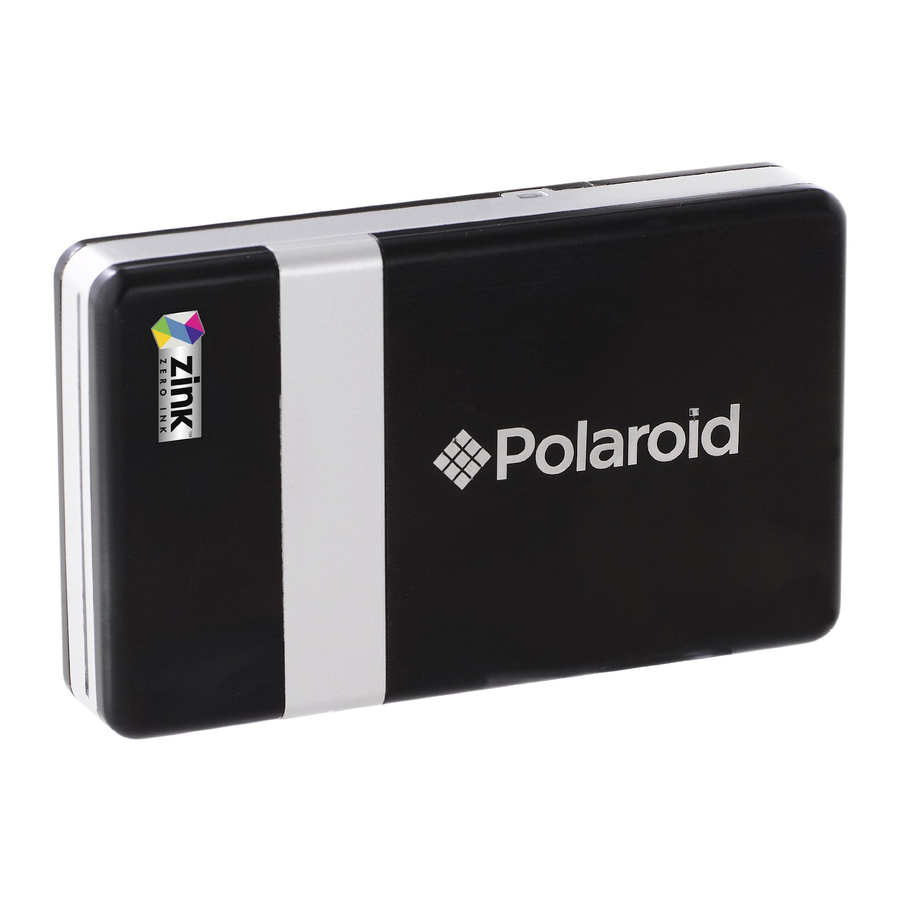
Polaroid PoGo - Instant Mobile Printer Manual
- User manual (1 page) ,
- Quick start manual (17 pages)
Advertisement

Product Diagram

| LED | Color | Action | Communication | ||||
 |  Green Green | Solid | Power on | ||||
 Orange Orange | Solid | Low battery | |||||
 Red Red | Solid | Out of battery | |||||
 Orange Orange | Pulse (1X speed) | Charging from AC adapter | |||||
 Green Green | Pulse (1X speed) | Fully charged from AC adapter | |||||
 |  Green Green | Solid | Ready to print | ||||
 Green Green | Pulse (1X speed) | Receiving information | |||||
 Green Green | Pulse (3X speed) | Printing | |||||
 Red Red | Pulse (1X speed) | Paper jam | |||||
 Orange Orange | Solid | Out of paper, non feed |
Installing and Charging the Battery
To install the battery:
- Remove battery door cover.
![]()
- Install battery.
![]()
- Replace battery door cover.
![]()
To charge the battery:
- Install the battery (see above steps).
- Connect the AC adapter to the printer and the power source.
![]()
Notes:
- Before using the printer on battery power, fully charge the battery for 2.5 hours.
- You can print photos while plugged into the power source.
Installing Polaroid ZINK Photo Paper™
To install the Paper:
- Press and release latch on the paper tray door
![]()
- Unwrap the 10-pack of Polaroid ZINK Photo Paper.
![]()
- Slide the 10-pack of Polaroid ZINK Photo Paper into the printer. Make sure the ZINK Smart Sheet™ is placed facedown. Close the printer tray door. The ZINK Smart Sheet will automatically eject.
![]()
- Press and hold the POWER button to turn on the printer.
![]()
Notes:
- Works only with Polaroid PoGo™ and other Polaroid ZINK products.
- The printer must be empty before refilling. Do not fill the printer with more than one 10-pack of Polaroid ZINK Photo Paper. Having more than 10 sheets of paper may damage the printer.
- Aviod bending the Polaroid ZINK Photo Paper.
- Only hold the Polaroid ZINK Photo Paper by its edges; avoid touching the printing surface with your fingers.
Printing: Camera Cell Phone
Passcode: 6-0-0-0
For specific printing directions for your phone, visit www.polaroid.com/pogo.

The following is an example for connecting to the printer and print your images. The
terminology used in your cell phone may be different.
- Select the image you would like to print from the stored images on your camera cell phone. In the "options" menu, select "send via Bluetooth." Search for devices and select the Polaroid printer and print.
- If you are unable to print from "send via Bluetooth," select "connectivity" or "Bluetooth" under the "settings" or "tools" menu. Search for devices and select the Polaroid printer. Once paired, go back to stored images and select the image you want to print. In the "options" menu, select "beam" or "send via Bluetooth". Select the Polaroid printer and print.
- If your camera cell phone does not include "send via Bluetooth" under the "options" menu, select the image you want to print. Select the "options" menu and select "print via Bluetooth". Search for devices, select the Polaroid printer, and print.
Printing: Digital Camera
For specific print directions for your digital camera, please review your digital camera user's manual or manufacturer's website.
For additional troubleshooting for your camera, visit www.polaroid.com/pogo.

The following is an example for connecting to the printer and print your images. The terminology used in your camera may be different.
- Connect your digital camera and printer to determine if a print option or printer icon is automatically displayed on the camera screen.
- If no print option appears, select "menu" and navigate to confirm that PictBridge is enabled. Note: if "USB" is displayed under "settings" then PictBridge is NOT enabled.
- Once PictBridge is enabled, select the image you want to print and follow the on-screen instructions to print.
Notes:
- Do not disconnect the USB cord until entire printing process is complete.
- Do not turn off the printer while printing.
- Do not open paper tray door while printing.
- To print the date on your photo, ensure the Date Stamp feature on your digital camera is enabled.
- Does not print when connected to a PC.
Troubleshooting
| PROBLEM | SOLUTION |
The photo has streaks | DO NOT:
|
The paper jammed before printing(nothing has been ejected) | DO NOT:
|
The paper jammed while printing(part of the image has already ejected) | DO NOT:
|
If all else fails... | DO:
|
For additional troubleshooting and frequently asked questions, please visit www.polaroid.com/pogo or call 1-877-3779.

Documents / Resources
References
Download manual
Here you can download full pdf version of manual, it may contain additional safety instructions, warranty information, FCC rules, etc.
Advertisement


Need help?
Do you have a question about the PoGo CZA-1001B and is the answer not in the manual?
Questions and answers