
Subscribe to Our Youtube Channel
Related Manuals for Lenoxx PR4396

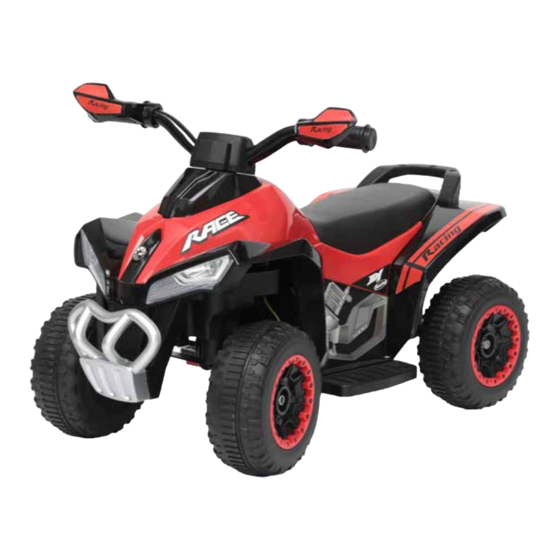
Summary of Contents for Lenoxx PR4396
- Page 1 CHILDREN’S RIDE-ON QUAD, 6V, BATTERY OPERATED Model: 90403B / 90403R Batch no: PR4396 PLEASE READ AND RETAIN INSTRUCTIONS FOR FUTURE REFERENCE.
- Page 2 The illustrations used in the manual are to illustrate the operation method and structure of the product. Where there is a small difference between the physical item and the illustrations, please take the physical as the standard. SPECIFICATIONS OF THE RIDE-ON: Age range: 18 –...
- Page 3 1. SAFETY: PREVENT INJURIES AND DEATHS: NEVER LEAVE CHILD UNATTENDED. DIRECT ADULT SUPERVISION IS REQUIRED. Please instruct the child on the correct way to drive the ride-on. Make sure your child knows how to steer, how to start and stop the vehicle and knows the rules for safe driving.
-
Page 4: Parts Diagram
2. PARTS DIAGRAM: Remove the screw holding the heat down and then take the seat off the body. * Take the gear box out of the compartment and keep it aside. *... - Page 5 3. ASSEMBLY: Before you begin: Warning: KEEP THIS GUIDE FOR FUTURE REFERENCE. ADULT ASSEMBLY REQUIRED. The product contains small parts, which are for adult assembly only. Keep children away when assembling. • Always remove protective material and poly bags and dispose before assembly. •...
- Page 6 2. Add the front wheels, gaskets and nuts as pre the diagram above to the front of the ride on. 3. Add the front bumper. Use 4 x “4 X 10” screws and a screwdriver (not included). 4. Turn the ride on bottom up. Insert the steering shaft.
- Page 7 CONNECTING THE BATTERY AND GEARBOX MOTOR: The battery and gearbox motor connection are located under the seat. To access, remove the screw holding the heat down and then take the seat off the body. Connect the large connector underneath the seat to the corresponding connector from the gear box motor.
-
Page 8: Charging The Battery
5. CHARGING THE BATTERY: The forward/reverse switch must not be on either mode when charging. Charging time is 8 – 10 hours. The first hour of charging can get back 60% of the battery’s energy back. You may leave it to charge overnight, but NEVER continuously over 20 Hours. Otherwise, you will shorten the batteries life. -
Page 9: Operation
6. OPERATION: 1. Forward/reverse switch: Changes the direction that vehicle moves from forward to reverse. ride-on forward, put the switch to the “forward” position. ride-on backward, put the switch to “reverse” position. 2. Foot pedal: Applies power (speed) to the vehicle. ride-on, press the foot pedal down. - Page 10 7. MAINTENCE AND TROUBLE SHOOTING: Factors which may influence the ride-on’s performance and life span: How flat the driving surface is The weight of the driver Whether the battery has been fully charged Whether the ride-on is regularly used Whether water or any other liquid has eroded the electrical components It is parents' responsibility to check main parts of the toy before using, regularly examine the ride-on for potential hazard, such as the battery, charger or wires, plug, screws are fastening enclosure of other parts and that in the event...
-
Page 11: Troubleshooting
TROUBLESHOOTING: Problem Possible Cause Solution Battery low on power Recharge battery. Thermal fuse has tripped Wait 20 minutes for the fuse to reset Battery connector or wires Check that the battery connectors are firmly Ride-on does not run are loose plugged into each other. - Page 12 Further information on the battery: Do not change the batteries setting, as it can cause fire and damage the electrical circuit system. Do not change the ride-on’s electrical circuit system. Any repairs done to this unit must be carried out by authorised and qualified service personnel. Do not allow children to charge the motor ride-on, play with the battery or motor.
Need help?
Do you have a question about the PR4396 and is the answer not in the manual?
Questions and answers