Advertisement
Advertisement
Table of Contents

Related Manuals for Hanover HSD0431


Summary of Contents for Hanover HSD0431
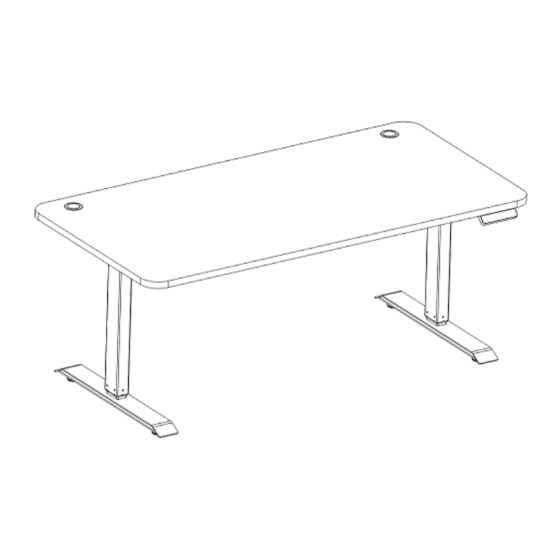
- Page 1 Assembly & Care Guide For Motorized Lift Desk Model: HSD0431...
- Page 2 Lift Desk Assembly Instructions The model number of your desk is printed on the side of your carton. Always use this number to identify your desk. Thank you for your purchase of this quality office furniture. With proper use and care, your desk will provide you with years of use.
-
Page 3: Table Of Contents
Table of Contents Safety Information Parts List and Breakdowns Assembling the Base Attaching the Desktop Connecting the Power Trouble Shooting Warranty... -
Page 4: Safety Information
Safety Information Keep children away from motorized height adjustable desks, control units, and handsets to avoid risk of injury and electric shock. Keep all electrical components away from liquids. Do not sit or stand on the desk frame. ... -
Page 5: Parts List And Breakdowns
Parts List Tools Required: Note: Phillips Head Screwdriver, Power Drill, and Tape Measure are not included. Parts Included: Hardware Included: Parts List:... -
Page 6: Assembling The Base
Assembly Instructions Assembling the Base NOTE: Lay out all components and hardware on a clean surface to ensure you have all components and hardware listed on the parts page. 1. Fully separate the Crossbar Ends (P4). You will find the Crossbar Center Rails (P5) inside. 2. -
Page 7: Attaching The Desktop
6. Remove backing from the Noise Attenuation Pads (P13) and position along the brackets as shown. 7. Slide the two Crossbar Center Rails (P5) into the two Crossbar Ends (P4) ensuring: a. The slots in the Center Rails (P5) face inward. b. -
Page 8: Connecting The Power
WARNING: Use caution that the screws are not overtightened so they do not puncture the top surface when screwed all the way in. a. Attach the 2-leg desk base to the underside of the desktop using eight M5*20 Wood Screws (P16). i. -
Page 9: Troubleshooting
NOTE: You must reset the desk prior to use. Reset Procedure: Press and hold the DOWN button on the Switch (P7) until the desk reaches the lowest position. Release the DOWN button. Press and hold the DOWN button again until the LED display reads “RST”. -
Page 10: Warranty
2-Year Limited Warranty Program For a period of two (2) years after purchase, Hanover Products (“Manufacturer”) will either repair or replace defective components in accordance with this Limited Warranty. This warranty is between Manufacturer and the original purchaser and is valid only when accompanied by the original purchaser’s sales receipt showing original date of purchase and location of purchase.
Need help?
Do you have a question about the HSD0431 and is the answer not in the manual?
Questions and answers