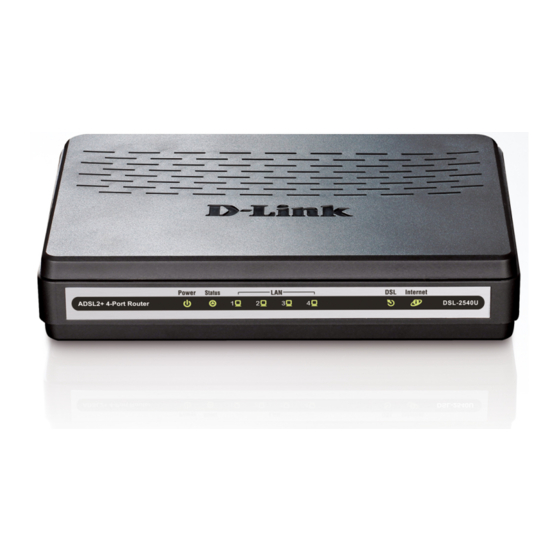
D-Link DSL-2540U Quick Installation Manual
Adsl annex b/ethernet router with built-in switch
Hide thumbs
Also See for DSL-2540U:
- User manual (86 pages) ,
- Quick installation manual (14 pages) ,
- User manual (66 pages)

Related Manuals for D-Link DSL-2540U


Summary of Contents for D-Link DSL-2540U
- Page 1 Quick Installation Guide DSL-2540U ADSL Annex B/Ethernet Router with Built-in Switch...
-
Page 2: Before You Begin
DSL-2540U Quick Installation Guide BEFORE YOU BEGIN Delivery Package Router DSL-2540U • Power adapter DC 12V/0.5A • RJ-11 telephone cable • Ethernet cable (CAT 5E) • Splitter • CD-ROM with “User Manual” and “Quick Installation Guide” • “Quick Installation Guide” (brochure). -
Page 3: Pc With Ethernet Adapter
DSL-2540U Quick Installation Guide CONNECTING TO PC PC with Ethernet Adapter 1. Make sure that your PC is powered off. 2. Connect an Ethernet cable between any of four Ethernet ports located on the back panel of the router and the Ethernet port of your PC. -
Page 4: Obtaining Ip Address Automatically In Os Windows Xp
DSL-2540U Quick Installation Guide Obtaining IP Address Automatically in OS Windows XP 1. Click the Start button and proceed to the Control Panel > Network and Internet Connections > Network Connections window. 2. In the Network Connections window, right-click the relevant Local Area Connection icon and select the Properties line in the menu displayed. - Page 5 DSL-2540U Quick Installation Guide 4. Select the Obtain an IP address automatically and Obtain DNS server address automatically radio buttons. Click the OK button. 5. Click the ОК button in the connection properties window. Now your computer is configured to obtain an IP address automatically.
-
Page 6: Obtaining Ip Address Automatically In Os Windows 7
DSL-2540U Quick Installation Guide Obtaining IP Address Automatically in OS Windows 7 1. Click the Start button and proceed to the Control Panel window. 2. Select the Network and Sharing Center section. (If the Control Panel has the category view (the Category value is selected from the View by... - Page 7 DSL-2540U Quick Installation Guide 6. Select the Obtain an IP address automatically and Obtain DNS server address automatically radio buttons. Click the OK button. 7. Click the OK button in the connection properties window. Now your computer is configured to obtain an IP address automatically.
-
Page 8: Configuring Router
DSL-2540U Quick Installation Guide CONFIGURING ROUTER Connecting to Web-based Interface 1. Start a web browser. 2. In the address bar of the web browser, enter the IP address of the router (by default, the following IP address is specified: 192.168.1.1). Press the Enter key. - Page 9 To get back to the quick settings page from any Wizard or web-based interface menu section, left-click the D-Link logo in the top left corner of the page. The web-based interface of the router is multilingual. Select a needed language from the menu displayed when the mouse pointer is over the Language caption.
-
Page 10: Configuring Connection To The Internet
DSL-2540U Quick Installation Guide Configuring Connection to the Internet You should configure your WAN connection in accordance with data provided by your Internet service provider (ISP). Make sure that you have obtained all necessary information prior to configuring your WAN connection. - Page 11 DSL-2540U Quick Installation Guide 6. For the PPPoE and PPPoA connection types, enter authorization data provided by your ISP in the PPP section (the username (login) in the Username field and the password in the Password and Password confirmation fields). If these data have not been provided by your ISP, select the Without authorization checkbox.
-
Page 12: Ethernet Wan Connection
DSL-2540U Quick Installation Guide Ethernet WAN Connection 1. Go to the Advanced / Interface grouping page. 2. Select the Enable virtual ports checkbox. 3. Select the choice corresponding to the LAN port that will be used as the WAN port of the Ethernet WAN port radio button, and click the Save button. - Page 13 DSL-2540U Quick Installation Guide 8. For the PPPoE connection type, enter authorization data provided by your ISP in the PPP section (the username (login) in the Username field and the password in the Password and Password confirmation fields). If these data have not been provided by your ISP, select the Without authorization checkbox.
-
Page 14: Configuring Local Area Network
DSL-2540U Quick Installation Guide Configuring Local Area Network Go to the Net / LAN page. If needed, change the IP address of the router's LAN interface and the mask of the local subnet in the IP Address and Netmask fields. Then click the Save button. -
Page 15: Changing Administrator Password
DSL-2540U Quick Installation Guide Changing Administrator Password It is highly recommended to change the administrator password upon initial configuration. This helps you to improve your network security. 1. Go to the System / Administrator password page. 2. Enter a new password for the administrator account in the Password and Confirmation fields. -
Page 16: Technical Support
Quick Installation Guide TECHNICAL SUPPORT You can find software updates and user documentation on our website. D-Link provides its customers with free support within the product's warranty period. Customers can contact the technical support group by phone or by e- mail/Internet.
Need help?
Do you have a question about the DSL-2540U and is the answer not in the manual?
Questions and answers