Table of Contents
Advertisement
Quick Links
Time switch
EN
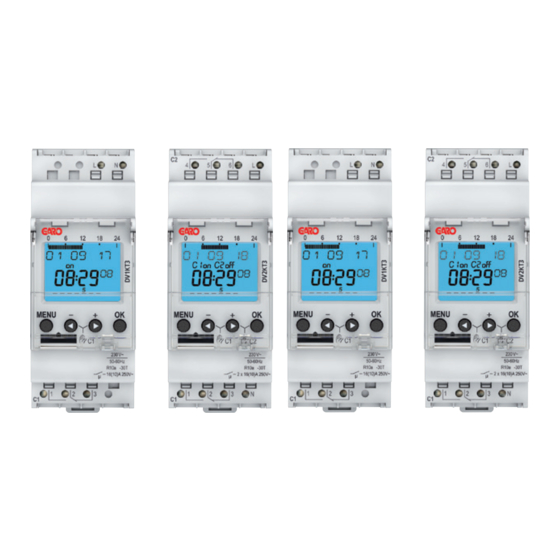
DV1KT3
108751
DV2KT3
108752
1. Basic safety information
WARNING
Danger of death through electric shock or fire!
Installation should only be carried out by a
¾
¾
qualified electrician!
•
The device is designed for installation on DIN top hat
rails (in accordance with EN 60715)
•
The device corresponds to type 1 STU in accordance with
IEC/EN 60730-2-7
•
Power reserve (10 years) is reduced if memory card is
inserted (using battery power)
2. Proper use
•
The time switch is used for lighting, ventilation and
flushing applications etc.
•
Only for use in closed, dry rooms
!
Do not use on safety devices, e.g. escape route doors, fire
safety equipment etc.
Disposal
Dispose of device in environmentally sound manner
†
¾
3. Installation and connection
Mounting the time switch
WARNING
Danger of death through electric shock or fire!
Installation should only be carried out by a
¾
¾
qualified electrician!
clic
45° cable
307402 01
!
Check the depth of the control cabinet when G-OB BT is
connected. The depth must be > 94 mm.
Mount on DIN top hat rails (as defined in EN 60715)
†
¾
Switched voltage-free
†
¾
Ensure device cannot be switched on
†
¾
Check absence of voltage
†
¾
Earth and bypass
†
¾
Cover or shield any adjacent live components
†
¾
Connecting the cable
Wiring diagrams 108751 / 108752
C1
1 2 3
Strip cable to 8 mm (max. 9)
†
¾
Insert cable in the open DuoFix plug-in terminal at 45°
†
¾
L 2 cables per terminal position possible
To open the DuoFix plug-in terminal, press screwdriver
†
¾
downwards
Disconnecting the cable
Use the screwdriver to push the load line connection
†
¾
opener downwards
DuoFix plug-in
terminal
Test tap
Plug-in screwless
terminal NC
contact
Bluetooth
G-OB BT
(108755)
L N
N
L
L
4 5 6 L
C2
C1
1 2 3
N
N
L
L
1
Advertisement
Table of Contents

Subscribe to Our Youtube Channel
Related Manuals for GARO DV1KT3


Summary of Contents for GARO DV1KT3
- Page 1 45° cable 307402 01 DuoFix plug-in terminal Time switch Test tap Plug-in screwless DV1KT3 terminal NC contact 108751 DV2KT3 108752 Bluetooth G-OB BT 1. Basic safety information (108755) Check the depth of the control cabinet when G-OB BT is connected. The depth must be > 94 mm.
-
Page 2: Device Description
4. Device description Overview of navigation menu MENU Display & buttons PROGRAM TIME/DATE MANUAL CHANNEL C1 TIME CHANNEL C1 SET DATE PERM ON Programmed CHECK SU--WI PERM OFF switching times MODIFY WEEK OVERR ON Date display Time display DELETE HOLIDAY FORM DATE Channel status Days of the week... -
Page 3: Settings And Functions
5. Settings and functions L You can either change or delete a block, i.e. a switching time copied for several days (e.g. Mon-Fri) or a single switching time Set switching time Change individual switching times Press MENU † ¾ MENU Select PROGRAM and press OK to confirm †... -
Page 4: Hour Counter
All functions can also be transferred to the time switch using the Bluetooth G-OB BT memory card (108755). Activating PIN code The PIN code is set in OPTIONS via the menu. L If you have forgotten your PIN, call the Garo Hotline. L Have the serial number ready. MENU OPTIONS... -
Page 5: Technical Data
Min. switching capacity: 10 mA/230 V AC 100mA/ 24 V AC/DC Switch output: switching of any phase is per- mitted (DV2KT3) DV1KT3: suitable for switching SELV (Safe Extra-Low Voltage) Shortest switching time: 1 min Switching accuracy: accurate to the second Press „Connect“... - Page 6 – Range: 15 m on open air test site Software class: L The time switch display is only fully functional at tempera- tures from +5 °C - +55 °C. 7. Contact Garo AB Södergatan 26 335 33 GNOSJÖ SWEDEN www.garo.se Hotline:...
Need help?
Do you have a question about the DV1KT3 and is the answer not in the manual?
Questions and answers