Table of Contents
Advertisement
Quick Links
Tornado
Operation & Maintenance Manual
For Commercial Use Only
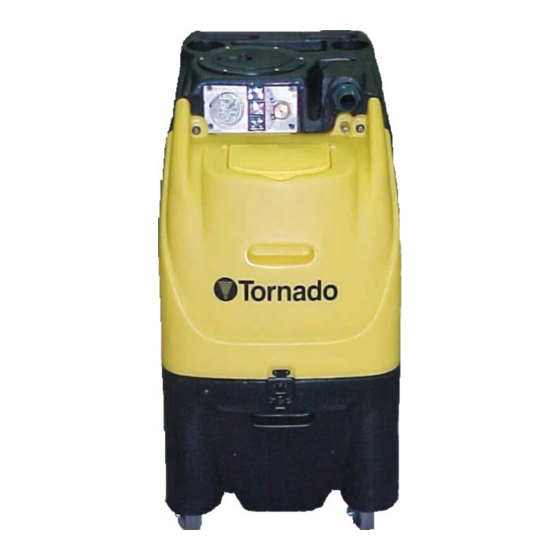
12 Gallon CarpetRinser/Dryer
L8244CA 10/06 ©2006 Tornado Industries
Catalog #
98244
(708) 867-5100 FAX (708) 867-6968
® ® ® ®
Model
2-500 Professional
All rights reserved.
1
TORNADO INDUSTRIES
7401 W. LAWRENCE AVENUE
CHICAGO, IL 60706
www.tornadovac.com
® ® ® ®
Advertisement
Table of Contents

Related Manuals for Tornado Professional 2-500


Summary of Contents for Tornado Professional 2-500
- Page 1 (708) 867-5100 FAX (708) 867-6968 www.tornadovac.com Tornado ® ® ® ® Operation & Maintenance Manual For Commercial Use Only ® ® ® ® 12 Gallon CarpetRinser/Dryer Catalog # Model 98244 2-500 Professional L8244CA 10/06 ©2006 Tornado Industries All rights reserved.
-
Page 2: Table Of Contents
This instruction book covers: CATALOG NO. 98244 SERIES VOLTS 115 VAC AMPS, VAC MOTOR CERTIFICATION Pending ALL SPECIFICATIONS SUBJECT TO CHANGE WITHOUT NOTICE. TABLE OF CONTENTS: SPECIFICATION AND WARRANTY INFORMATION ..PAGE 3 SAFETY REQUIREMENTS & PRECAUTIONS ....PAGE 4 OPERATING &... -
Page 3: Specification And Warranty Information
4) All non-wear item parts purchased after warranty expiration are warranted for 90 days. 5) Warranty starts from date of sale to the consumer or, at Tornado’s discretion, 6 months after dealer purchased the unit from Tornado, whichever comes first. -
Page 4: Safety Requirements & Precautions
Inspection Unpack and inspect your extractor for shipping damage. Each unit is tested and inspected prior to shipping. For any concerns regarding shipping damage, contact your dealer immediately. All returns must have a Return Authorization (RA) number. Grounding Instructions The extractor MUST BE GROUNDED. If the machine should stop working or malfunction, grounding offers a path of least resistance for electrical current, reducing the risk of electrical shock. - Page 5 Electrical • Do not pull your machine by, close a door on, or run over the cord, and keep it away from heated surfaces. • Do not pull on the cord to unplug the machine. • Turn all machine switches to OFF before unplugging. •...
-
Page 6: Operating & Maintenance Instructions
Operational Instructions • Use only a (20 amp) electrical outlet, usually found In Bathroom, Kitchens, or Laundry rooms. Plug your machine in. • Attach vacuum and solution hoses to appropriate connections on the machine and your wand. As you do this, always inspect hoses for cracks or fraying. Do not use if hoses are cracked or frayed. •... -
Page 7: Accessories
ACCESSORIES FOR ALL MODELS... -
Page 8: Parts List
12 GALLON CARPETRINSER/DRYERS 98244 Item # Part # Description 20002 Vac Motor 2-Stage 20003 Gasket Vac Motor 20004 Plate-Pump As Req. 20006 Screws for Pump Mounting NOT USED – INTENTIONALLY LEFT BLANK 20008 Pump-Adjustable 50-500 20010 Hose-Vacuum 1.5" (Blk) 20011 Standpipe--1-1/2"... -
Page 9: Troubleshooting
20068 1/4” F Bulkhead Fitting 20070 90 Deg. 1/4”MPT X 1/2”Barb 20071 3/8”MPT X 1/2”Barb As Req. 20072 Hose 20074 3/8”Barb X 3/8”MPT As Req. K63903240 Hose 22189 Gage-Pressure 24520 1/4”MPT X 3/8”MPT Nipple 24521 200-500 PSI Regulator Valve 24522 Vacuum Hose Adapter 24523 Use 14881—Fitting-Brass Nipple ¼”... -
Page 11: Front View-Close Up
FRONT VIEW—CLOSE UP... -
Page 12: Top & Recovery Tank
TOP & RECOVERY TANK LID, RING & SCREWS LID, RING & SCREWS LID, RING & SCREWS LID, RING & SCREWS ARE PART OF KIT ARE PART OF KIT ARE PART OF KIT ARE PART OF KIT RECOVERY TANK PARTS... -
Page 14: Solution Tank
SOLUTION TANK... -
Page 15: Side View-Bottom Assembly
SIDE VIEW—BOTTOM ASSEMBLY... -
Page 16: Rear View-Bottom Assembly
REAR VIEW—BOTTOM ASSEMBLY... -
Page 17: Connections-Solution Tank
CONNECTIONS—SOLUTION TANK... -
Page 18: Internal View W/ Cooling-Bottom Assy
INTERNAL VIEW WITH COOLING—BOTTOM ASSEMBLY... -
Page 19: Vacuum Motors
VACUUM MOTORS... -
Page 20: Internal View Of Fittings-Bottom Assy
INTERNAL VIEW OF FITTINGS—BOTTOM ASSEMBLY... -
Page 21: Internal View-Bottom Assembly
INTERNAL VIEW—BOTTOM ASSEMBLY... -
Page 22: Electrical & Plumbing System
ELECTRICAL & PLUMBING SYSTEM...
Need help?
Do you have a question about the Professional 2-500 and is the answer not in the manual?
Questions and answers