Advertisement
Advertisement

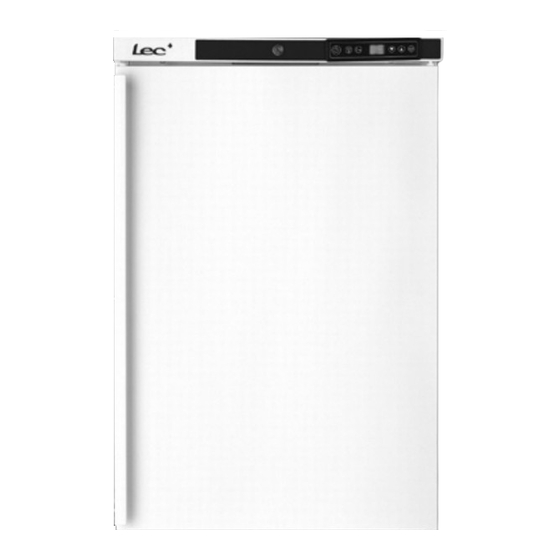
Summary of Contents for Lec PE 507
- Page 1 PE 507 PG 507 Operating In struc tions refrigerators...
- Page 2 GB/IE The refrigerator was developed taking the different storage requirements of Pharmacy products into consideration. Some must be stored cold - others require a little higher temperature. A few must be stored separately. To ensure that you get the best out of your new refrigerator, it is important that you become familiar with the refrigerator functions and know how to use the accessories.
-
Page 3: Table Of Contents
GB/IE Content Disposal ..................3 Safety Measures ..................4 Product Characteristics ................. 4 Before You Start ..................6 Operation....................8 Maintenance and Service ............... 11 Switching the Door Mounting ..............13 Spare parts ................... 14 Warning Changes in internal and external appearance of a product, not affecting its functionality and safety, (e.g. -
Page 4: Safety Measures
GB/IE Safety Measures The producer is not responsible for any damage resultant from violating the principles in the manual. Thus, read carefully the information on safety measu- res, operation, and maintenance of the refrigerator. ● Please keep the Manual for future use or for handing it over to the next user. Before you turn the refrigerator on. -
Page 5: Product Characteristics
PE 507 PG 507 keeping the chamber clean and increase durability of the product (protecting from potential damage). Accessories PE 507, PG 507 Wire shelf 2 pieces wire storage container 1 piece Technical PE 507, PG 507... -
Page 6: Before You Start
● Once placed, make sure the refrigerator is not standing on the power supply cord. The PE 507, PG 507 refrigerator is equipped with a cover top and is designed to fit under a standard 865 mm high counter or bench top. - Page 7 GB/IE ● Any modification of the refrigerating system is prohibited. Be especially careful not to do any damage to the capillary tube (Photo 3 (1)) located in the recess next to the compressors. The tube cannot be bent, straightened or coiled. Damage of the capillary tube by the user waives the guarantee of the refrigerator.
-
Page 8: Operation
GB/IE Operation 1. User interface (Photo 4) Button (1) ‘ I ’ (ON /OFF) – pressed for about 2-3sec – switches on and switches off whole product's controlling, Button (2) ‘light’ – turns on and off the lighting, if it is not turned off, it turns off auto- matically after 3 minutes. - Page 9 5. ALARM CONDITION / REMOTE ALARM On PE 507 and PG 507 models the cabinet alarm can be connected to a remote control station via two 4mm jack-plugs on the rear of the control panel.
- Page 10 GB/IE Hi – maximum set temperature of the product exceeded by a difference set in d6 parameter by 15 minutes’ alarm delay time (c8). Lo – minimum set temperature of the product exceeded by a difference set in d7 parameter by 15 minutes’ alarm delay time (c8). dr –...
-
Page 11: Maintenance And Service
GB/IE Maintenance and Service Energy saving ● Place the refrigerator away from heat sour- ces (such as radiators and ovens (Phot 6). ● Make sure air can circulate freely around the refrigerator, do not block the ventilation grid . ● Let any containers cool down before putting them into the refrigerator, at least to room temperature. - Page 12 GB/IE Solution Reason Problem - make sure the plug is properly inserted A gap in the elec tric The appliance does into the socket, system circuit not work - make sure there is elec tri ci ty in the socket by plugging in ano ther electric de vi ce, such as a night lamp, - make sure the power sup ply cord is not...
-
Page 13: Switching The Door Mounting
GB/IE Switching the Door Mounting Side To switch the door mounting side : ● Turn off the main switch (Phot. 4(1)). Unplug the mains cord. Take out all the food from the appliance. ● Remove the adjustment feet. ● Unscrew the lower hinge (Phot. 7) and the element fastening the foot (Phot. -
Page 14: Spare Parts
GB/IE Exchanging the bulb * S w i t c h o ff t h e r e f r i g e r a t o r b y pressing button ‘ I ’ (Photo 4(1)) and unplug the appliance. * Unscrew the bulb cover with a cross- head screwdriver and take the cover off (Phot.10). - Page 16 IOAL-731 (12.2007/1)


Need help?
Do you have a question about the PE 507 and is the answer not in the manual?
Questions and answers