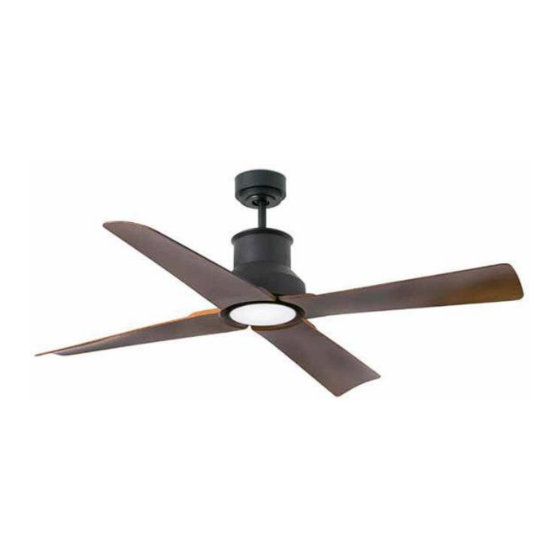
Summary of Contents for Faro WINCHE 33481
- Page 2 Do not connect the fan directly to the power source. A wall controller is not available for this fan. Only use the remote control provided with the product. Contact the distributor if you need to replace the product. 1- Motor guarantee 15 years - Fan guarantee 2 years. 2- Protection class I: The fitting has an earthing connection: The earth wire (yellow / green ) has to be connected to the clip marked with 3- Protected against solid objects bigger than 1mm and against splashing water.
- Page 3 Tools and materials required Verify you have all parts before beginning the installation. Check foam insert closely for missing parts. Remove motor from packaging. To avoid damage to finish, assemble motor on soft padded surface or use the original foam inset in motor box. Do not lay fan on its side as this could result in shifting of motor in decorative enclosure.
- Page 4 Pass the wires through the post. Insert the pin and clevis. Tighten the screw holding the pin in place. Insert the canopies and reinsert the ball and pin.
- Page 5 Make sure the screws are securely fastened to the ceiling. Ensure that the connections are correct. If in doubt consult a technician.
- Page 6 Hanging the fan. Make sure the screws are tightened.
-
Page 7: Maintenance
MAINTENANCE 1. As fans tend to move during operation, some connections may loosen. Check the supporting screws, brackets and blade attachments twice a year to ensure that they are secure. 2. Cleaning the fan helps to maintain its appearance for years. Do not use water when cleaning. This could damage the motor or the blades and could cause electrocution. - Page 8 to the ceiling, if they are not a small adjustment can be made by hand by slightly bending the blade and bracket. If a major adjustment is needed insert a washer (not provided)
-
Page 9: Remote Control
Pre-coded remote control 1. Fan speeds (I low -- VI high) 4. Light: not applicable for this model Note: when you turn on the fan the first time or switch the main power to the controller, you need to start the fan on high speed first, and then choose a lower speed. A 120-150 seconds is required to allow the dc fan to respond to the remote each speed or fan direction selections, as dc fan incorporate a sensor control which controls the power to the motor. - Page 10 - Slide the cover of battery compartment of transmitter to access the DIP switches. This will be transmitter 1. - Change the position of the DIP switches in the remote transmitter 1, so that it will be different to transmitter 2 - Install the 12VDC battery in the compartment.
- Page 11 G. The guarantee will be void if the fan has not been purchased and installed in the European Union. H. This guarantee gives you certain rights that may vary depending on the coresponding Local Government. Nothing in this guarantee expresses or excludes, restricts or modifies any condition, guarantee, right or remedy other than those stated by the Law 23/2003, of July, 10th on Guarantees on the Sale of Consumer Goods and other relevant legislation on matters of consumer protection.


Need help?
Do you have a question about the WINCHE 33481 and is the answer not in the manual?
Questions and answers