Advertisement
Quick Links
Advertisement

Related Manuals for ACMER P2 LaserGRBL

Summary of Contents for ACMER P2 LaserGRBL
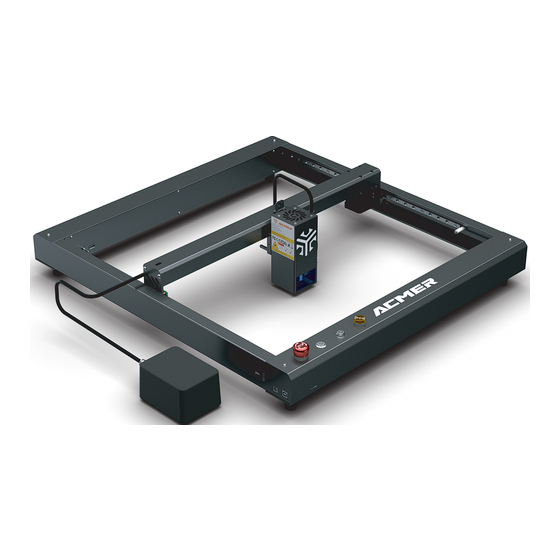
- Page 1 ACMER P2 LaserGRBL Beginner's Guide...
- Page 2 Obtain and install LightBurn The ACMER P2 Laser Engraver receives mobile commands from the computer in real time, and the engraver needs to stay connected to the com- puter and cannot close the engraving software (LaserGRBL or LightBurn) during the engraving process. In addition, the configura-tion of the com- puter can a ect the speed and even the quality of the engraving.
- Page 3 Install LaserGRBL Section 1. Download LaserGRBL software(Only apply to Windows system) 1. Open the le with the machine or from the LaserGRBL website(LaserGRBL website: http://lasergrbl.com/down- 3. Choose the installation path, Default path(C:\Program load/.)to download software installation packages. Files\LightBurn) . 2. Double click “Install”. Choose “Next”...
- Page 4 One computer can open several LightGRBL softwares to connect several engraving machines. When you operate several engraving Connect ACMER P2 Laser Engraver machines, please make sure to confirm whether the COM port information corresponds to the device you are using.
- Page 5 Unlock 1:the connect button 2:Prompt for rmware version number after the connection 3:the unlock button...
- Page 6 Import images 1. Open File and add the image to be engraved Adjust the brightness and contrast of the picture according to the set mode; (if you wanna use the cut mode, please select vector image and no ll) 2. Set engraving parameters (please see the next page for Set up conversion tools (e.g.
-
Page 7: Setting Parameters
Setting parameters 1 1. Please carefully set the engraving parameters LaserGRBL can adjust the brightness, contrast, and other attributes of the target image. When the parameters are adjusted, you can see the actual e ect in the preview window on the right and can try to adjust it to what you think is satisfactory. - Page 8 Setting parameters 2 2. After completing the previous step of setting, then select the carving speed, Tip: Please ensure that the size you need to carving power, and the carving size (The carving power can be set according to engrave does not exceed the engraving range! the recommended parameters) 1:Di erent materials correspond to di erent carving speed, we recommend that you refer to the carving parameters table;...
- Page 9 Start engraving 1 Manually move the laser head of the machine to the engraving position, click on the preview, and then click on the green button to start the engrav- ing. 2. When the green button appears, click it to start engraving 1.
- Page 10 Introduction of LaserGRBL Reset button:You can click the reset button when need to pause the engraving or when there is an abnormal situation. E35D2F Return button: Click the button, the X, Y-axis will run to the mechanical origin. It is recommended that when in large size carving, you could click the button to return to zero before the engraving.
Need help?
Do you have a question about the P2 LaserGRBL and is the answer not in the manual?
Questions and answers