Table of Contents
Advertisement
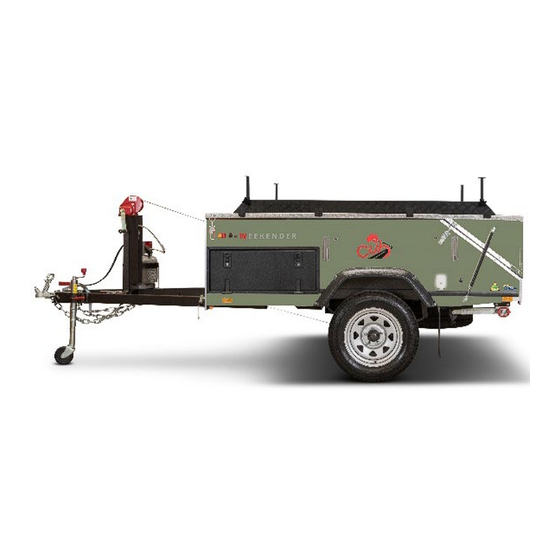
Explorer
2.2 SERIES OWNER'S MANUAL
PLEASE READ AND COMPREHEND this manual before using your 2.2 SERIES for the first time.
INVEST THE TIME to become familiar with all the standard fittings and options on your 2.2 SERIES.
IF IN DOUBT or feel you are doing something wrong, please call your local CUB dealer for advice.
1300 226 746
Join our Facebook Group
Check out handy tips on YouTube
© CUB CAMPERS • 2.2 OWNER'S MANUAL V2 • 20/12/2022
Weekender
cubcampers.com.au
https://www.facebook.com/groups/320243716415/
https://www.youtube.com/user/cubcampers
Brumby
PAGE 1 of 32
Advertisement
Table of Contents


Need help?
Do you have a question about the 2.2 Series and is the answer not in the manual?
Questions and answers