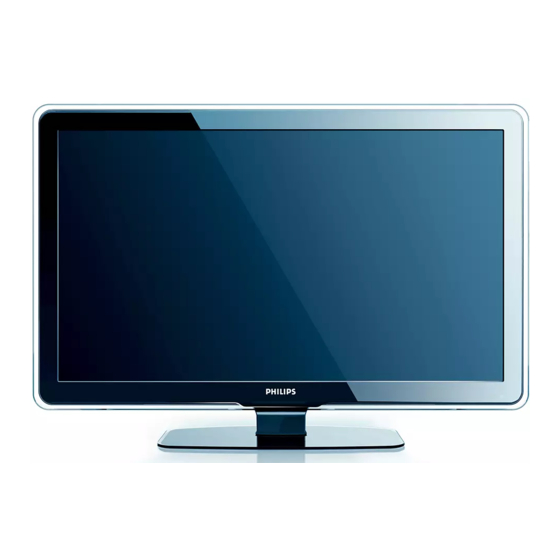
Philips 42PFL7403D Addendum
Vesa wall mounts
Hide thumbs
Also See for 42PFL7403D:
- Specifications (3 pages) ,
- Manual (3 pages) ,
- User manual (50 pages)
Advertisement
Available languages
Available languages
Quick Links
Register your product and get support at
Addendum for the use of VESA wall mounts
ENGLISH
There are many styles and manufacturers of VESA wall mounts. The type of wall mount you choose will determine whether spacers are required, and
what length bolts are required for secure mounting. Ensure that there is enough of a gap between the wall and the back of the TV set, so that the
cables (power cord, audio cables, and video cables) are not pinched, stressed, or strained. If the wall mount you choose has a slim profile and places
the TV very close to the wall, you may need to purchase spacers to ensure sufficient gap between the TV and the wall.
The bolt length should be 15mm. If you use a spacer, the bolt length should be spacer length plus 15mm. For example, if you determine you need to
use a 40mm spacer to have enough gap for the cables, the bolt length you should use would be 55mm (40mm + 15mm).
Wall mount the TV
WARNING: Wall mounting of the TV should only be performed by qualifi ed installers. Koninklijke Philips Electronics N.V.
B
bears no responsibility for improper mounting that results in accident or injury.
Step 1 Purchase a VESA-compatible wall bracket
Depending on the size of your TV screen, purchase a wall bracket, bolts and, optionally, spacers.
TV screen size
VESA-compatible wall bracket
(inches)
(millimeters)
32
Adjustable 300 x 300
42 or larger
Fixed 400 x 400
D
Note: You can purchase a VESA-compatible wall bracket from
Step 2 Remove the TV stand
Note: Stand may differ according to TV model. These instructions are only applicable to TV models with installed stands. If your TV stand is not
D
installed, skip to Step 3 Connect cables.
12NC 3139 125 40422
Bolt and spacer type (not supplied)
4 of M6x10mm steel bolt
or
4 of M6x50mm steel bolt with 40mm
spacer
4 of M8x15mm steel bolt
or
4 of M8x55mm steel bolt with 40mm
spacer
www.shopping.philips.com/wallmounts.
Special instructions
Adjust bracket to 200 x 300 before securing to
the TV.
None
Advertisement

Summary of Contents for Philips 42PFL7403D
-
Page 1: Wall Mount The Tv
There are many styles and manufacturers of VESA wall mounts. The type of wall mount you choose will determine whether spacers are required, and what length bolts are required for secure mounting. Ensure that there is enough of a gap between the wall and the back of the TV set, so that the cables (power cord, audio cables, and video cables) are not pinched, stressed, or strained. -
Page 2: Step 3 Connect Cables
Using a cross-head (Phillips) screwdriver (not supplied), unscrew the four screws that secure the stand to the TV. Firmly pull the stand from the bottom of the TV, being careful because the stand is heavy. Place both the stand and screws in a secure location for future reinstallation. -
Page 3: Montage Mural Du Téléviseur
Montage mural du téléviseur ATTENTION : Le montage mural du téléviseur doit être exécuté par des installateurs qualifi és seulement. Koninklijke Philips Electronics N.V. ne peut en aucun cas être tenue responsable d’un montage incorrect ayant occasionné un accident ou des blessures. - Page 4 À l’aide d’un tournevis (non fourni) cruciforme (Phillips), dévissez les quatre vis rattachant le pied au téléviseur. Tirez fermement le pied depuis le bas du téléviseur, en prenant garde car le pied est lourd. Conservez le pied et les vis dans un emplacement sûr pour une réinstallation ultérieure.
- Page 5 Paso 2 Retire la base de la TV Nota: La base puede ser distinta según el modelo de la TV. Estas instrucciones sólo se aplican a modelos de TV cuyas bases vienen montadas. Si la base de su TV no viene montada, pase al Paso 3 Conecte los cables.
- Page 6 Con un destornillador (no incluido) de cruz (Phillips), destornille los cuatro tornillos que fijan la base a la TV. Con firmeza, retire la base de la parte inferior de la TV tirando de ella; hágalo con cuidado, dado que es pesada. Deje en un lugar seguro los tornillos y la base, para volver a instalarla en el futuro.


Need help?
Do you have a question about the 42PFL7403D and is the answer not in the manual?
Questions and answers